I’ve been fascinated by multi-tools for years—the way they pack so many functions into a compact, everyday carry size is something I truly appreciate. The first multi-tool I received as a birthday gift was unfortunately lost when its clip failed to stay securely attached to my belt.
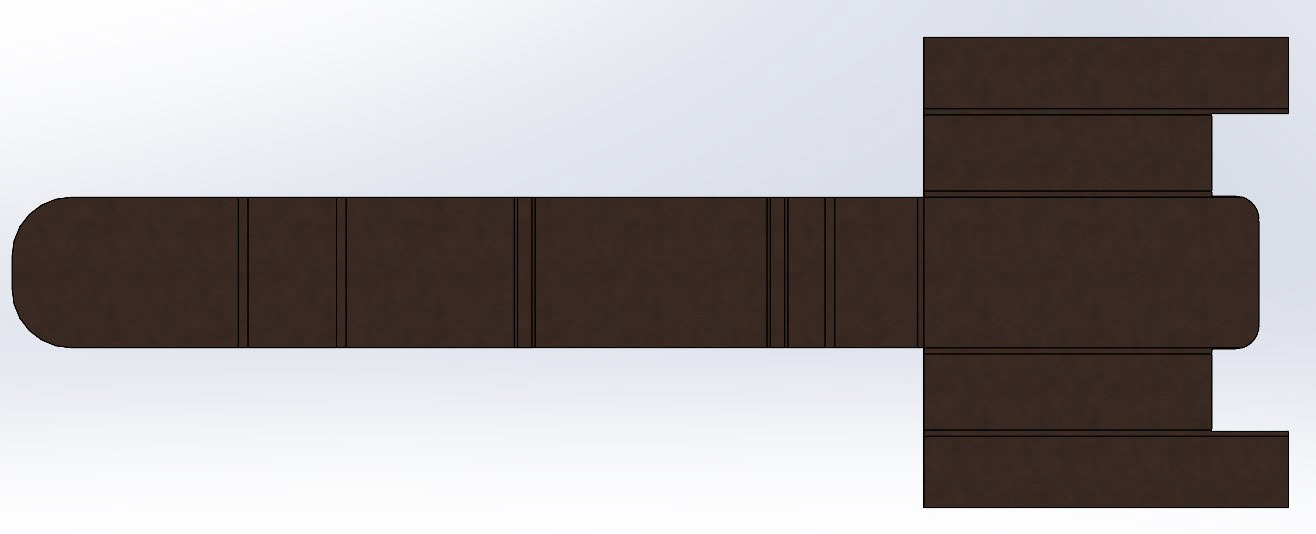
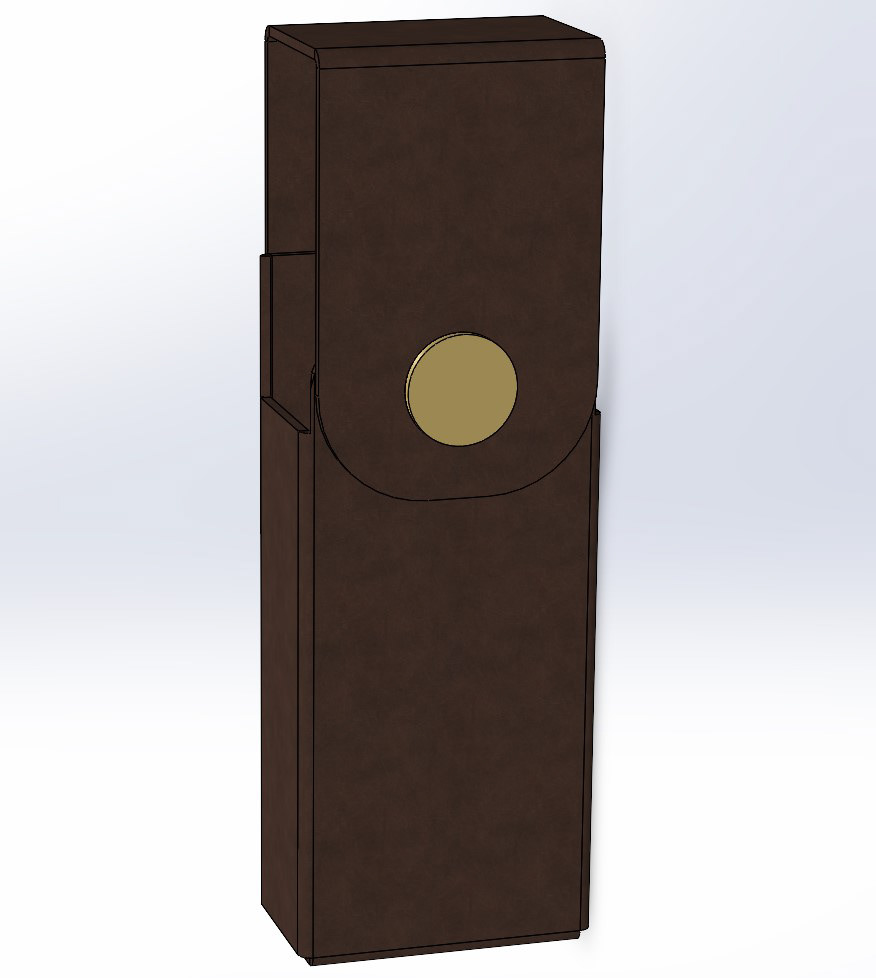
This was my first experience using the Sheet Metal tools in SolidWorks. Initially, I struggled with bending a flat sketch, only to realize the issue stemmed from having the incorrect material thickness. Since I was working with 4mm thick leather, I had to adjust my approach to accurately model and fabricate the sheath.
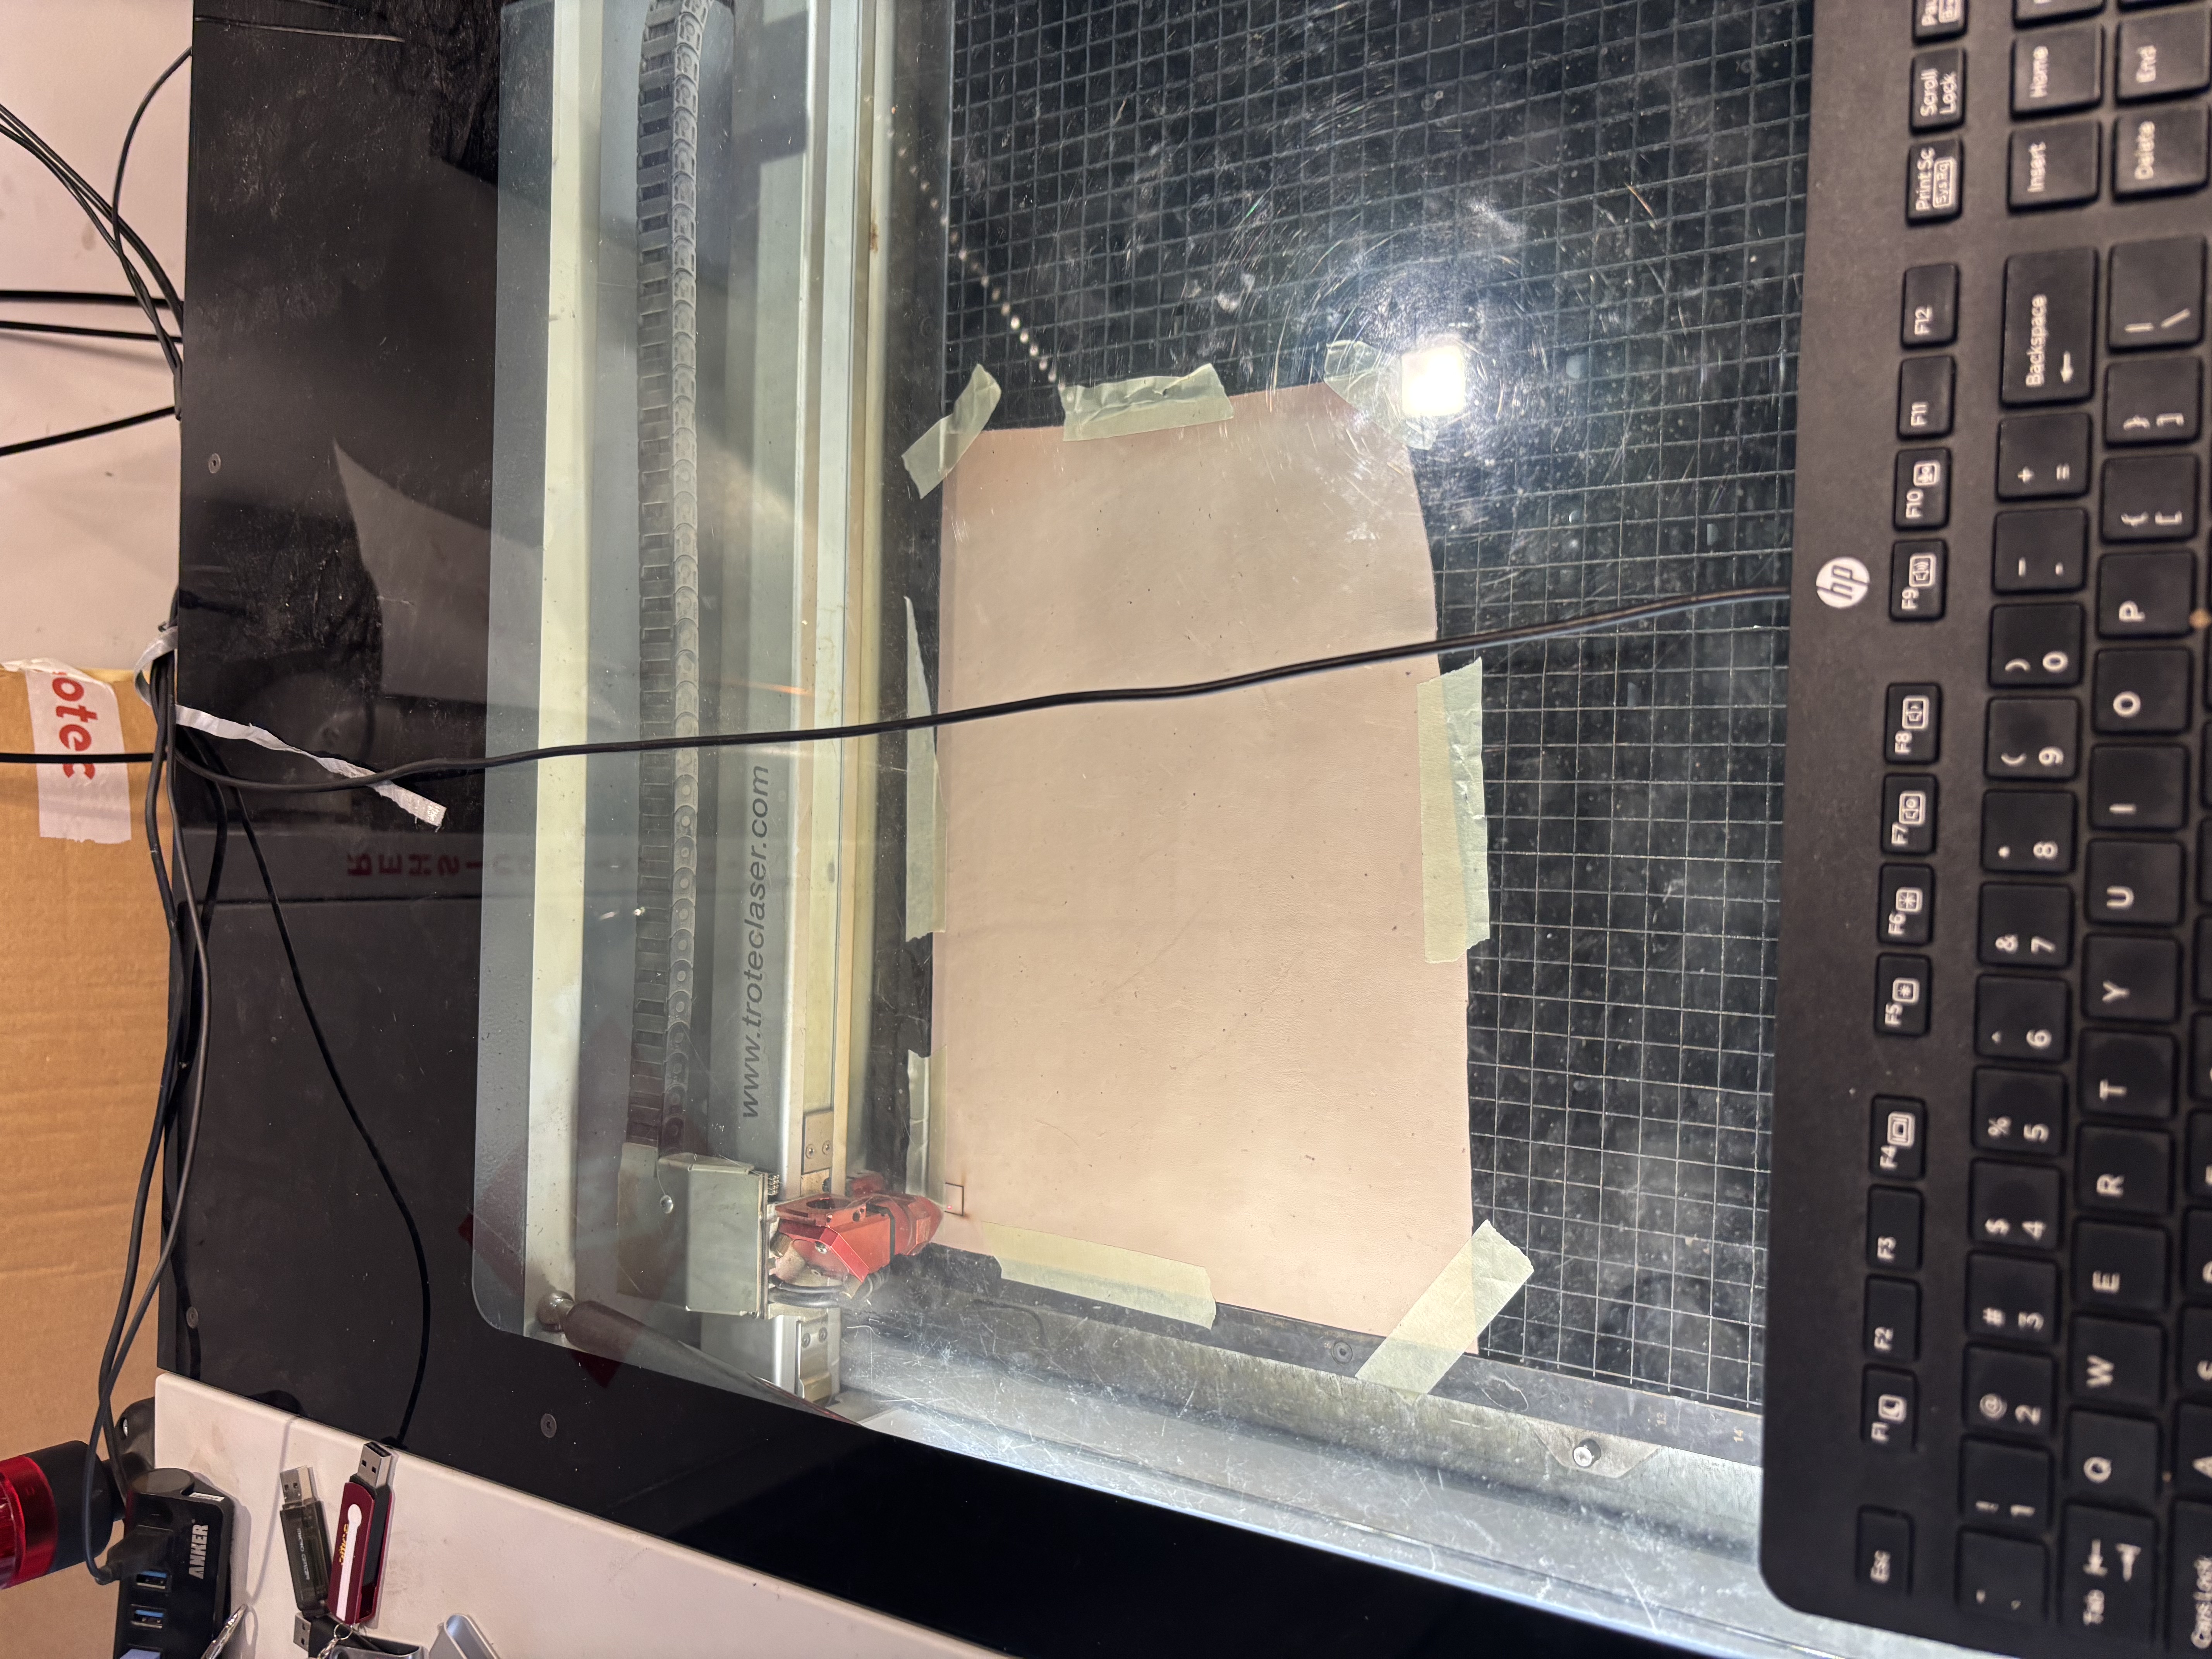
Here, the leather is set up for laser cutting. To ensure a clean and precise cut, I first ran a test cut, verifying that the material would be fully cut. I knew this was just a prototype, as the color wasn’t the final choice, but it helped confirm the settings before moving forward with the final design.
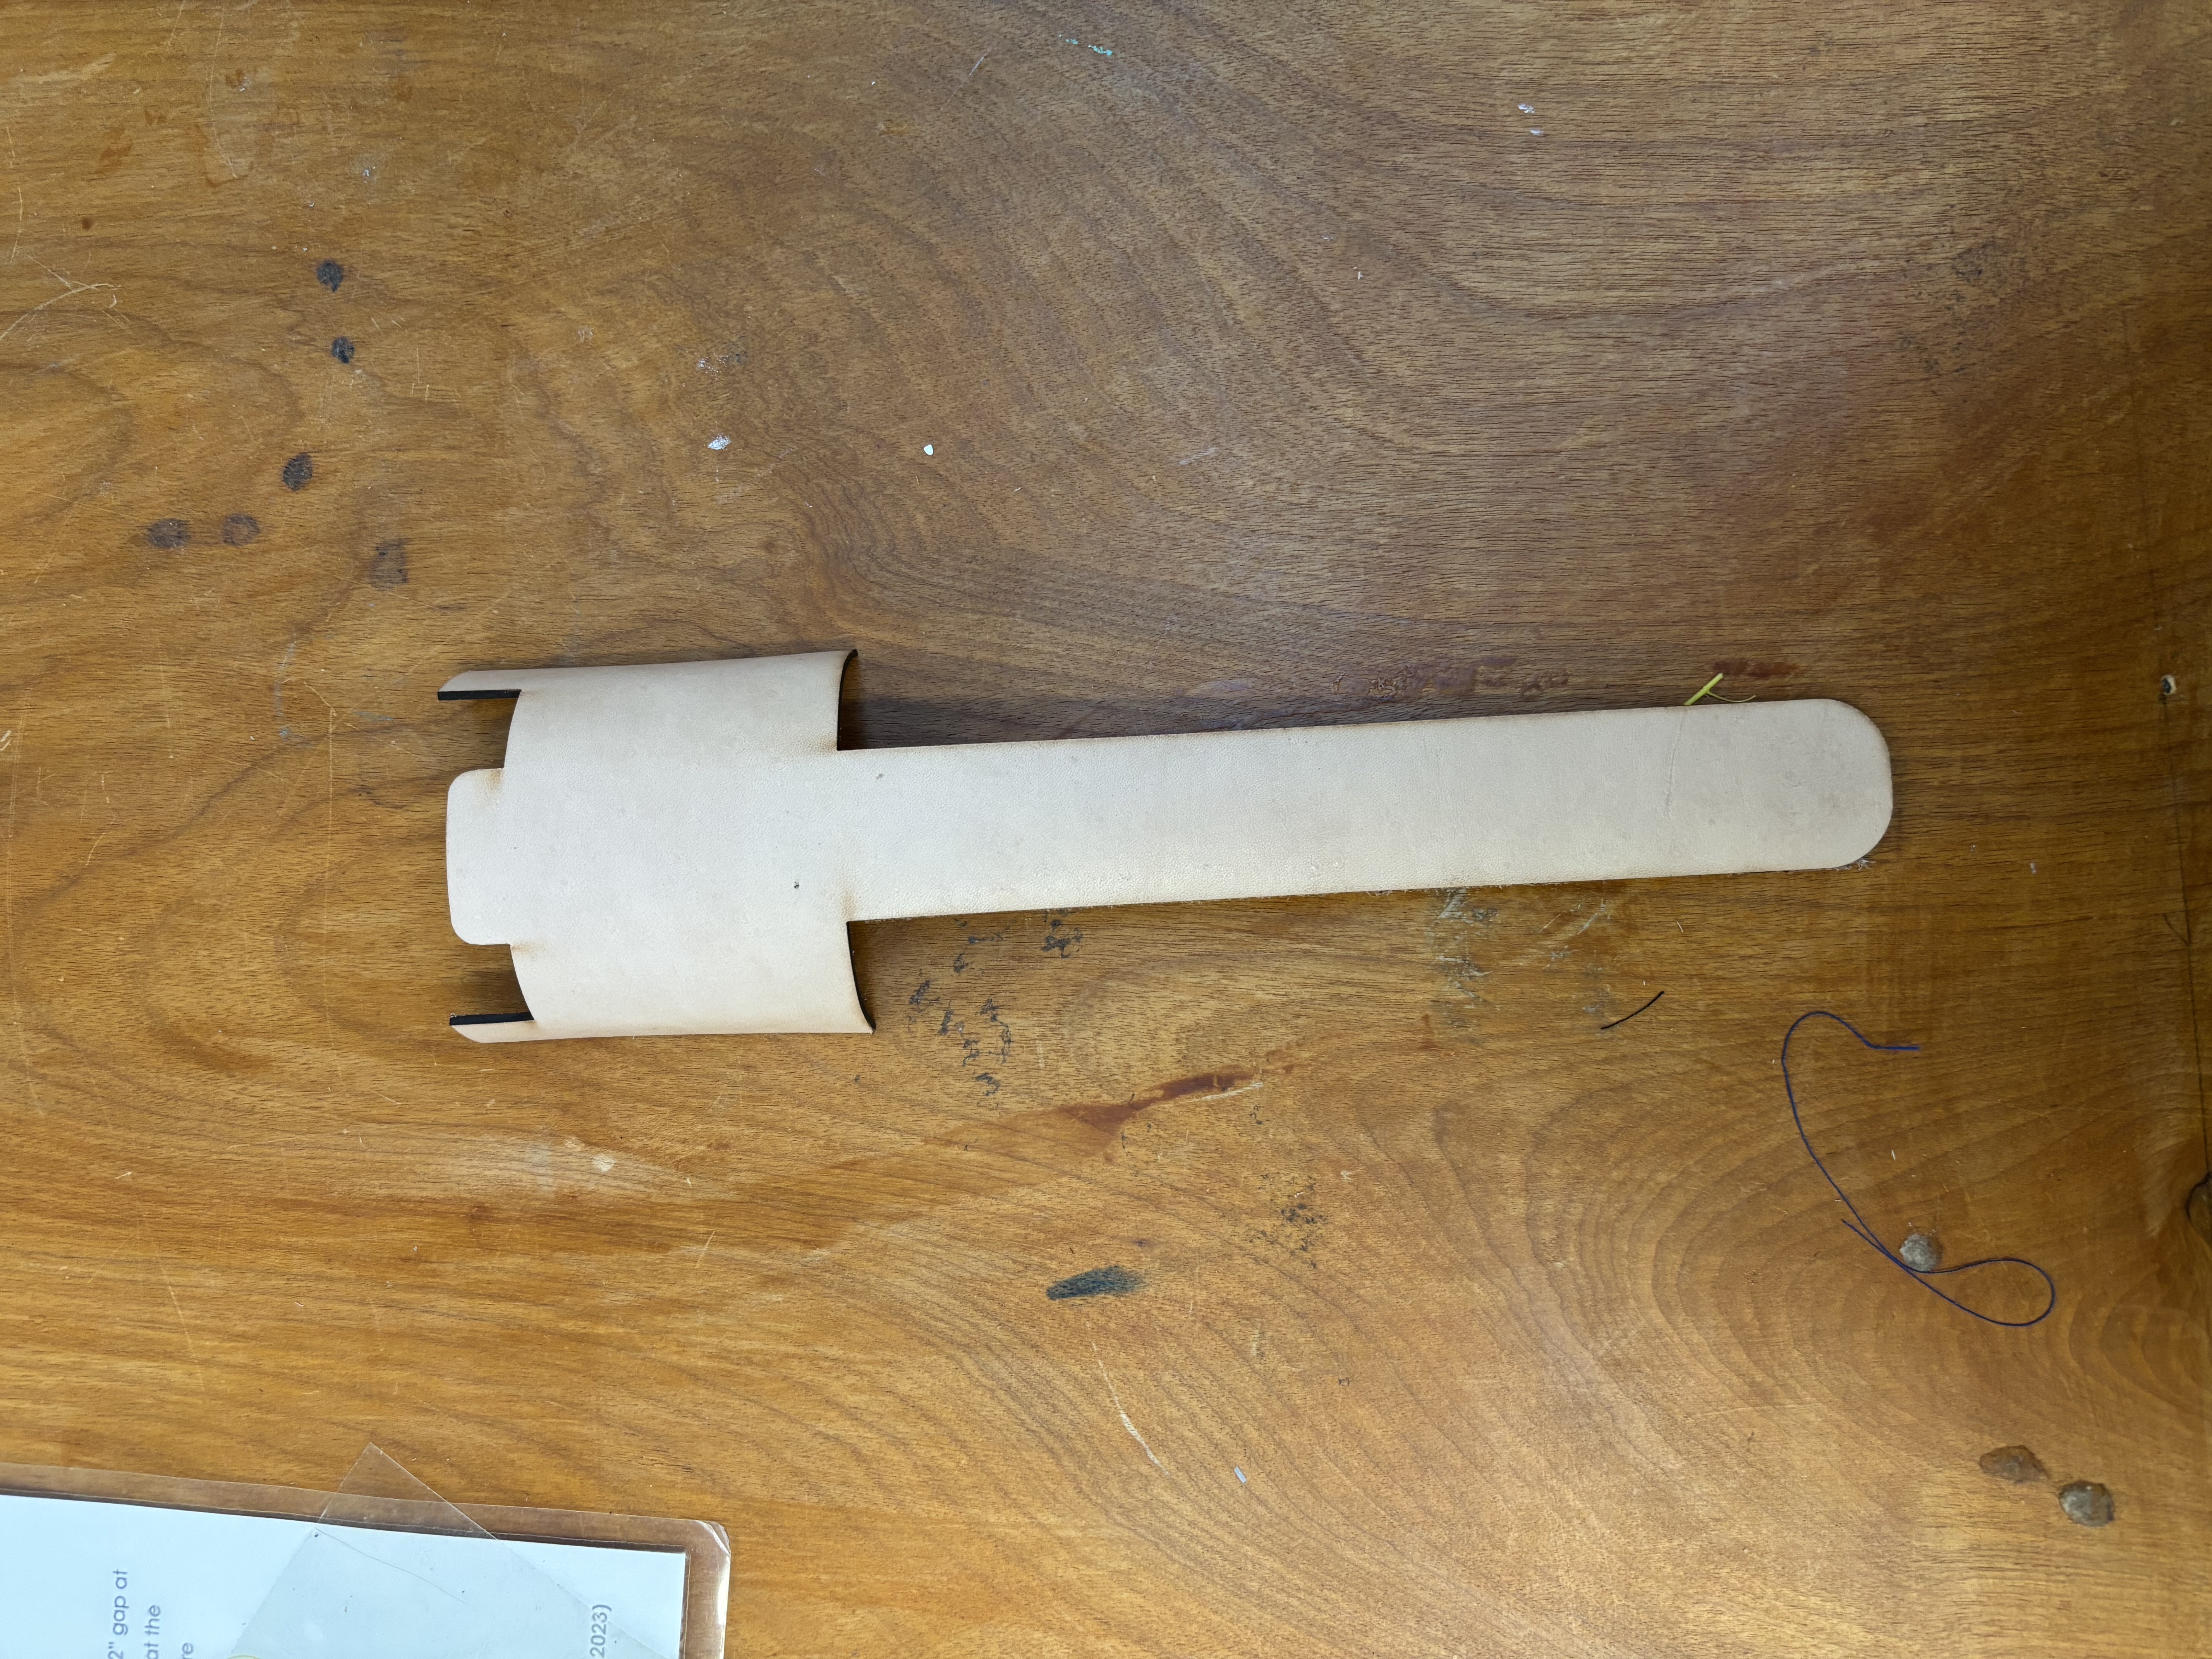

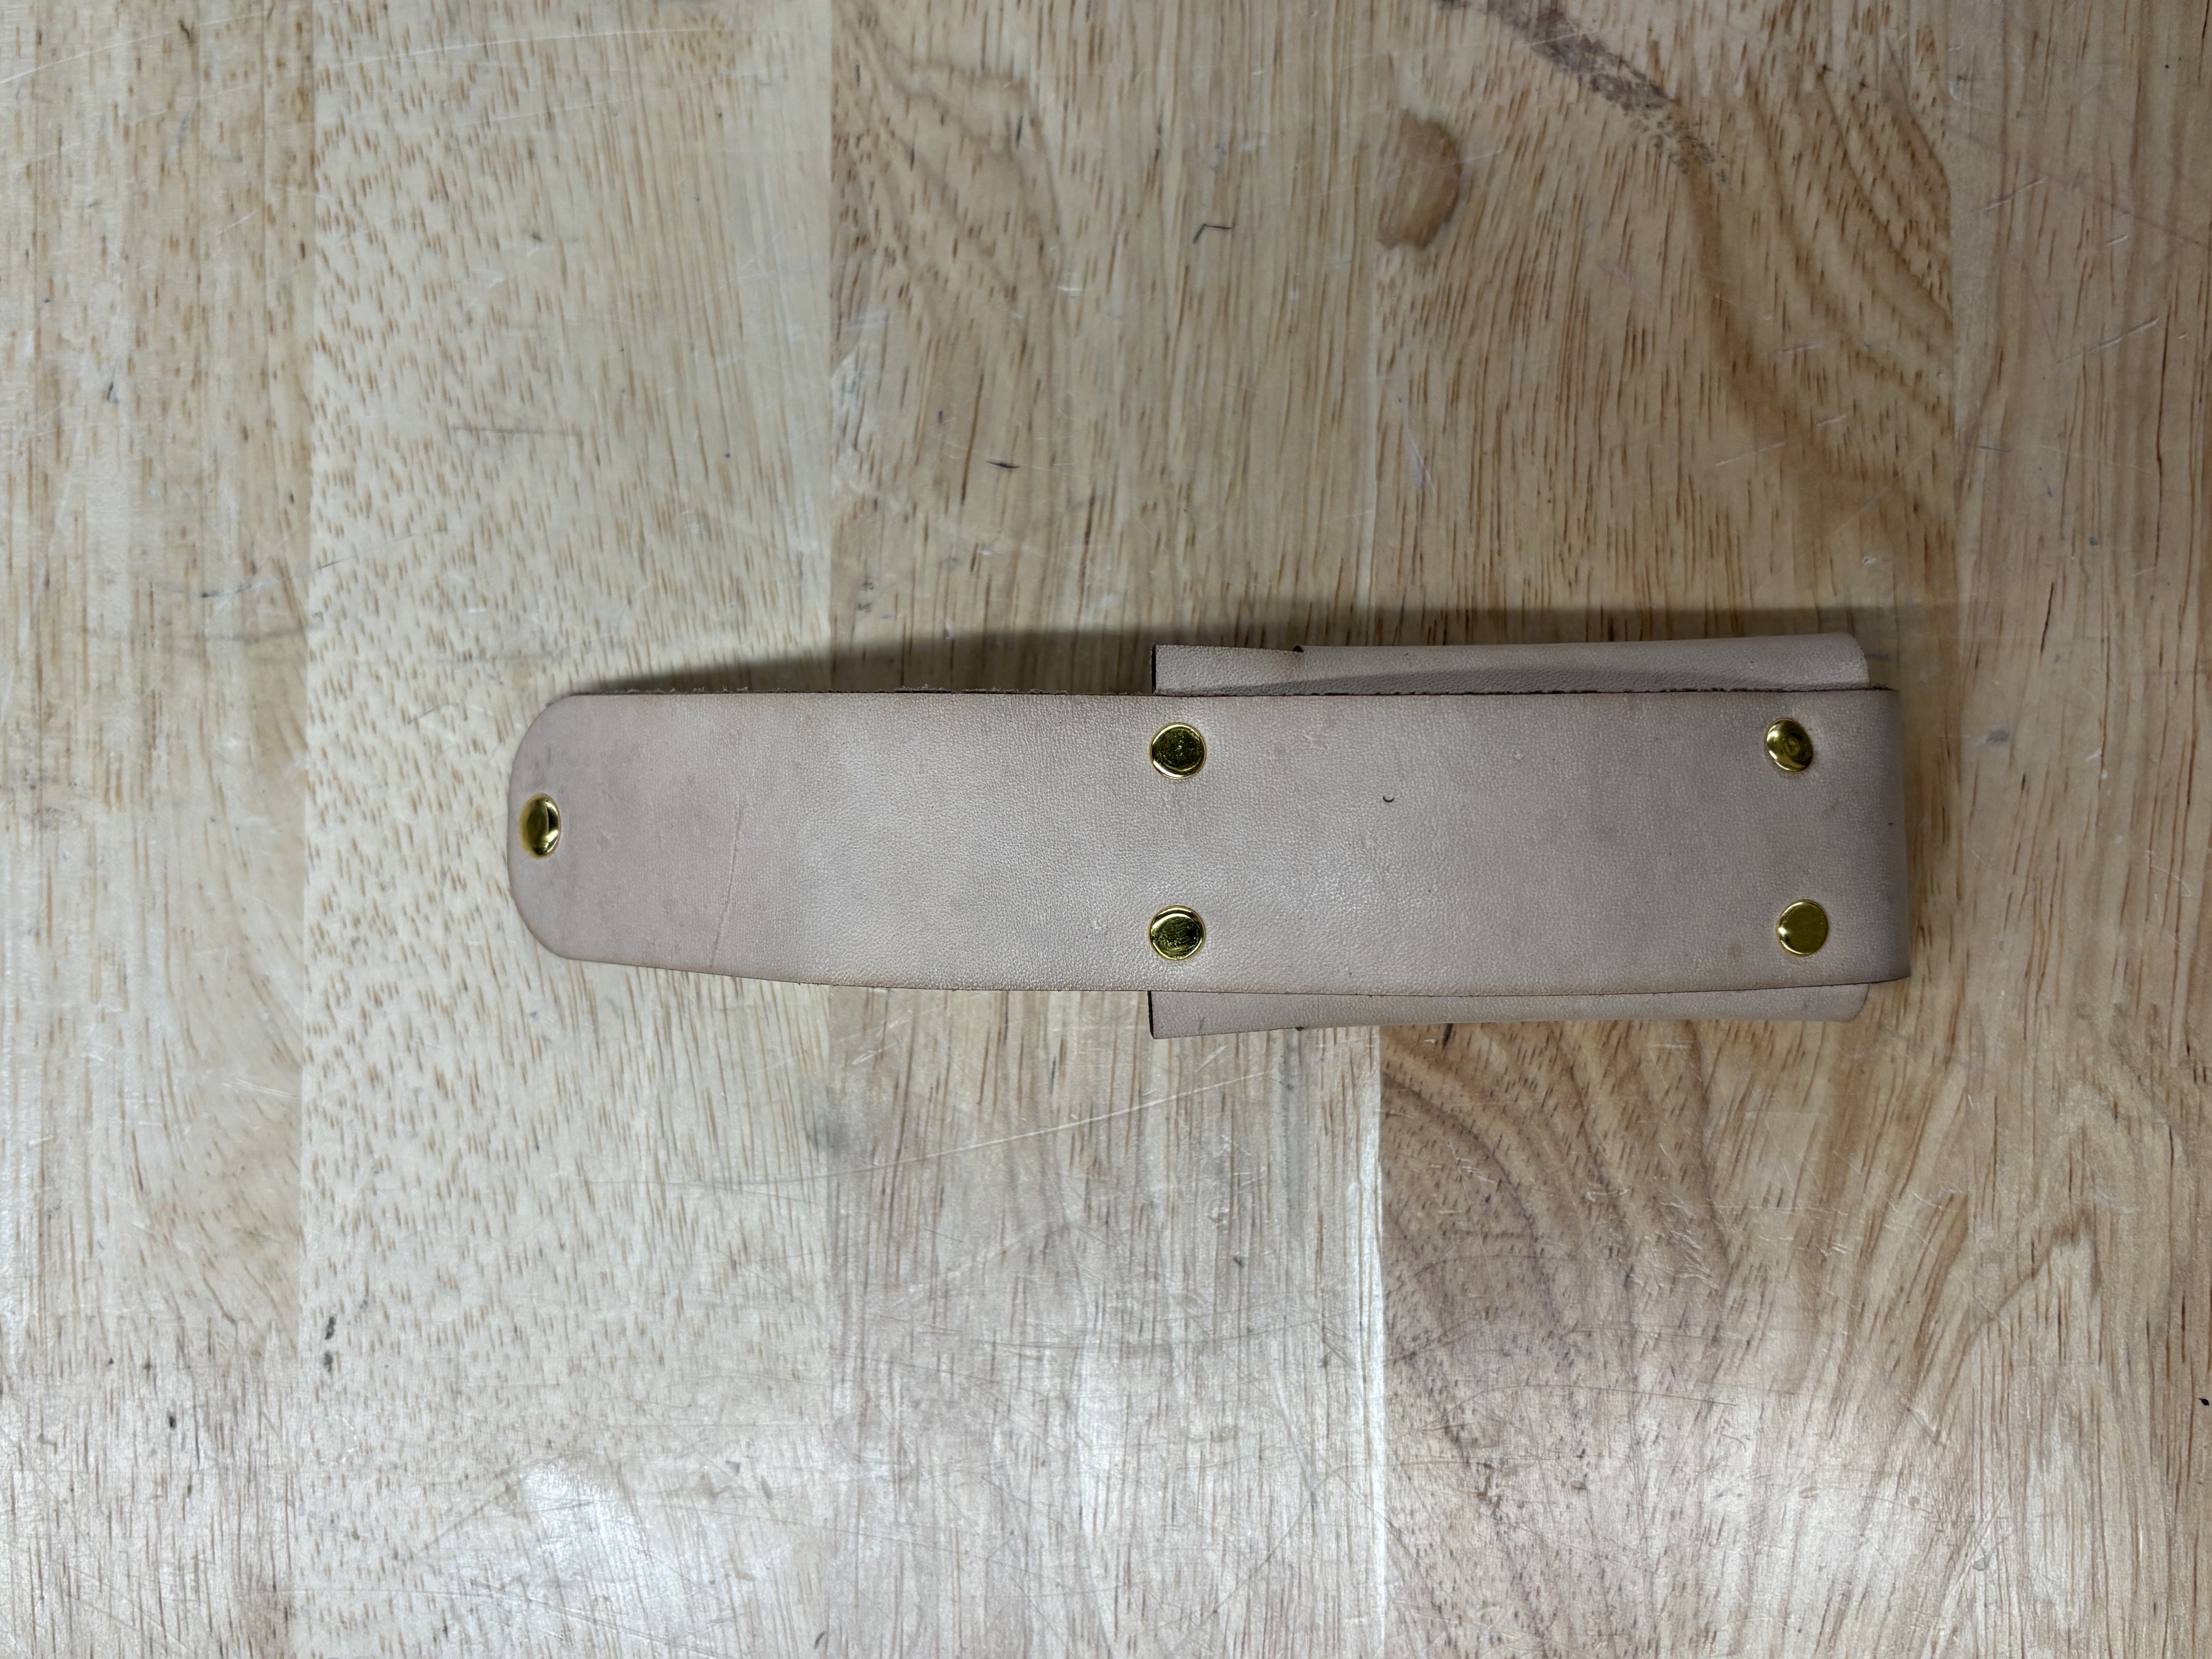
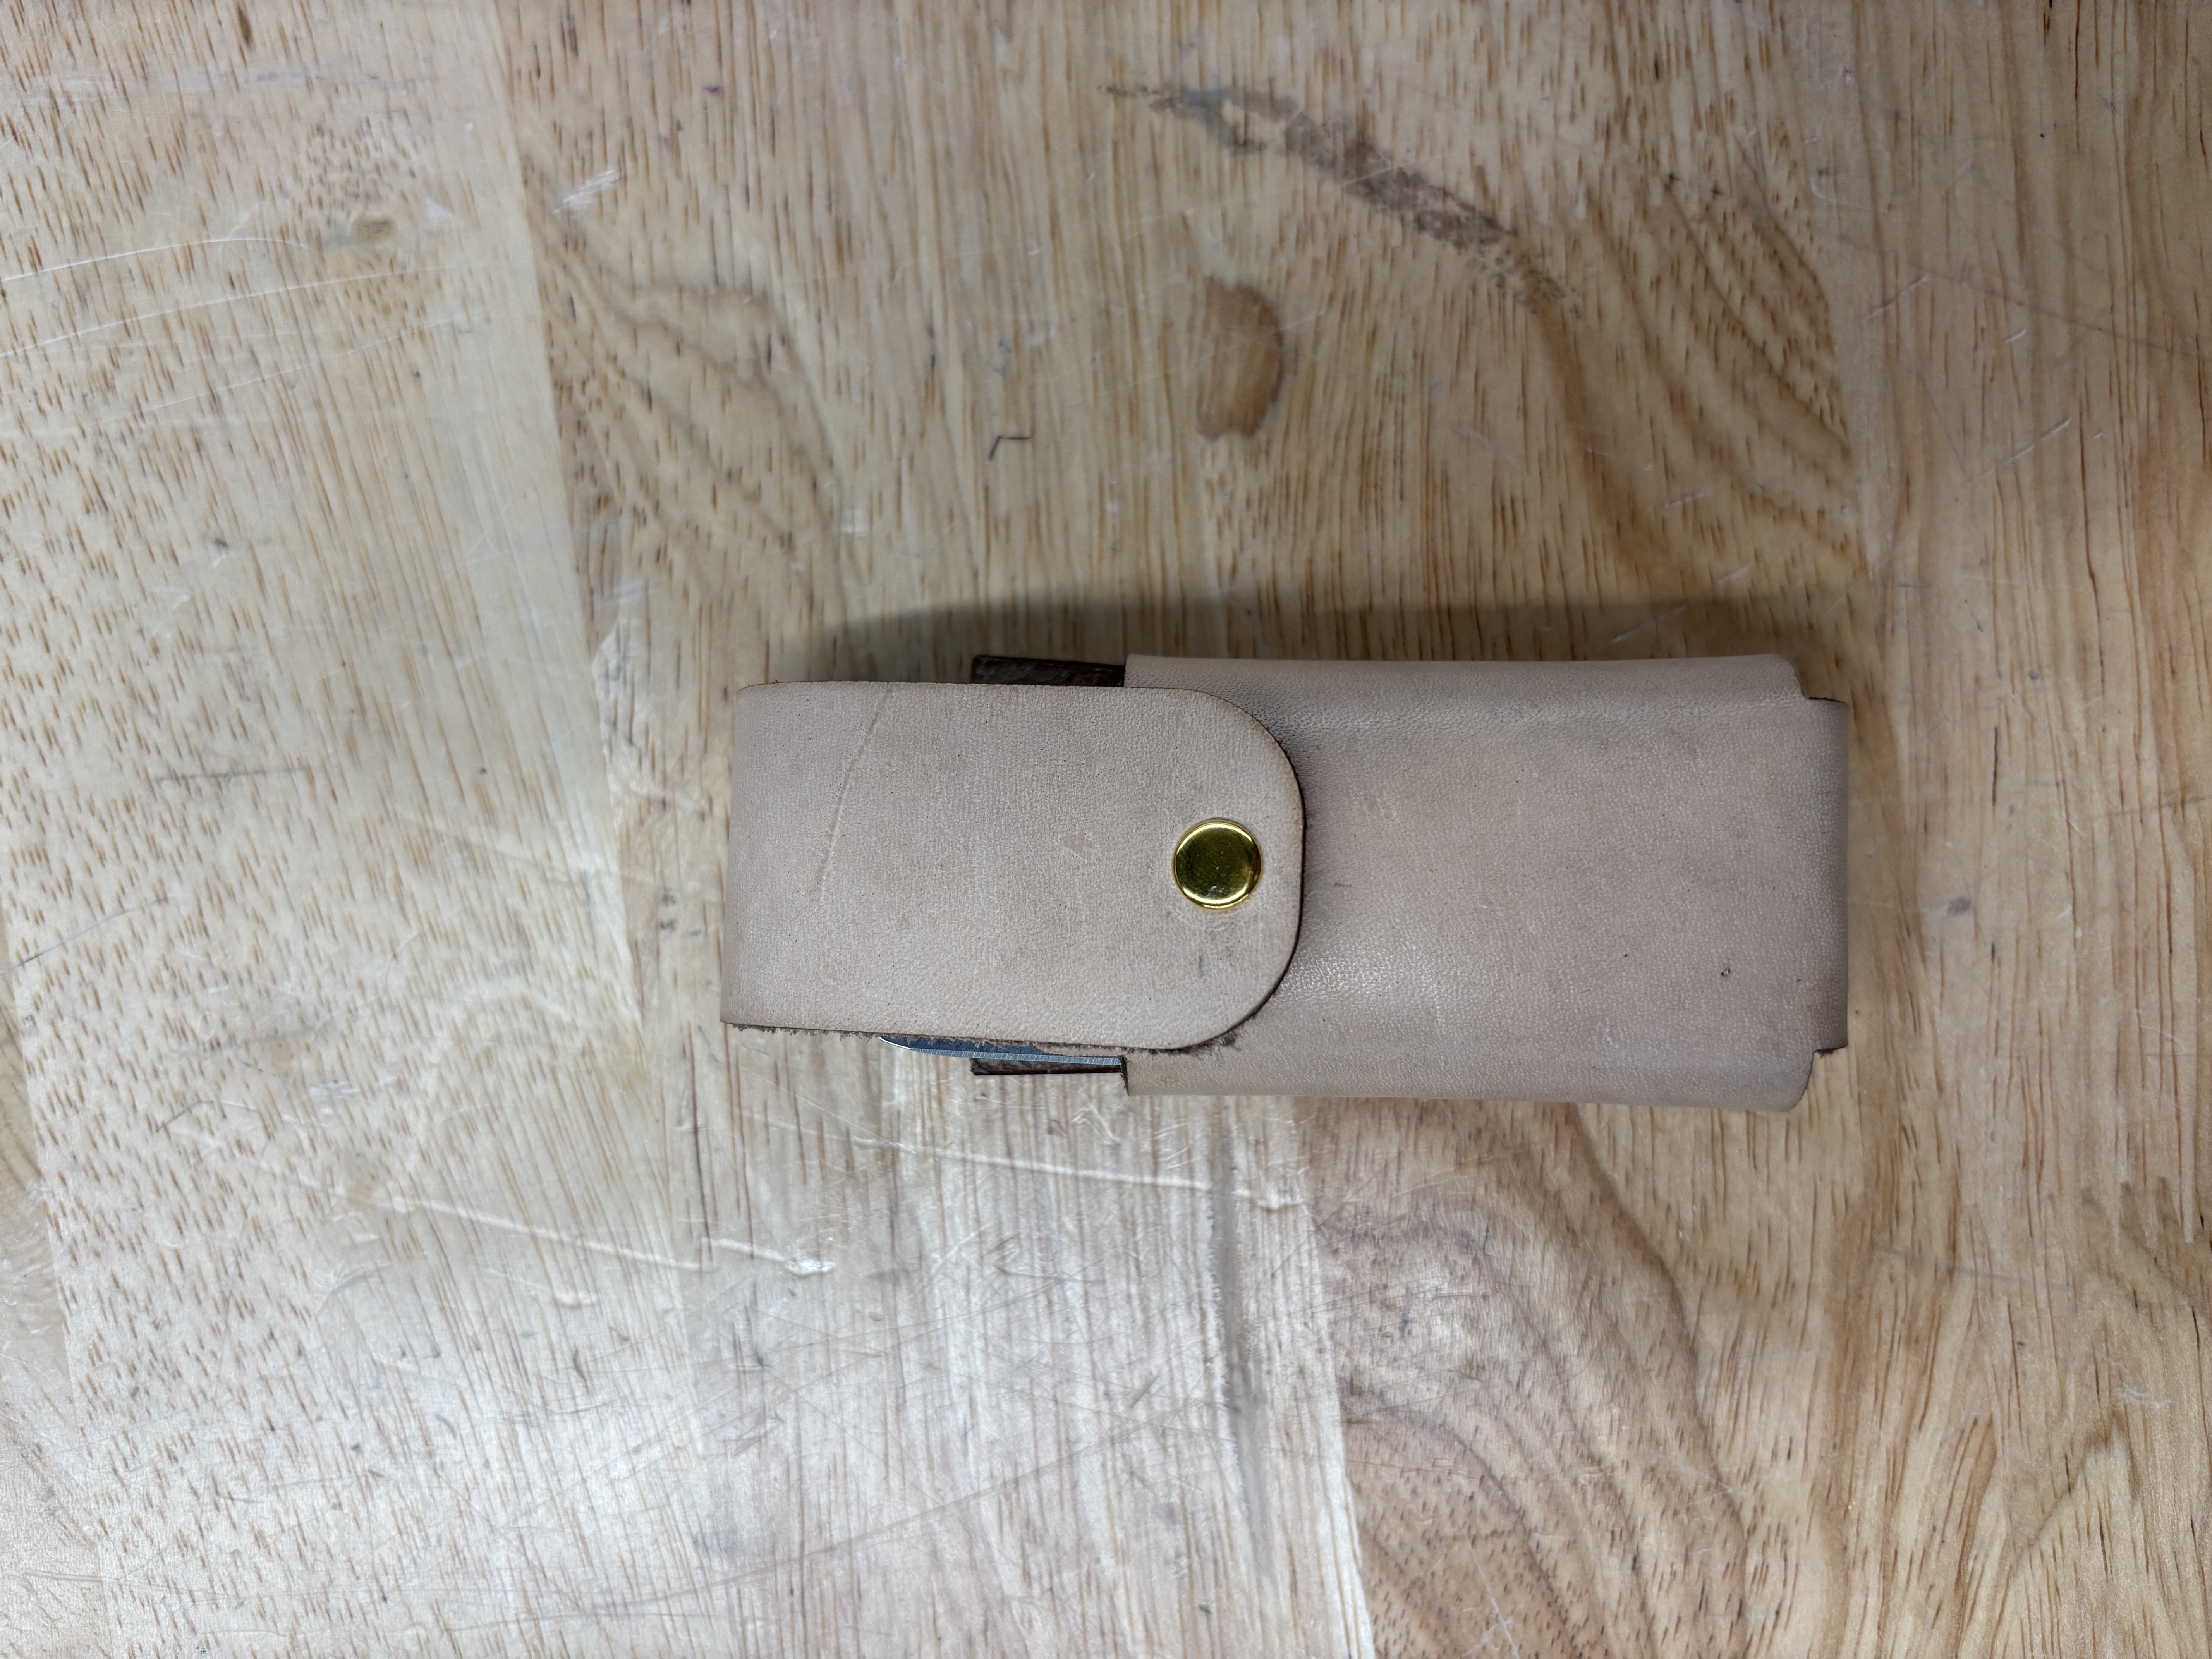
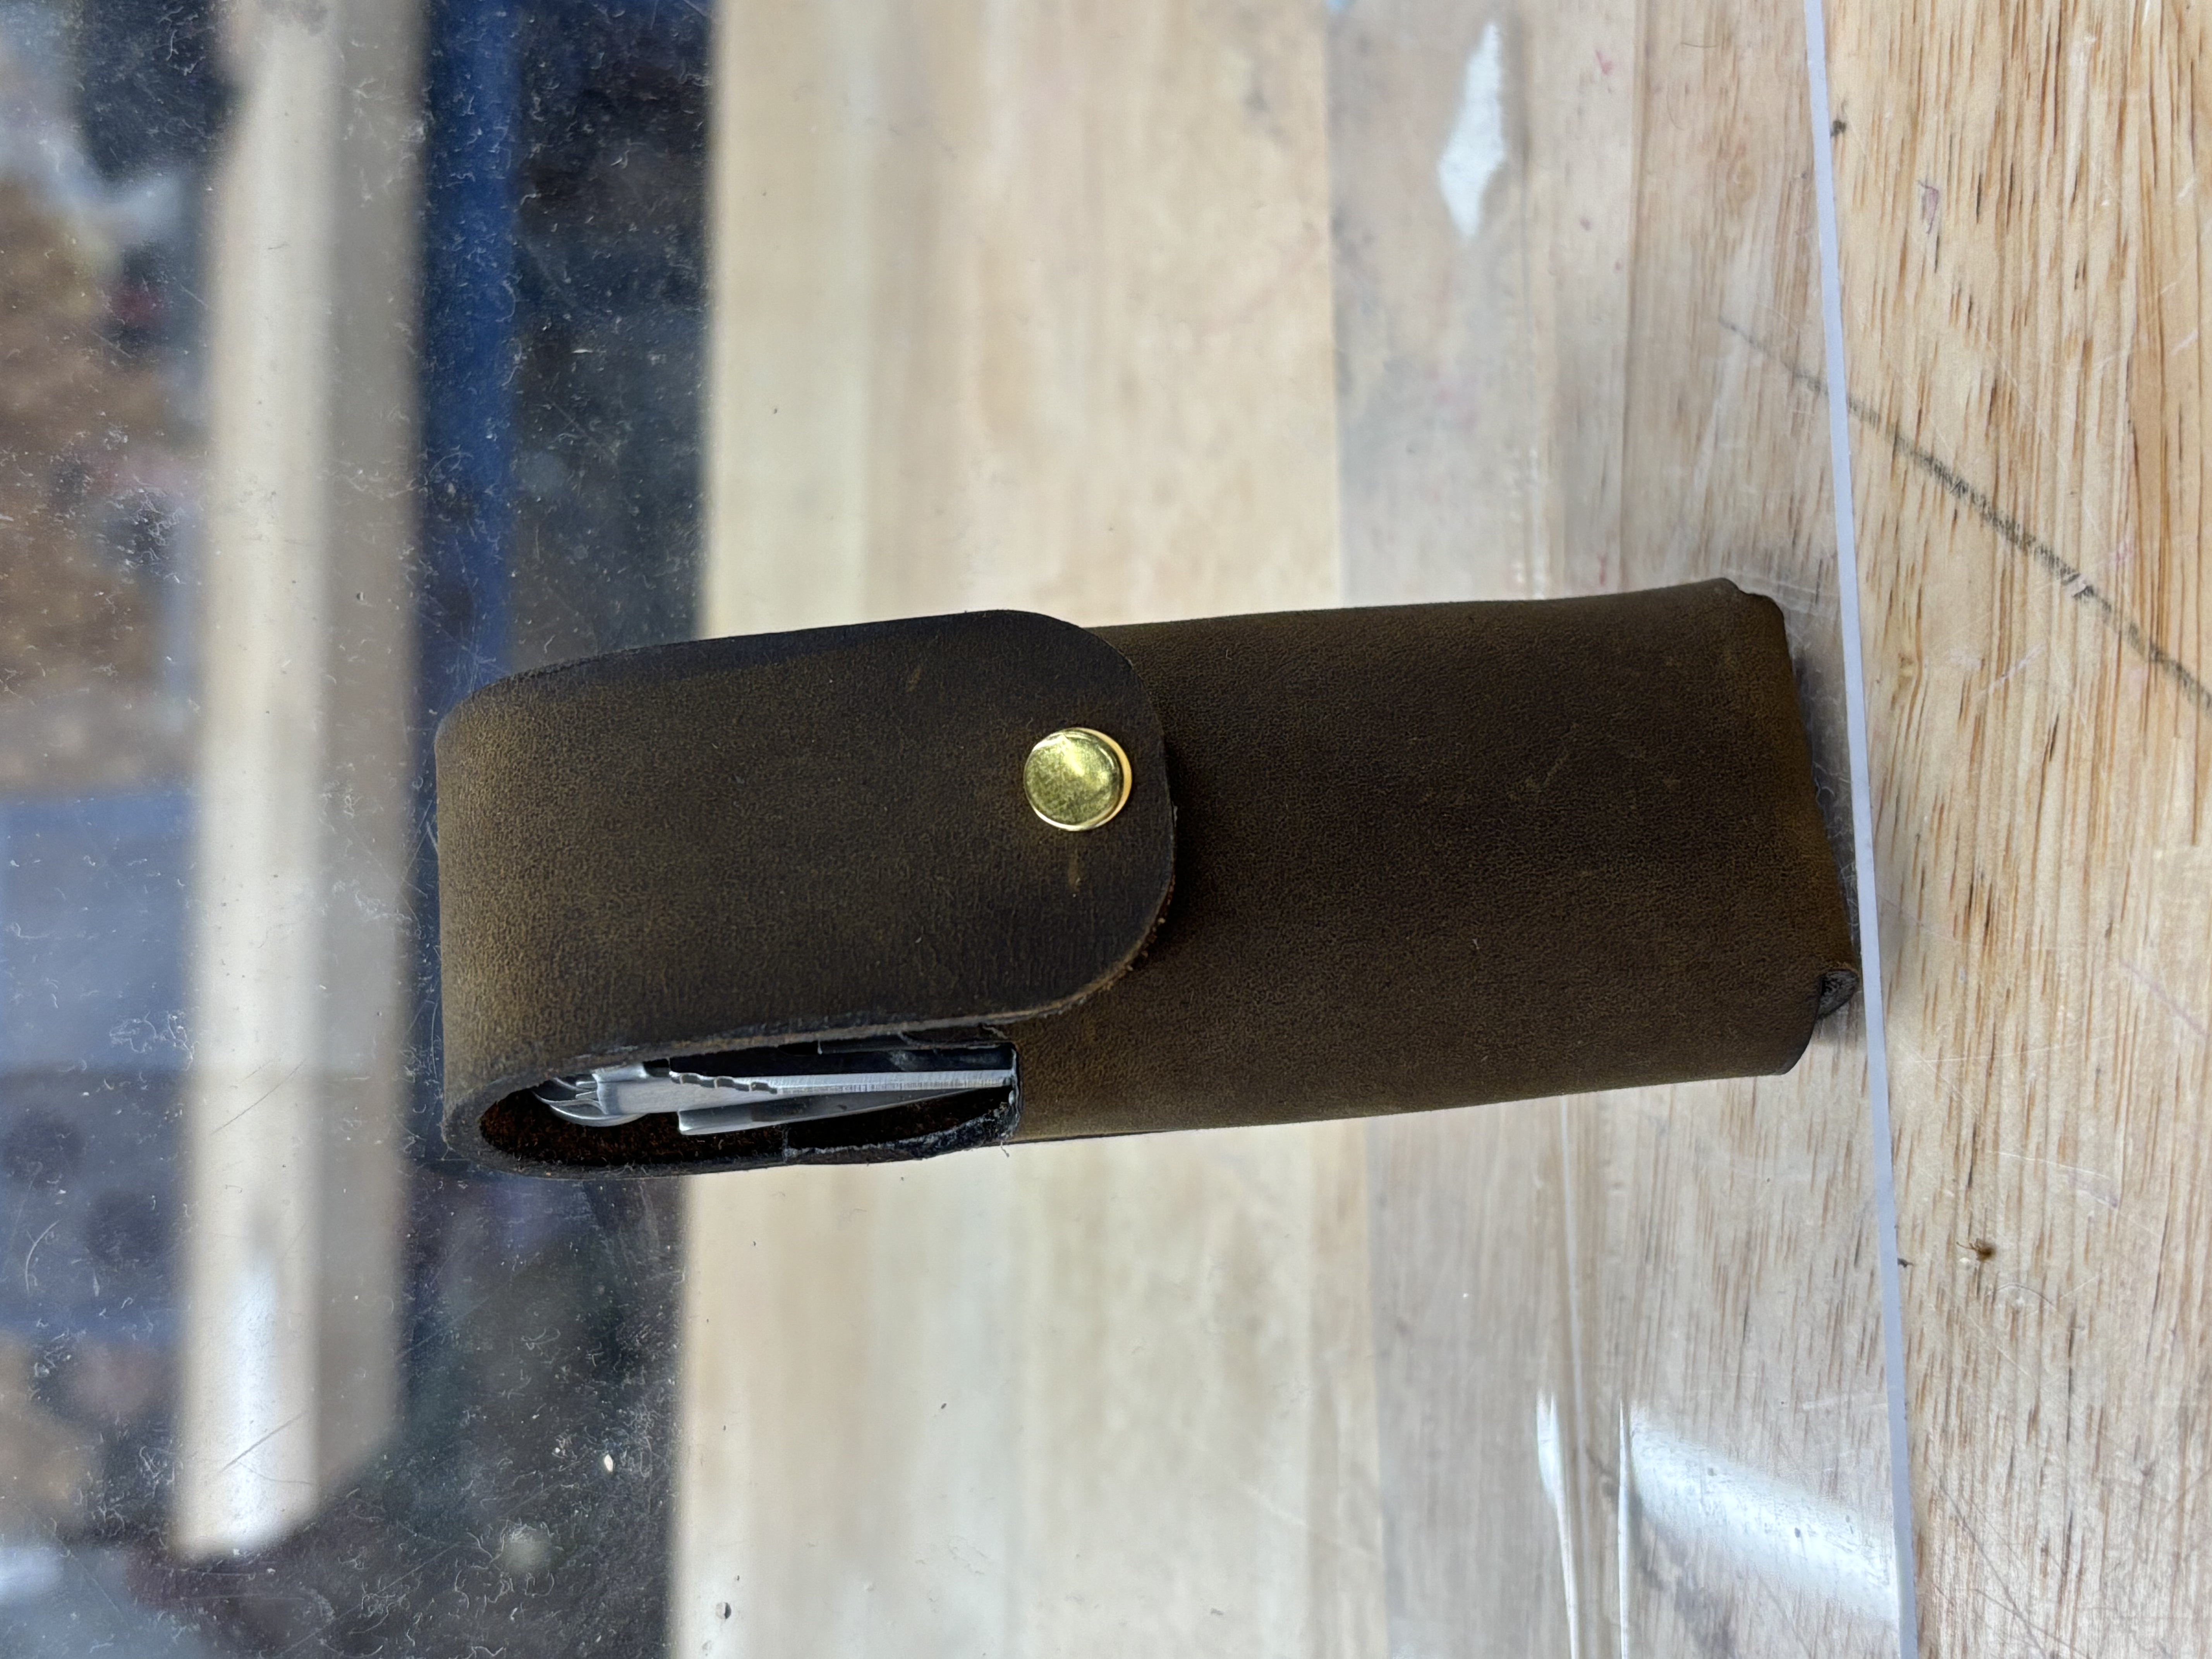
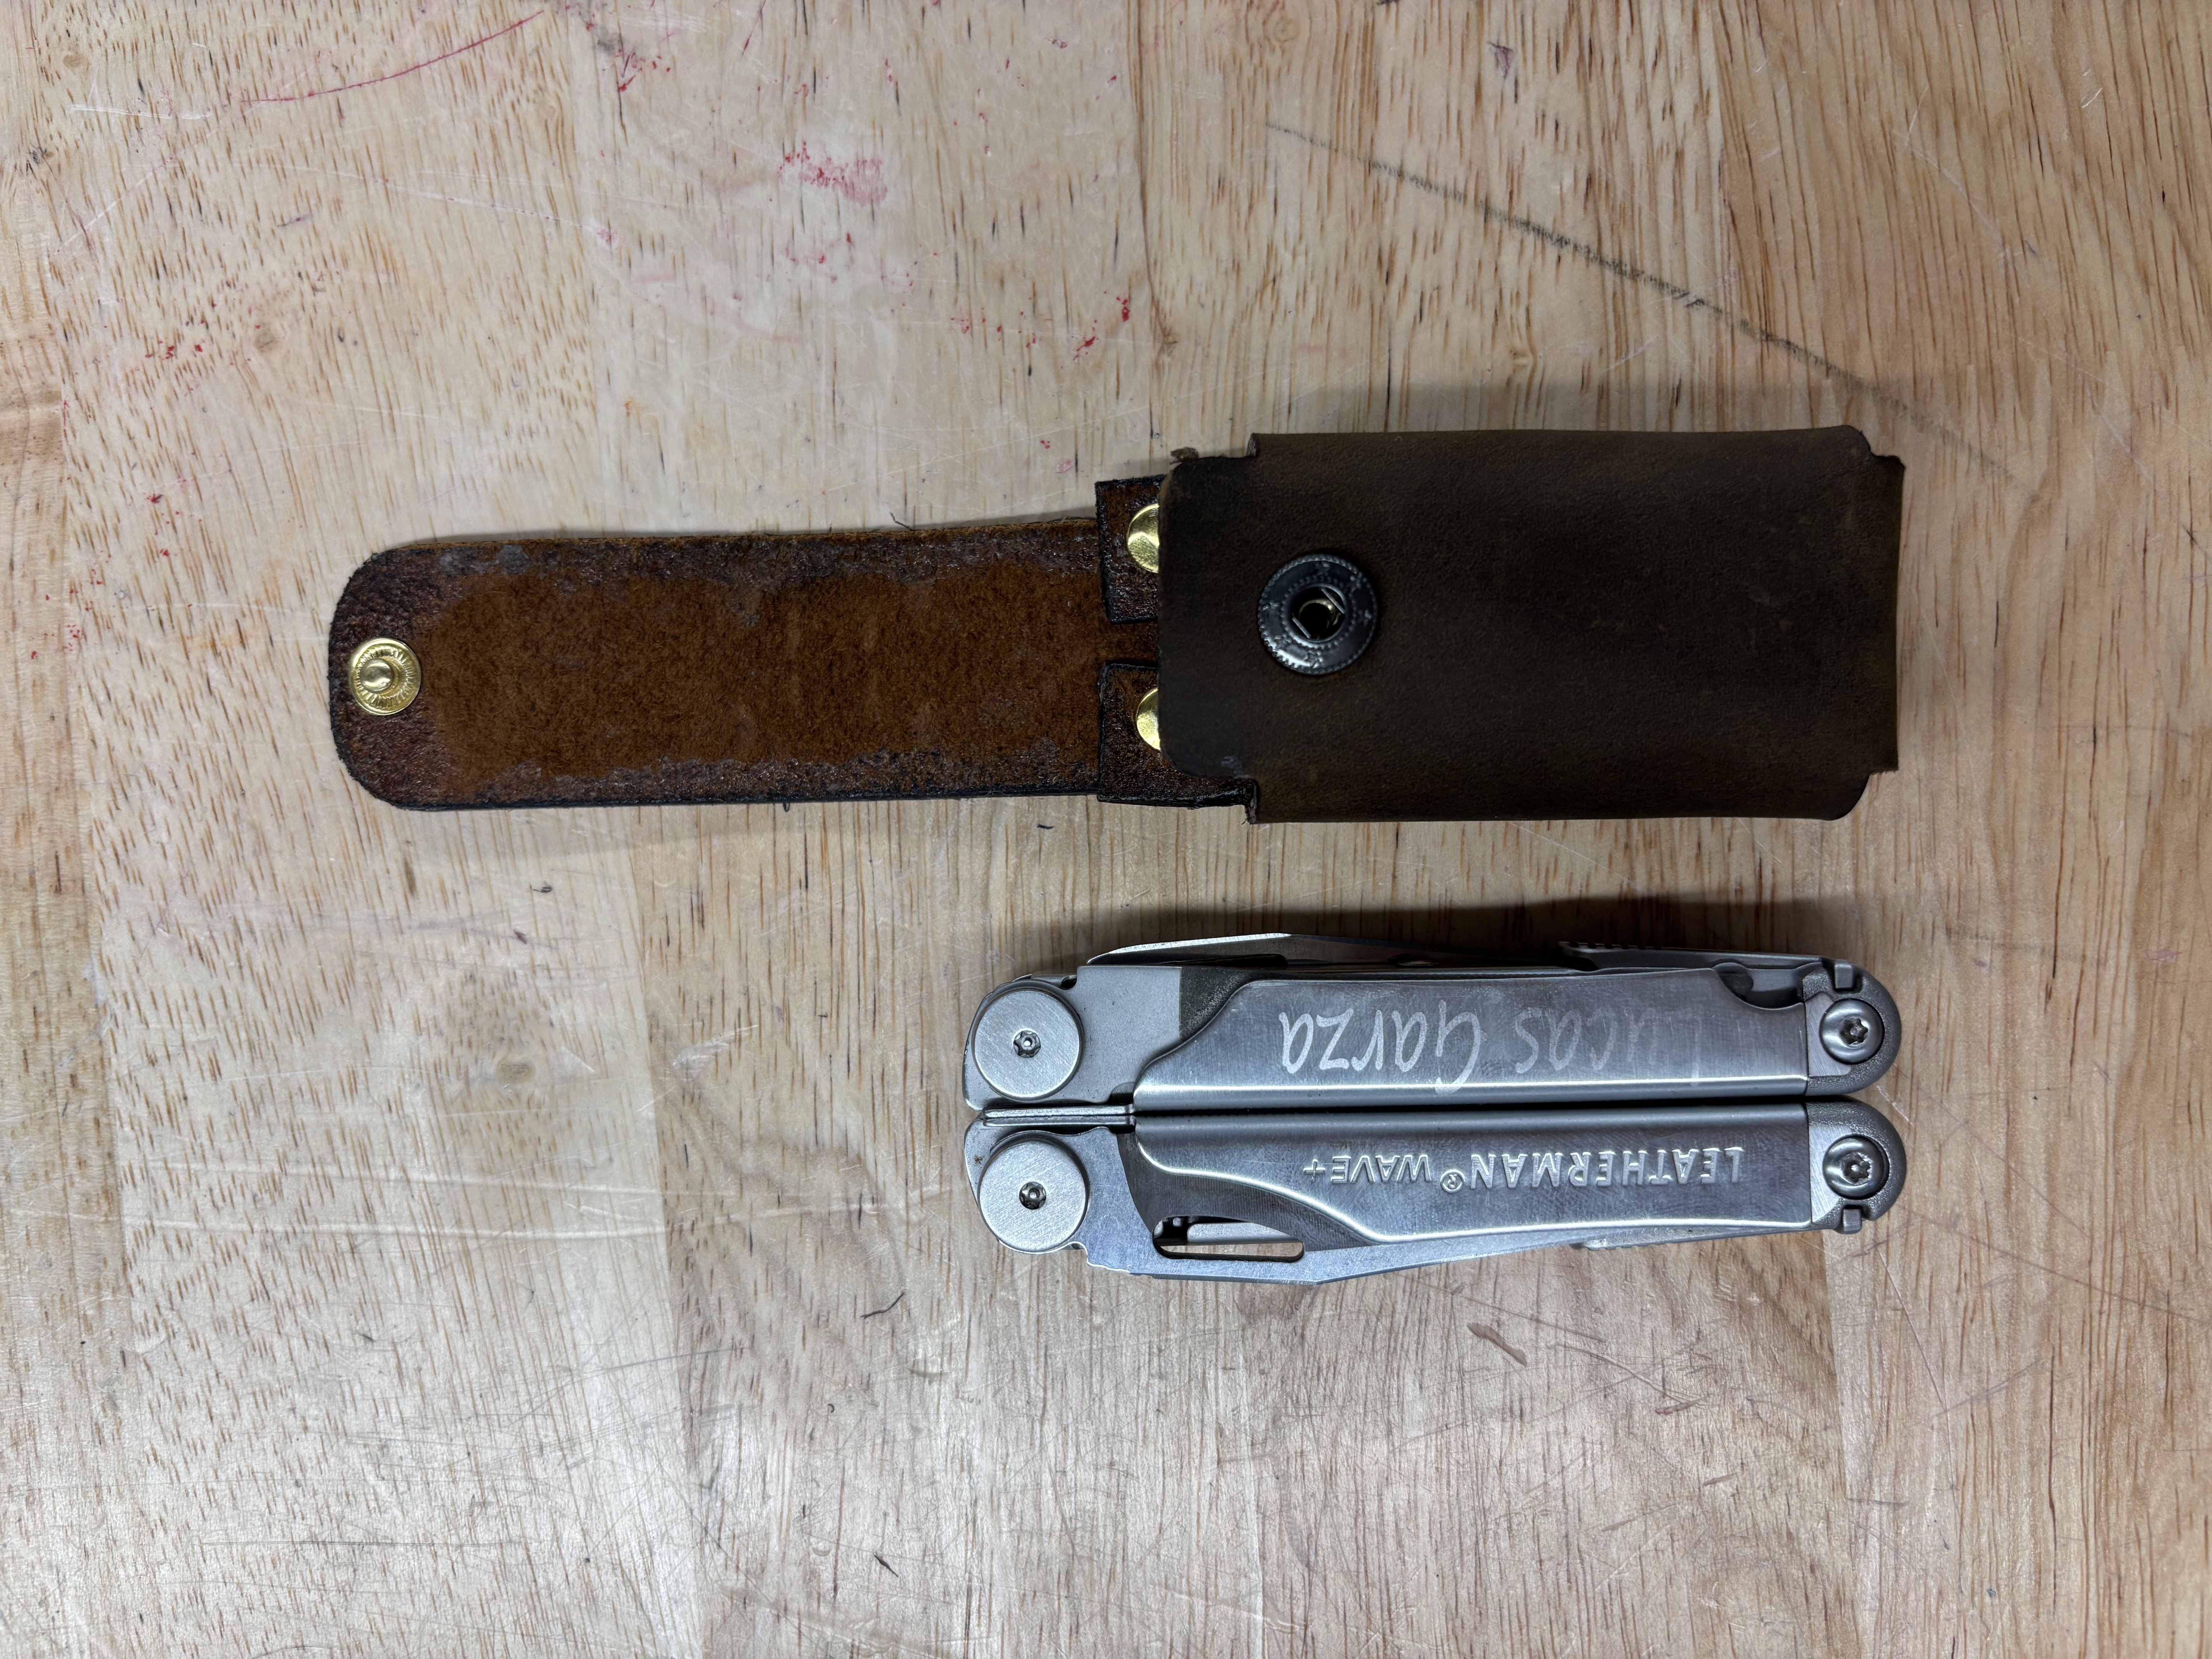
This is V1 of the sheath. Installing the rivets proved to be a challenge since they had to be hammered from inside the sheath, making the process tricky. After lots of practice, I was able to assemble it successfully, creating a sheath that securely held my Leatherman Wave+ just as I had envisioned.
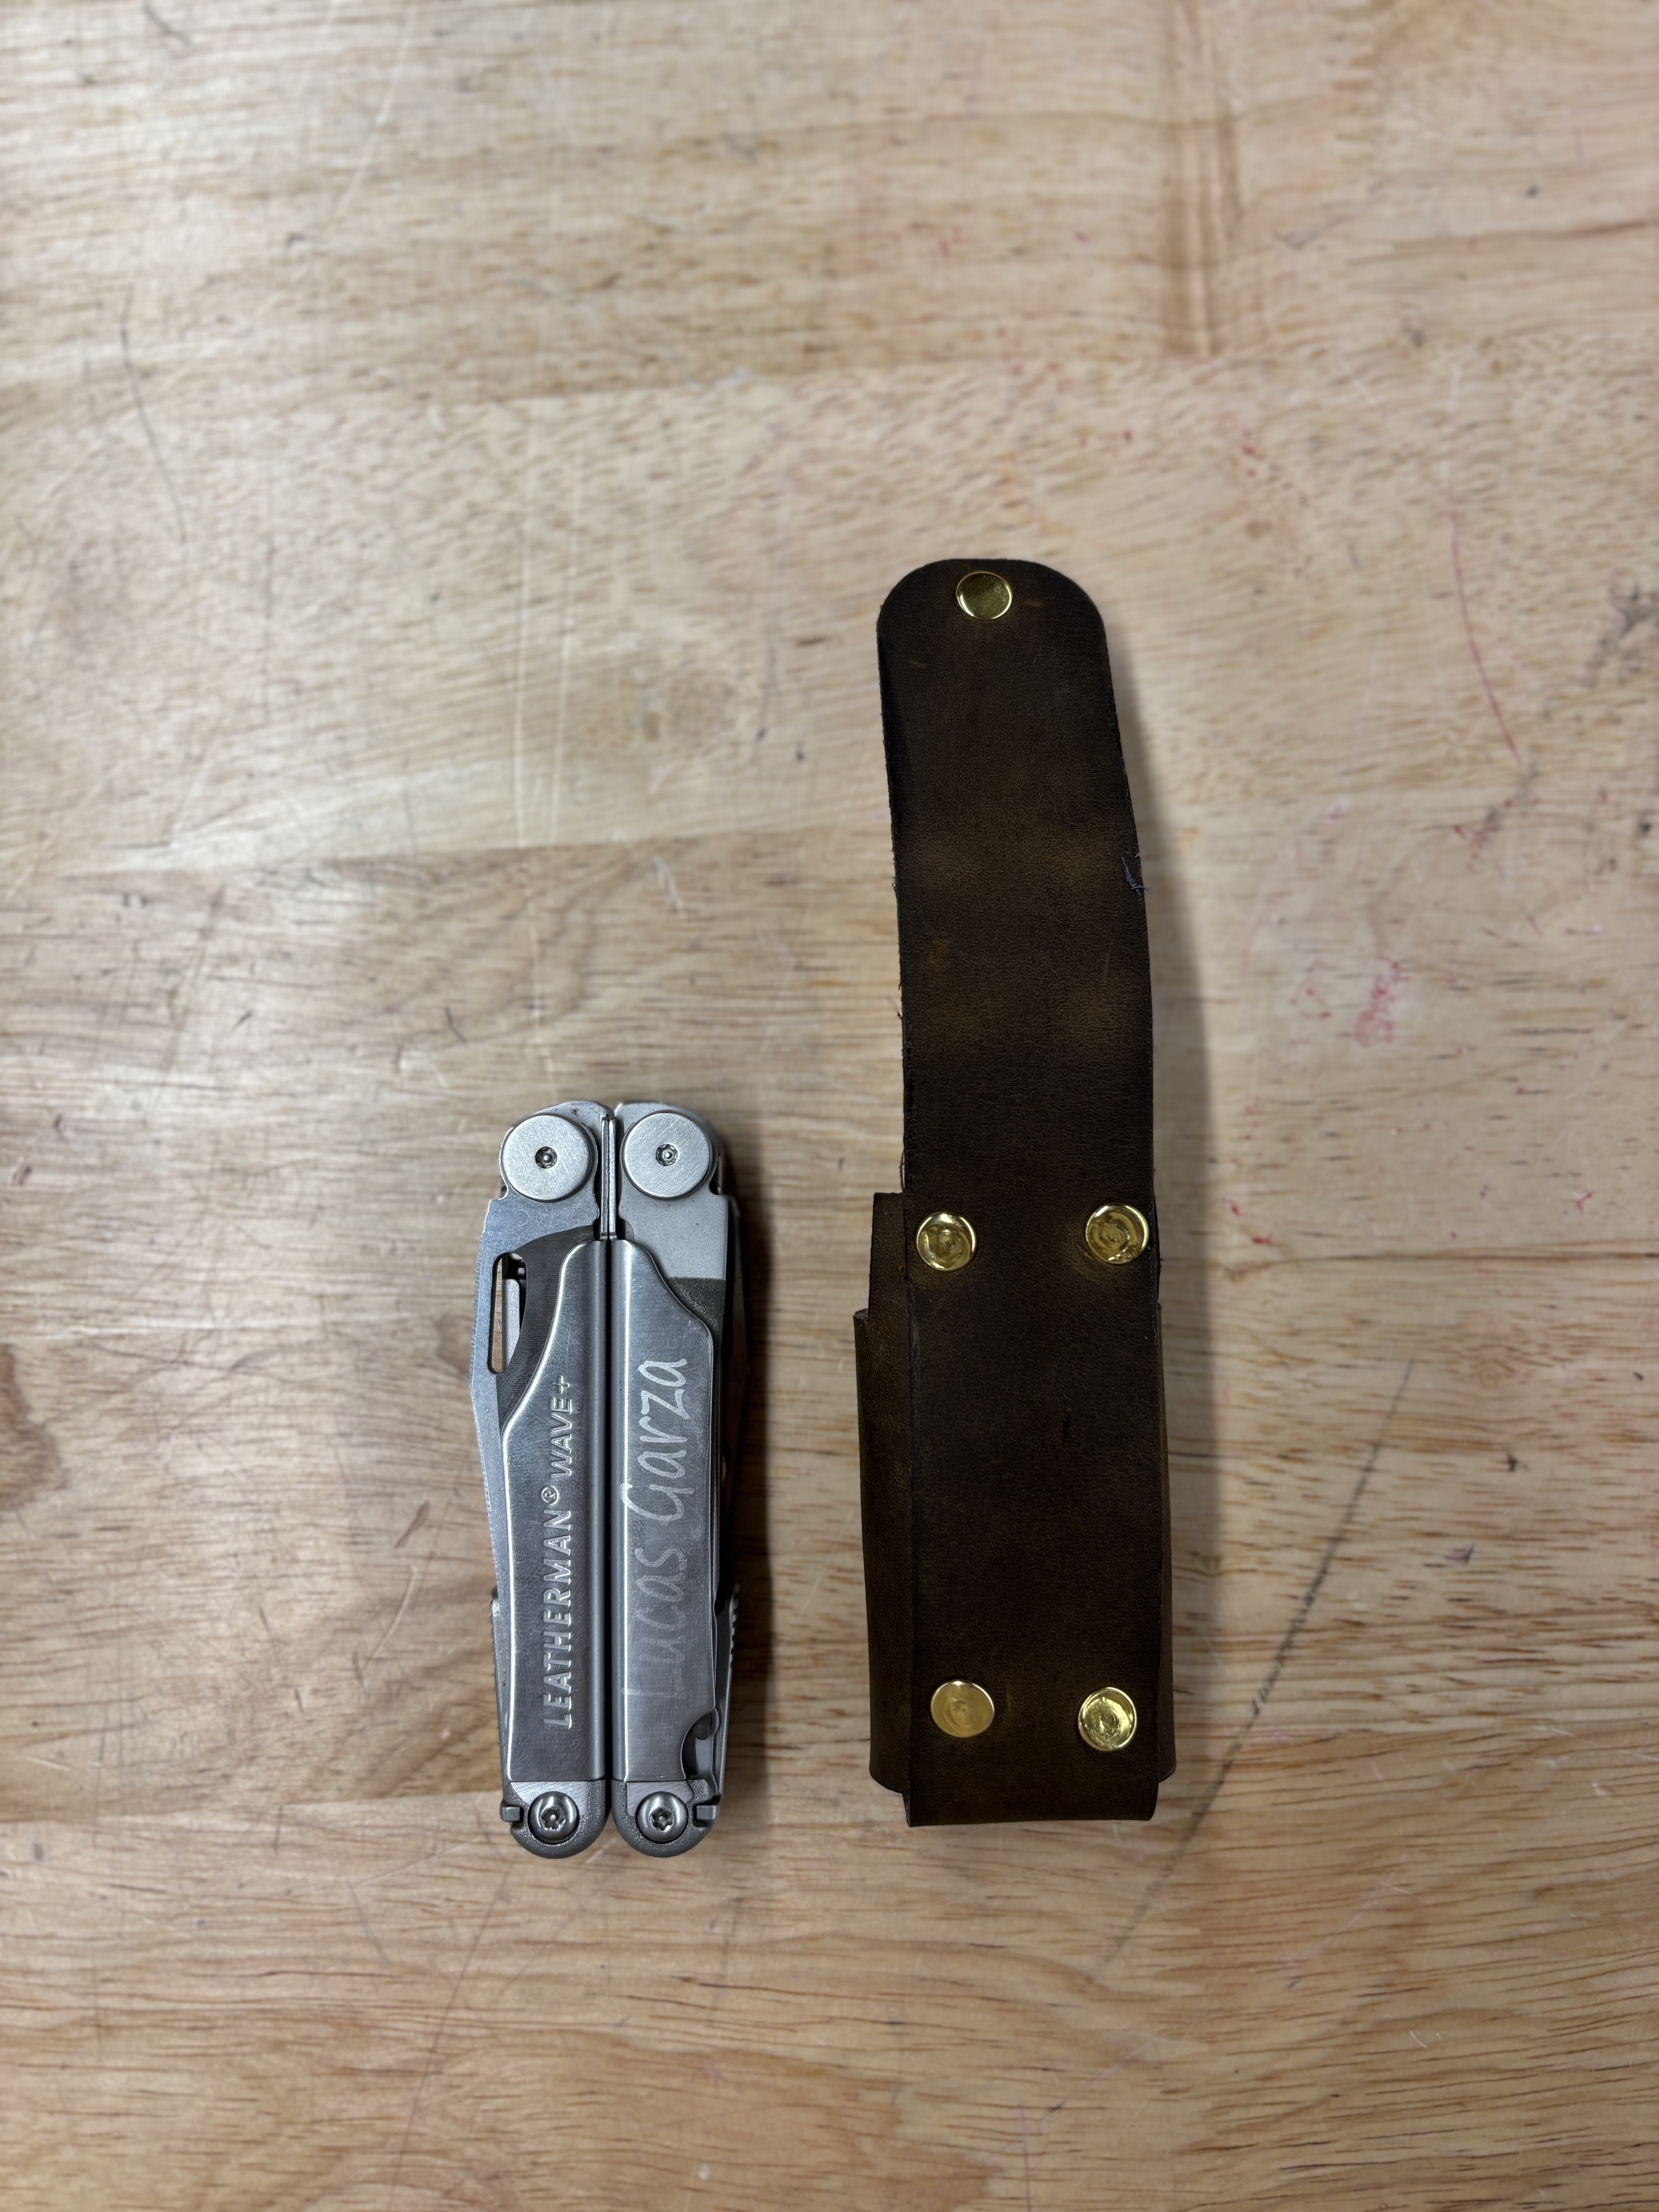
With the prototype complete, the next step was crafting the final version using darker brown leather to achieve the desired look and finish.
I’ve worked with leather before, but never to the extent of creating something as detailed as this sheath. To achieve a polished finish, I deburred, beveled, sanded, sealed, and buffed the leather, refining each step to bring the final piece to life.
Lastly, I’ve been experimenting with adding a personal logo to all my work. The design incorporates the letters L and G, representing my first and last name. It was created in Inkscape, making it easy to apply to different projects.
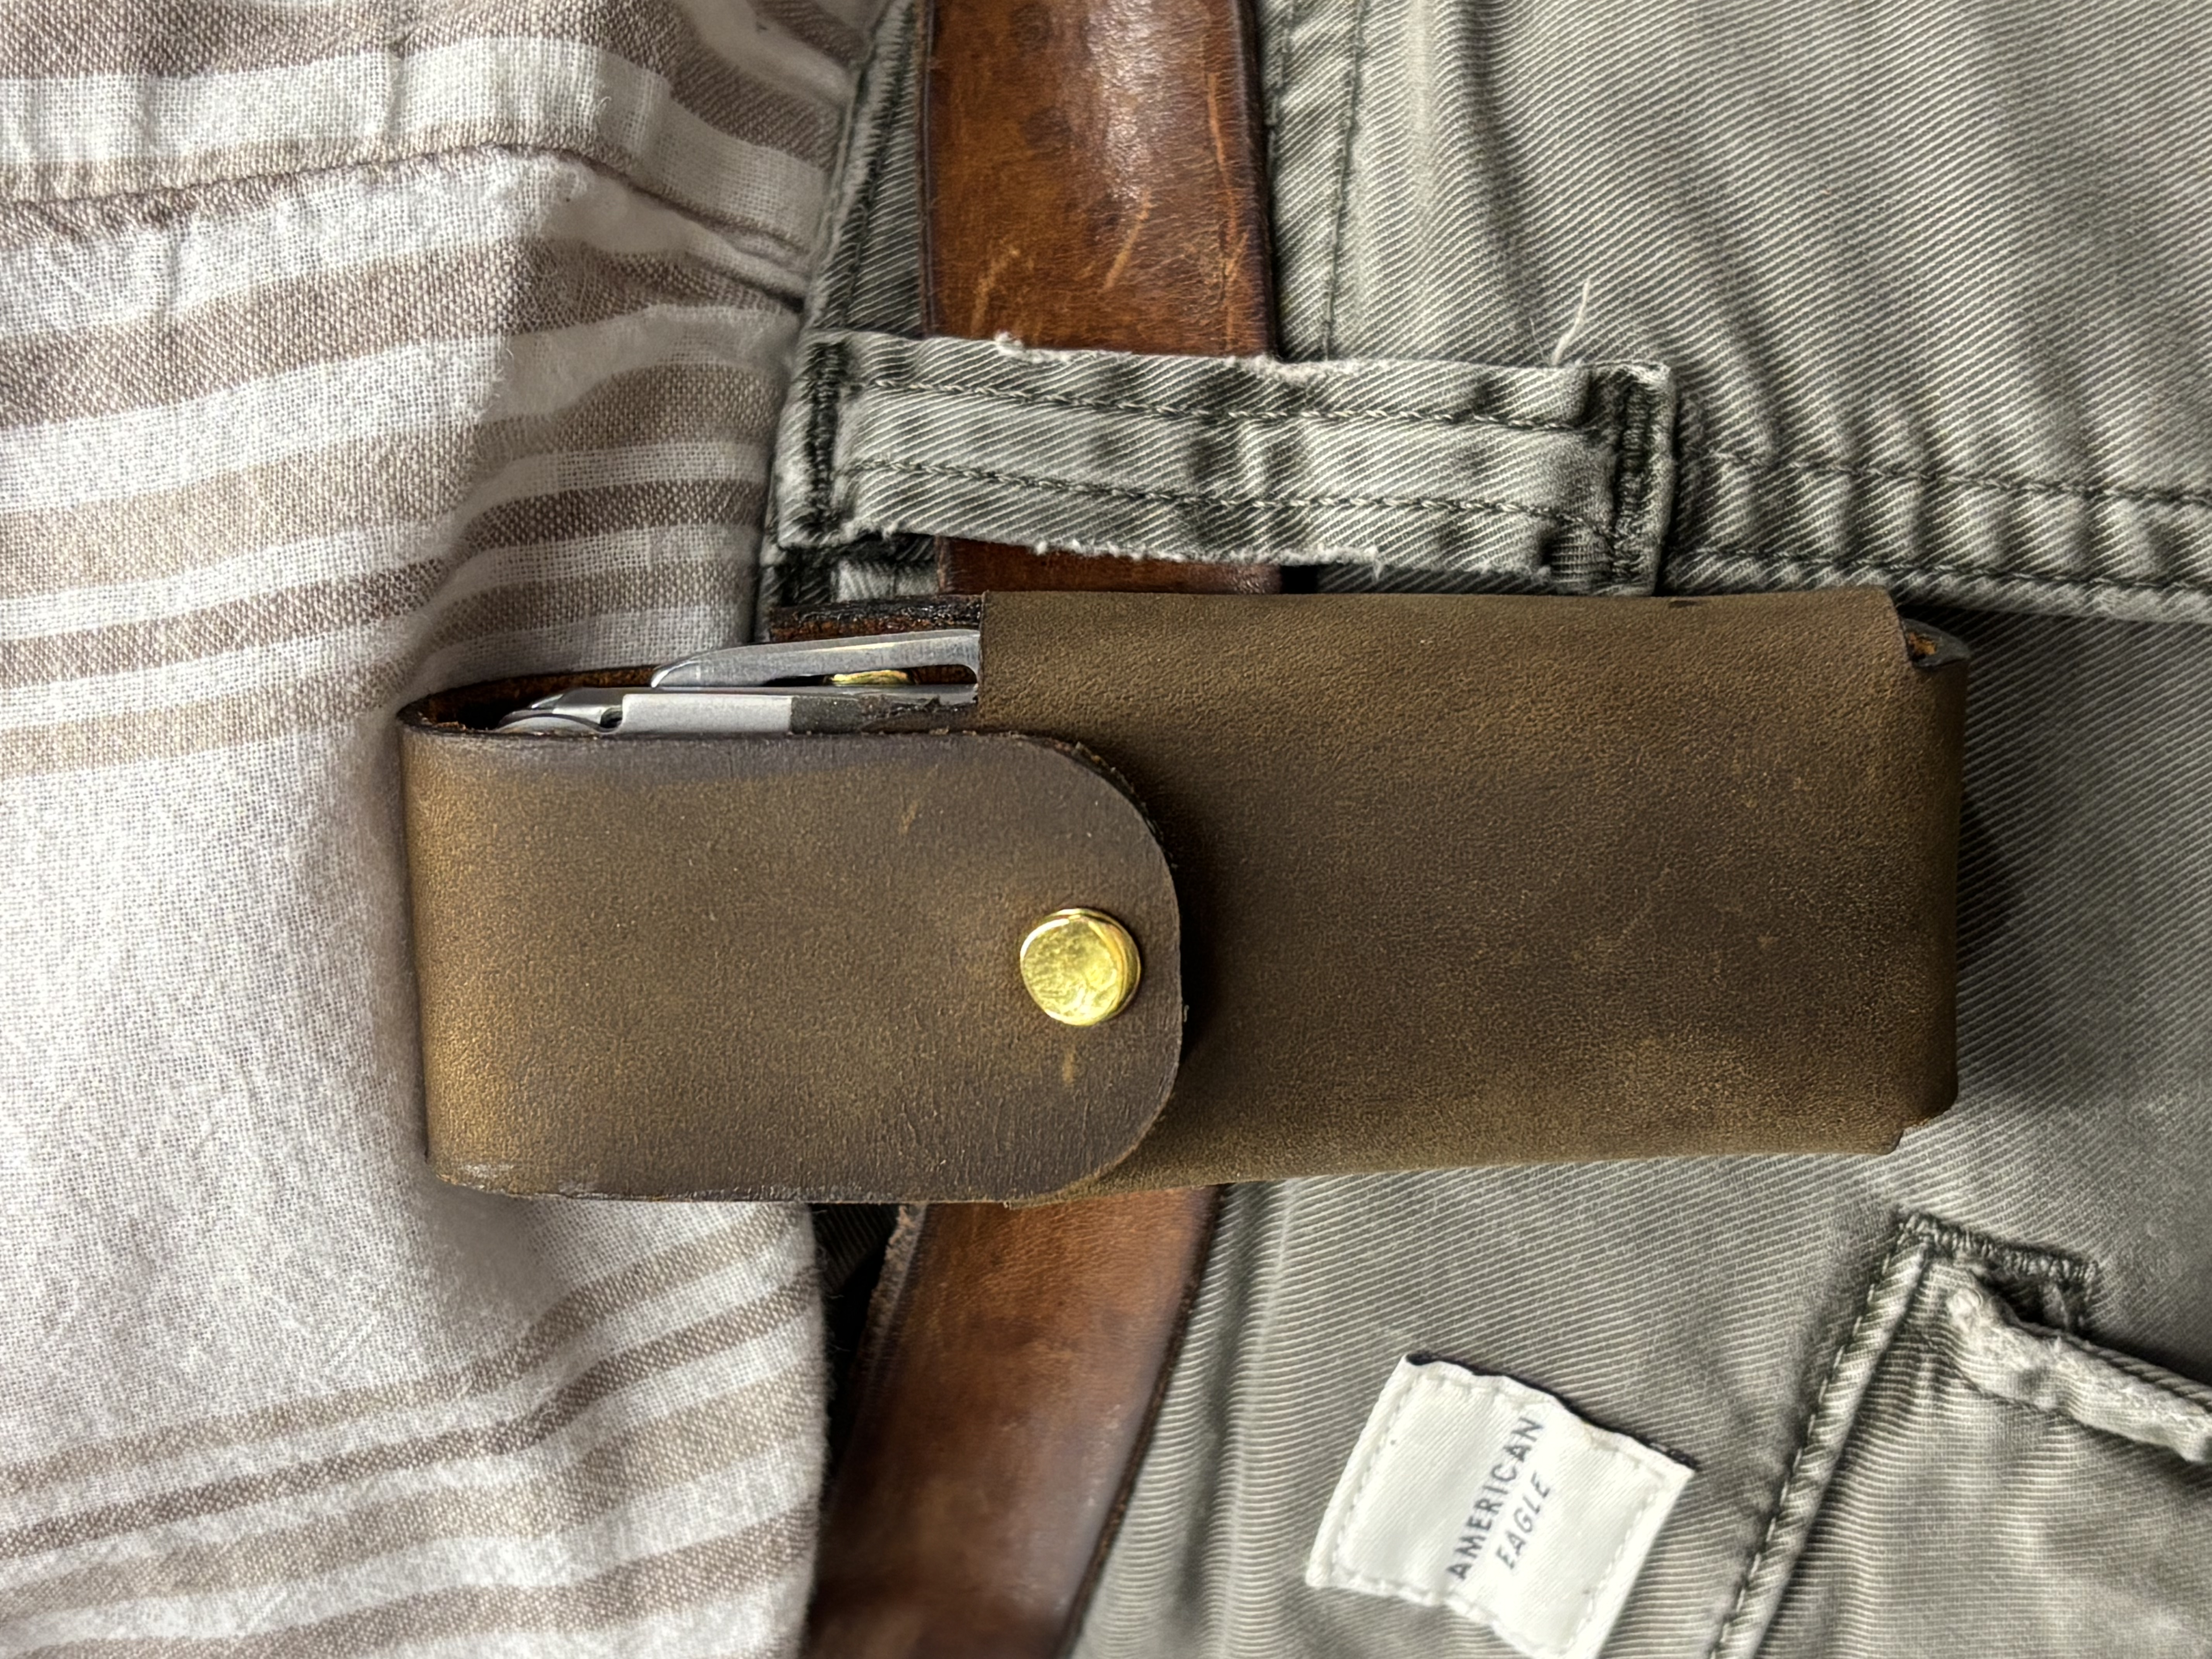
Overall, this was a practical and functional project that not only enhanced my leatherworking skills but also provided a durable sheath for my multi-tool, making it easier to use and carry every day.

I first fell in love with Star Wars at a young age when I watched Star Wars: The Clone Wars for the first time. My dad used to call me "Luke" because of the Skywalkers, and that connection to the galaxy far, far away has stuck with me ever since. I have made a handful of Star Wars-inspired helmets, including Commander Cody, a Scout Trooper, and custom Georgia Tech-styled Mandalorian designs.
Each helmet started as a 3D print, then went through an extensive process of sanding, gluing, priming, and painting to achieve a polished, screen-worthy finish. This project combines fabrication, artistry, and attention to detail, resulting in helmets that feel straight out of The Star Wars universe. Whether for display or cosplay, these builds are a testament to craftsmanship and passion for the saga.
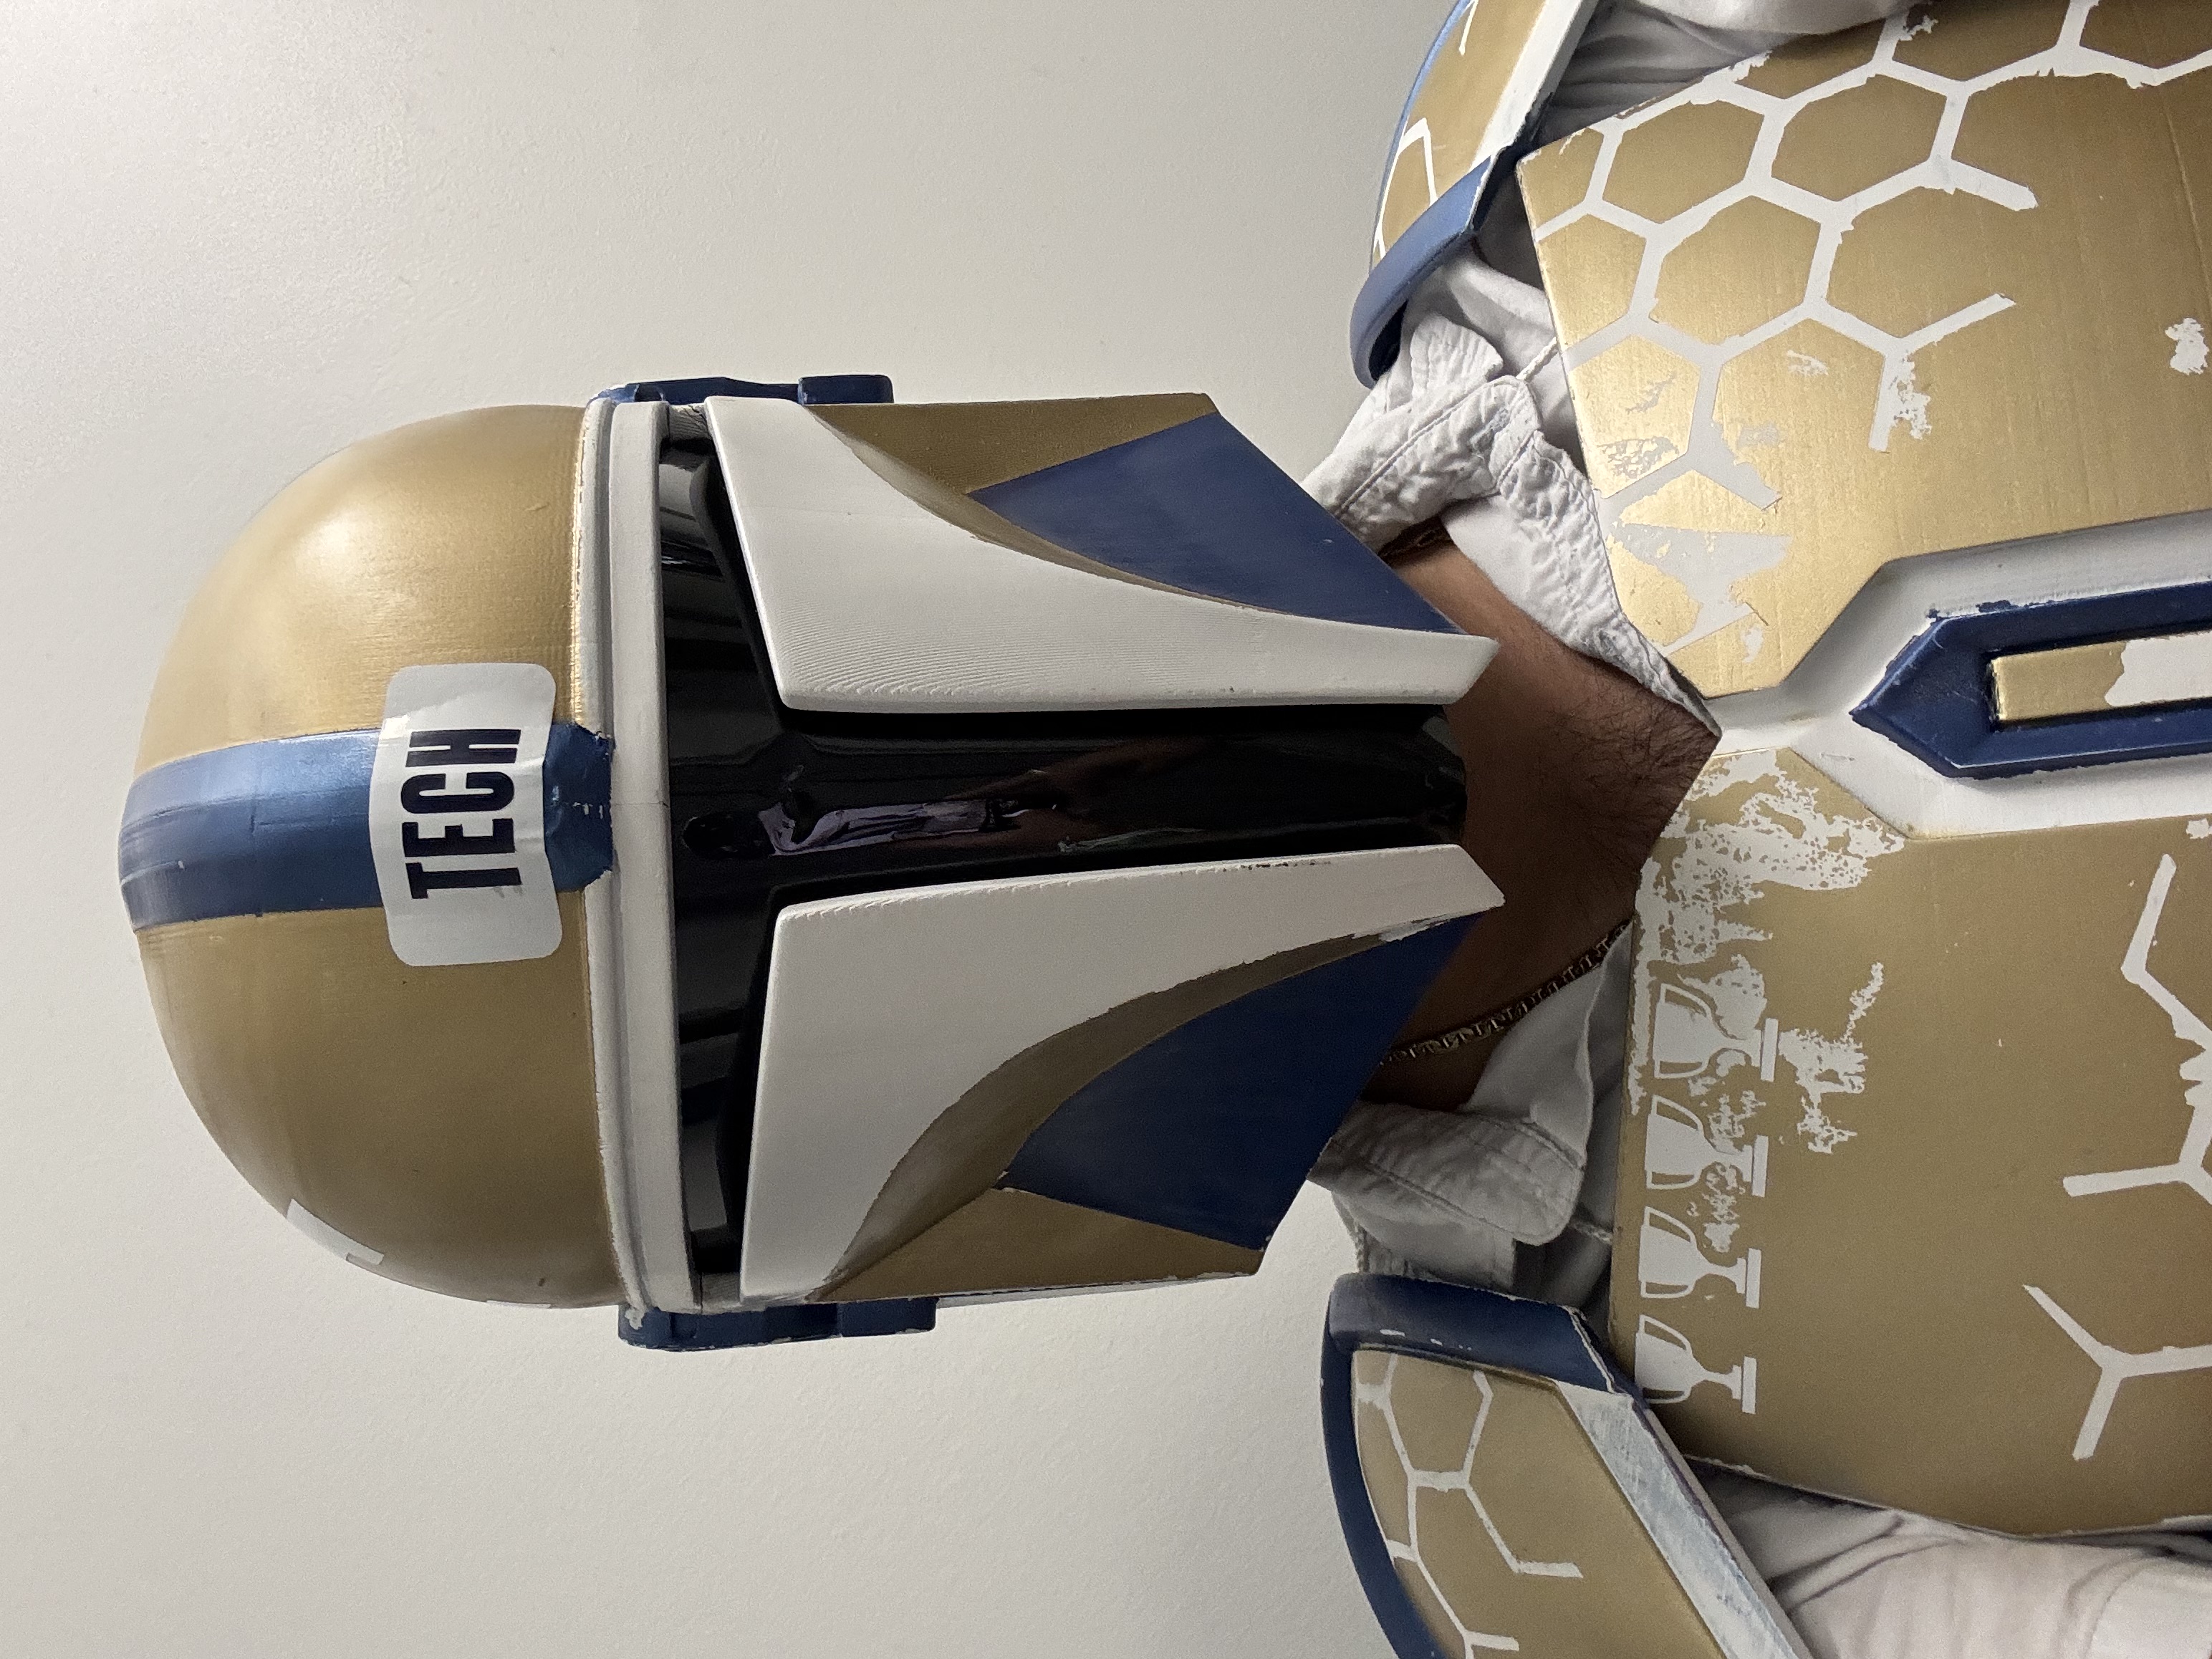
Georgia Tech Mandalorian helmet and armor
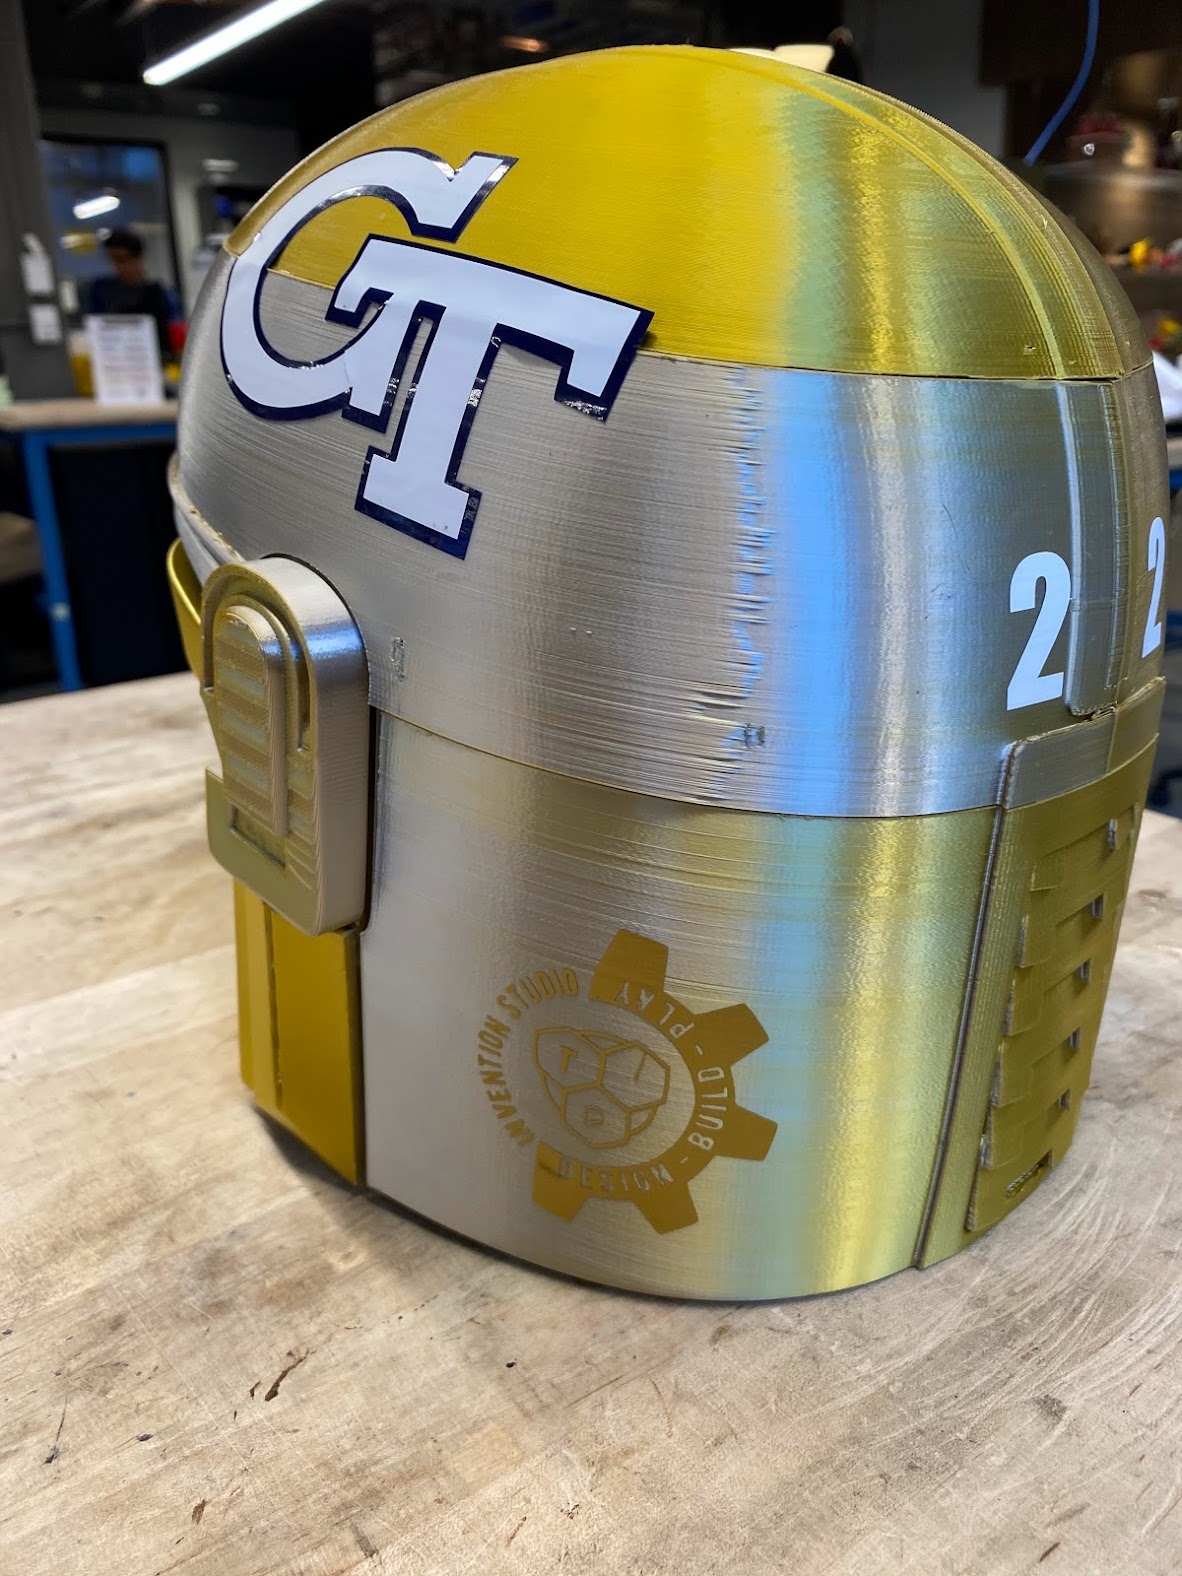
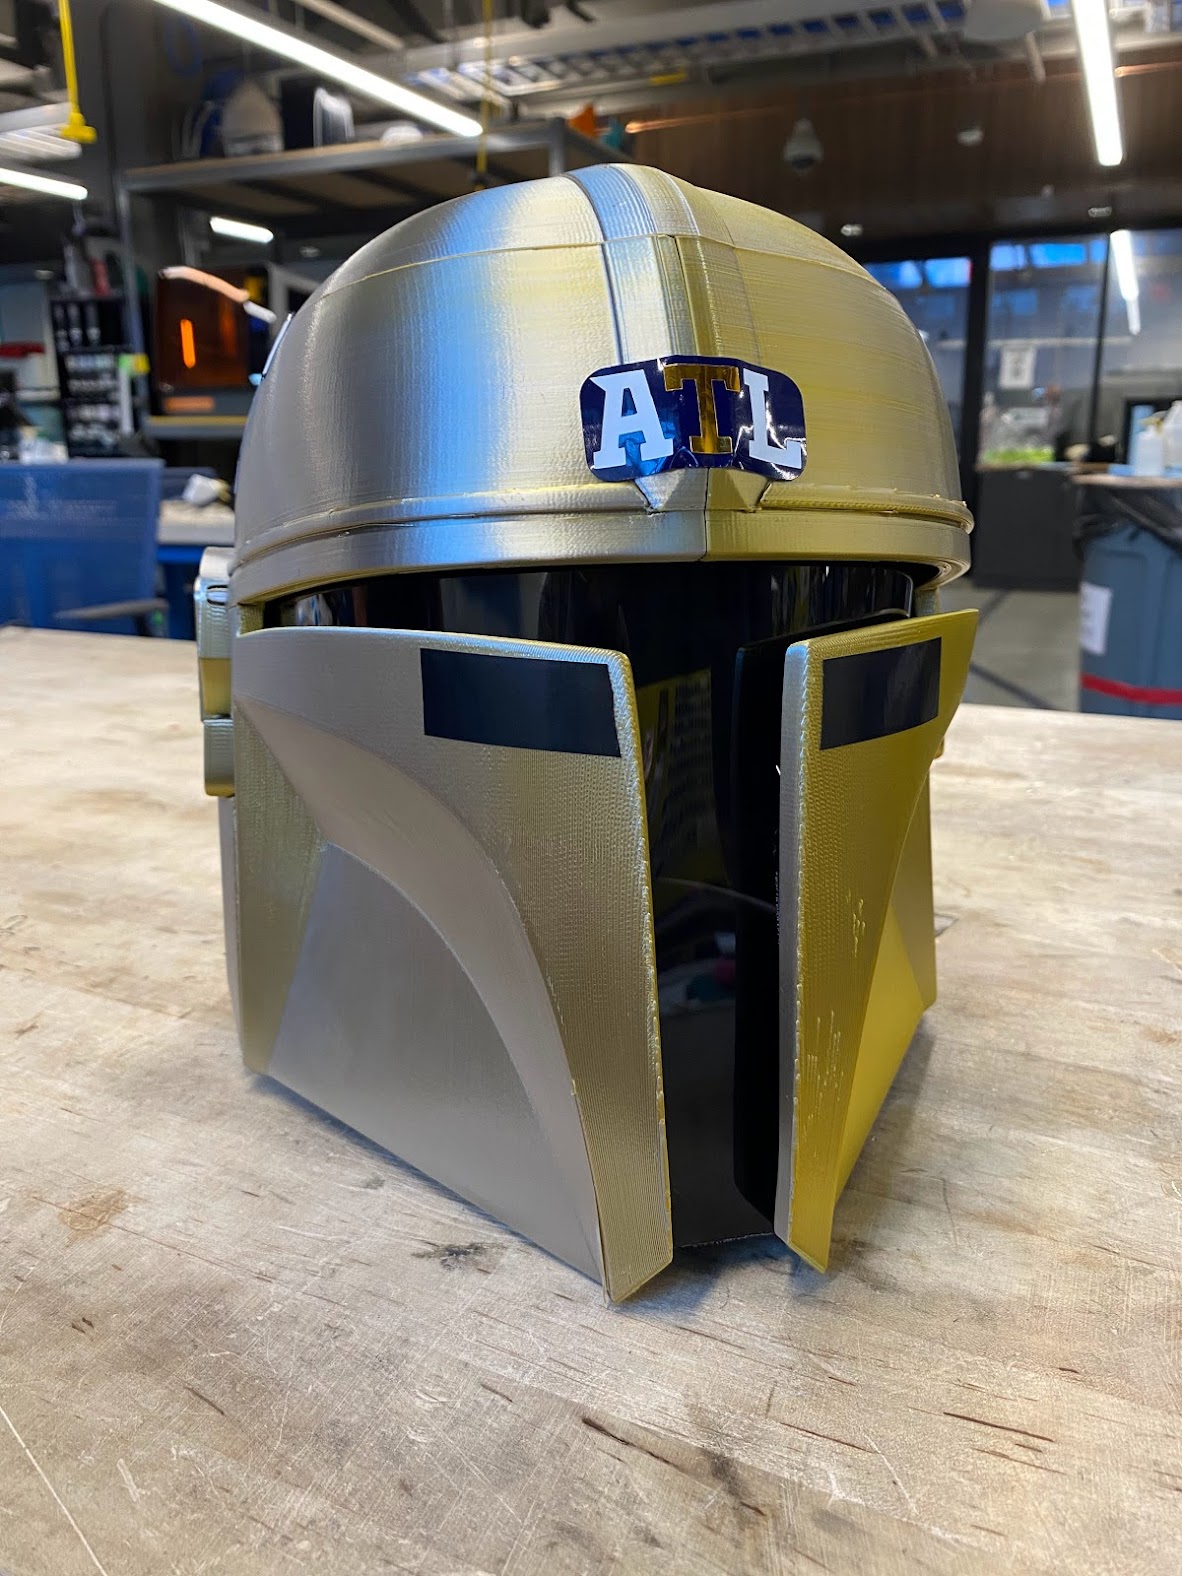
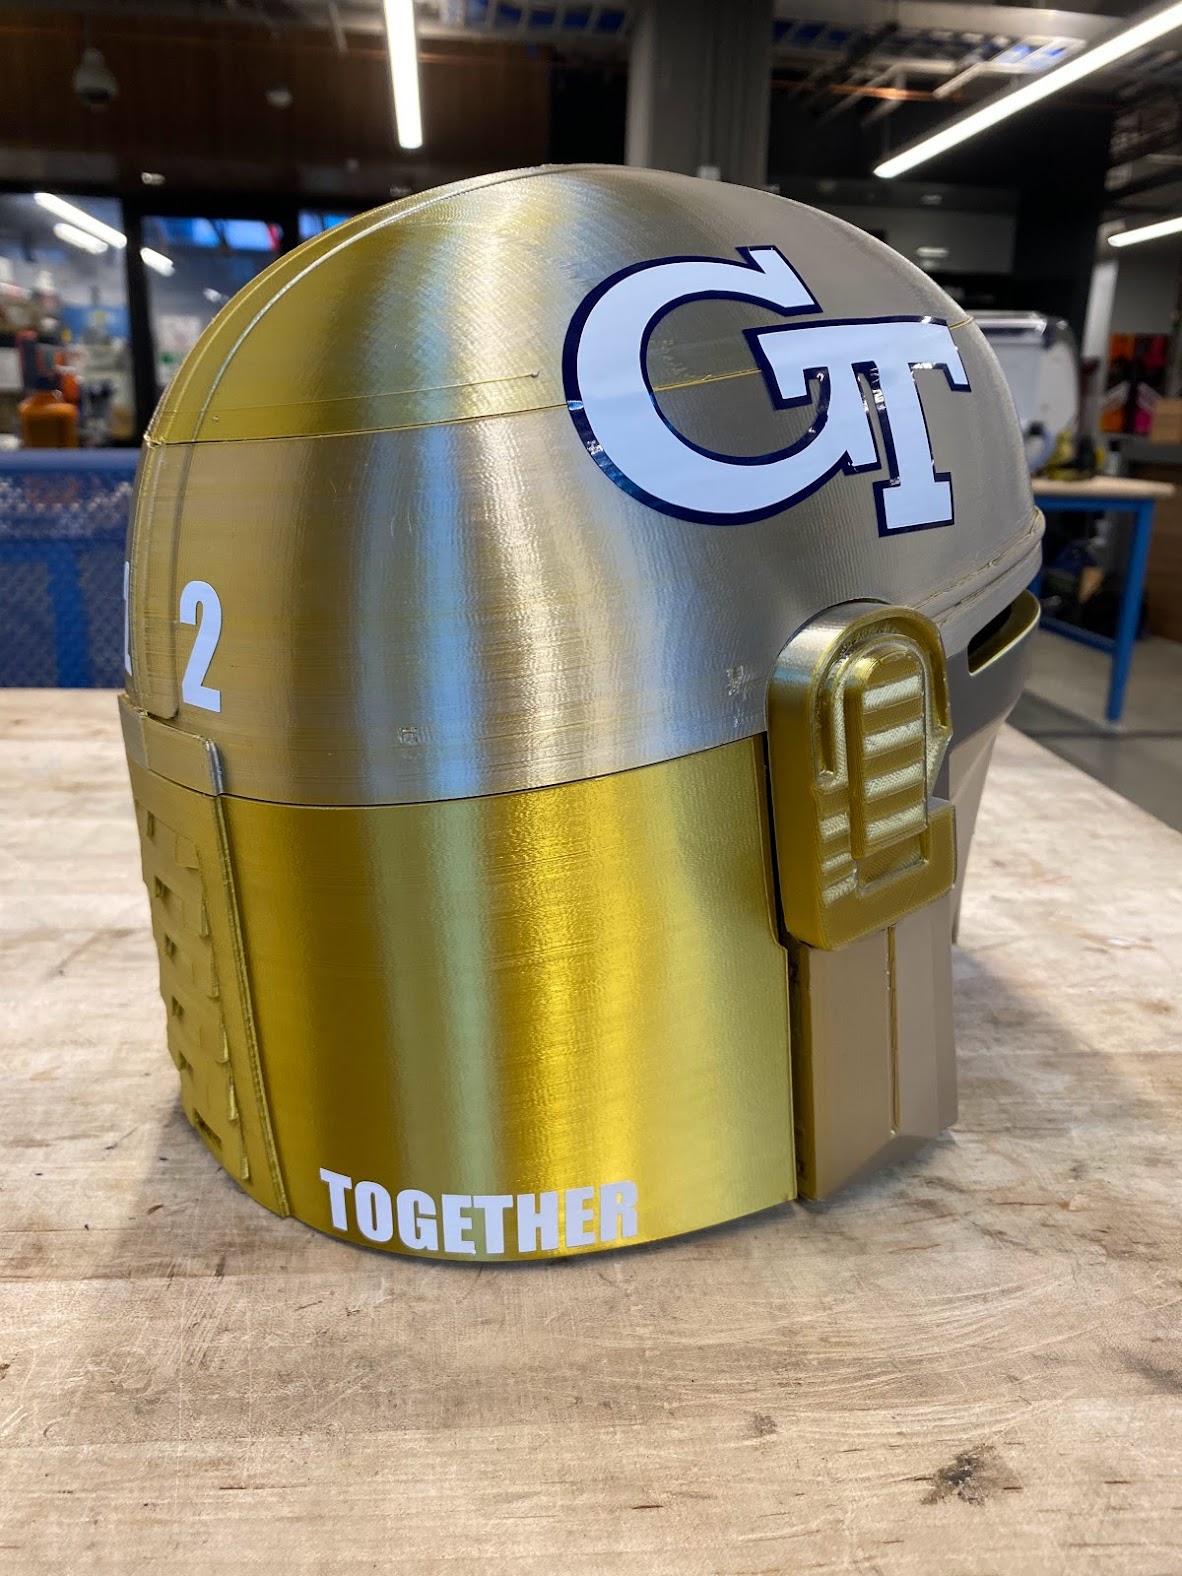
This is the first version of the GT Mandalorian helmet, created ahead of the 2023 football season. To give it the look of a football helmet, I incorporated vinyl stickers, adding details that pay homage to the Flowers Invention Studio—the makerspace where it all came to life.

Halloween 2023
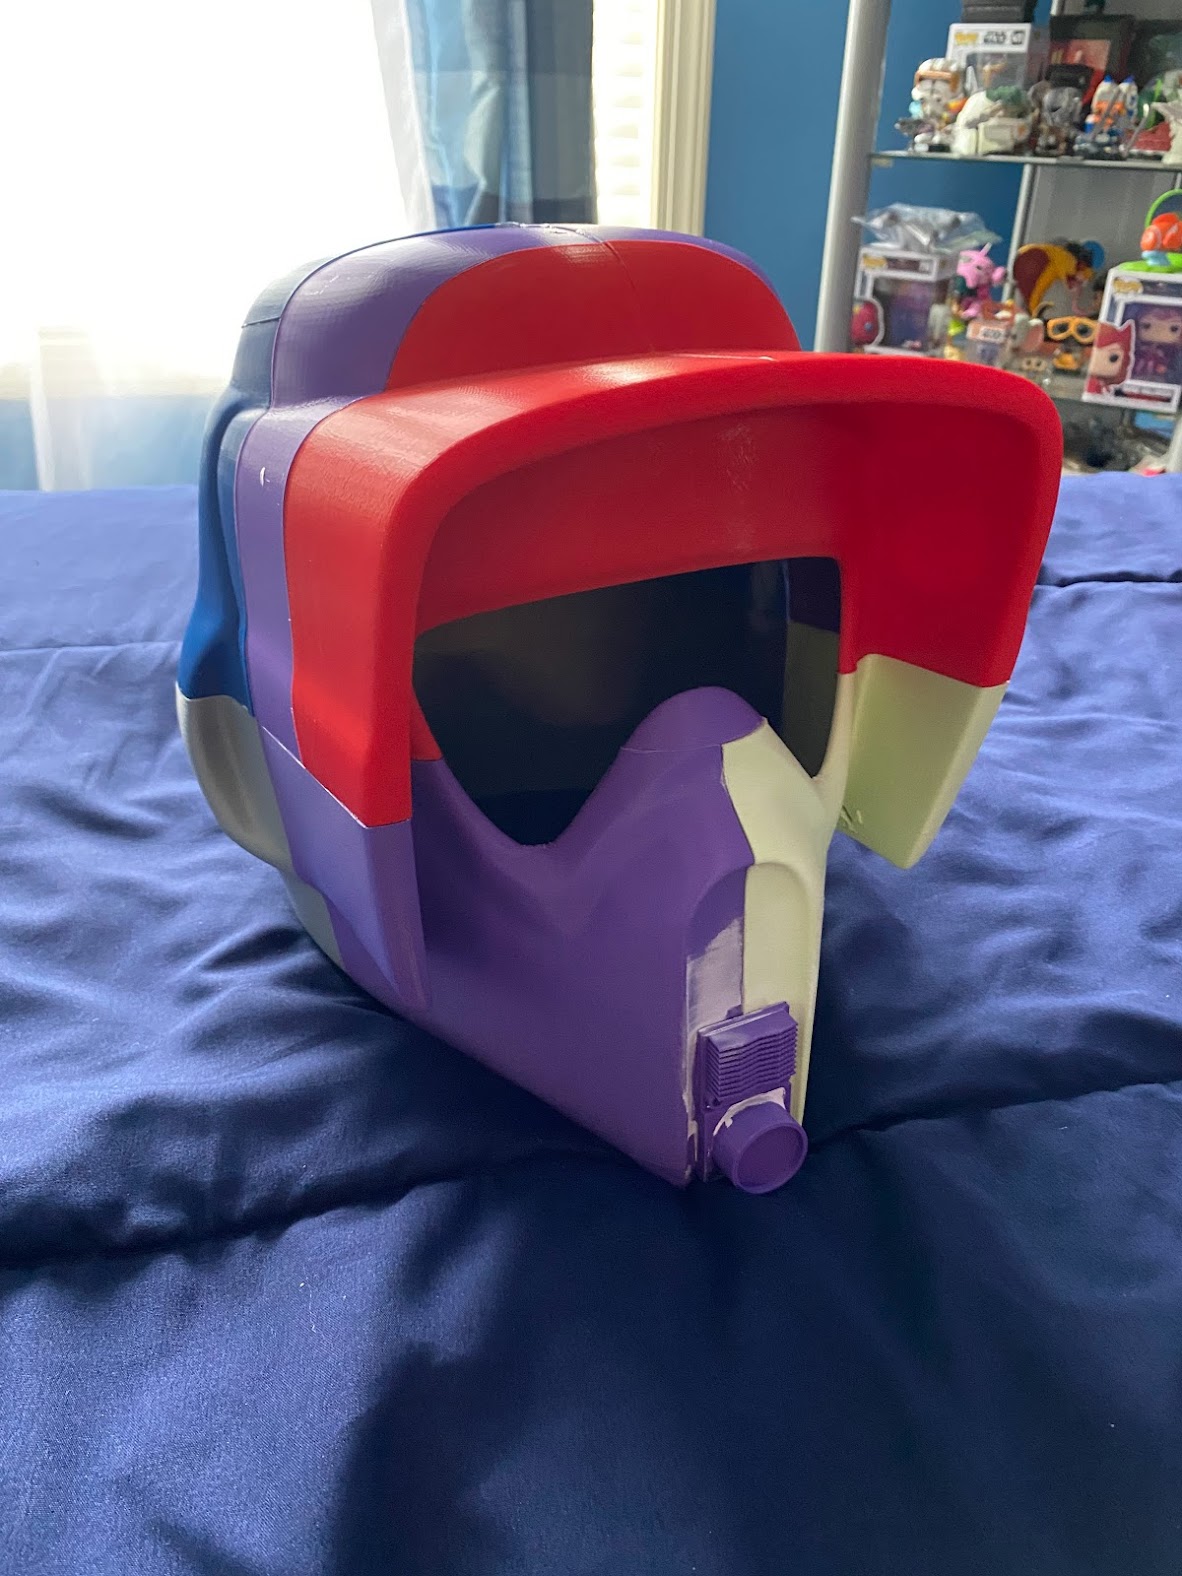
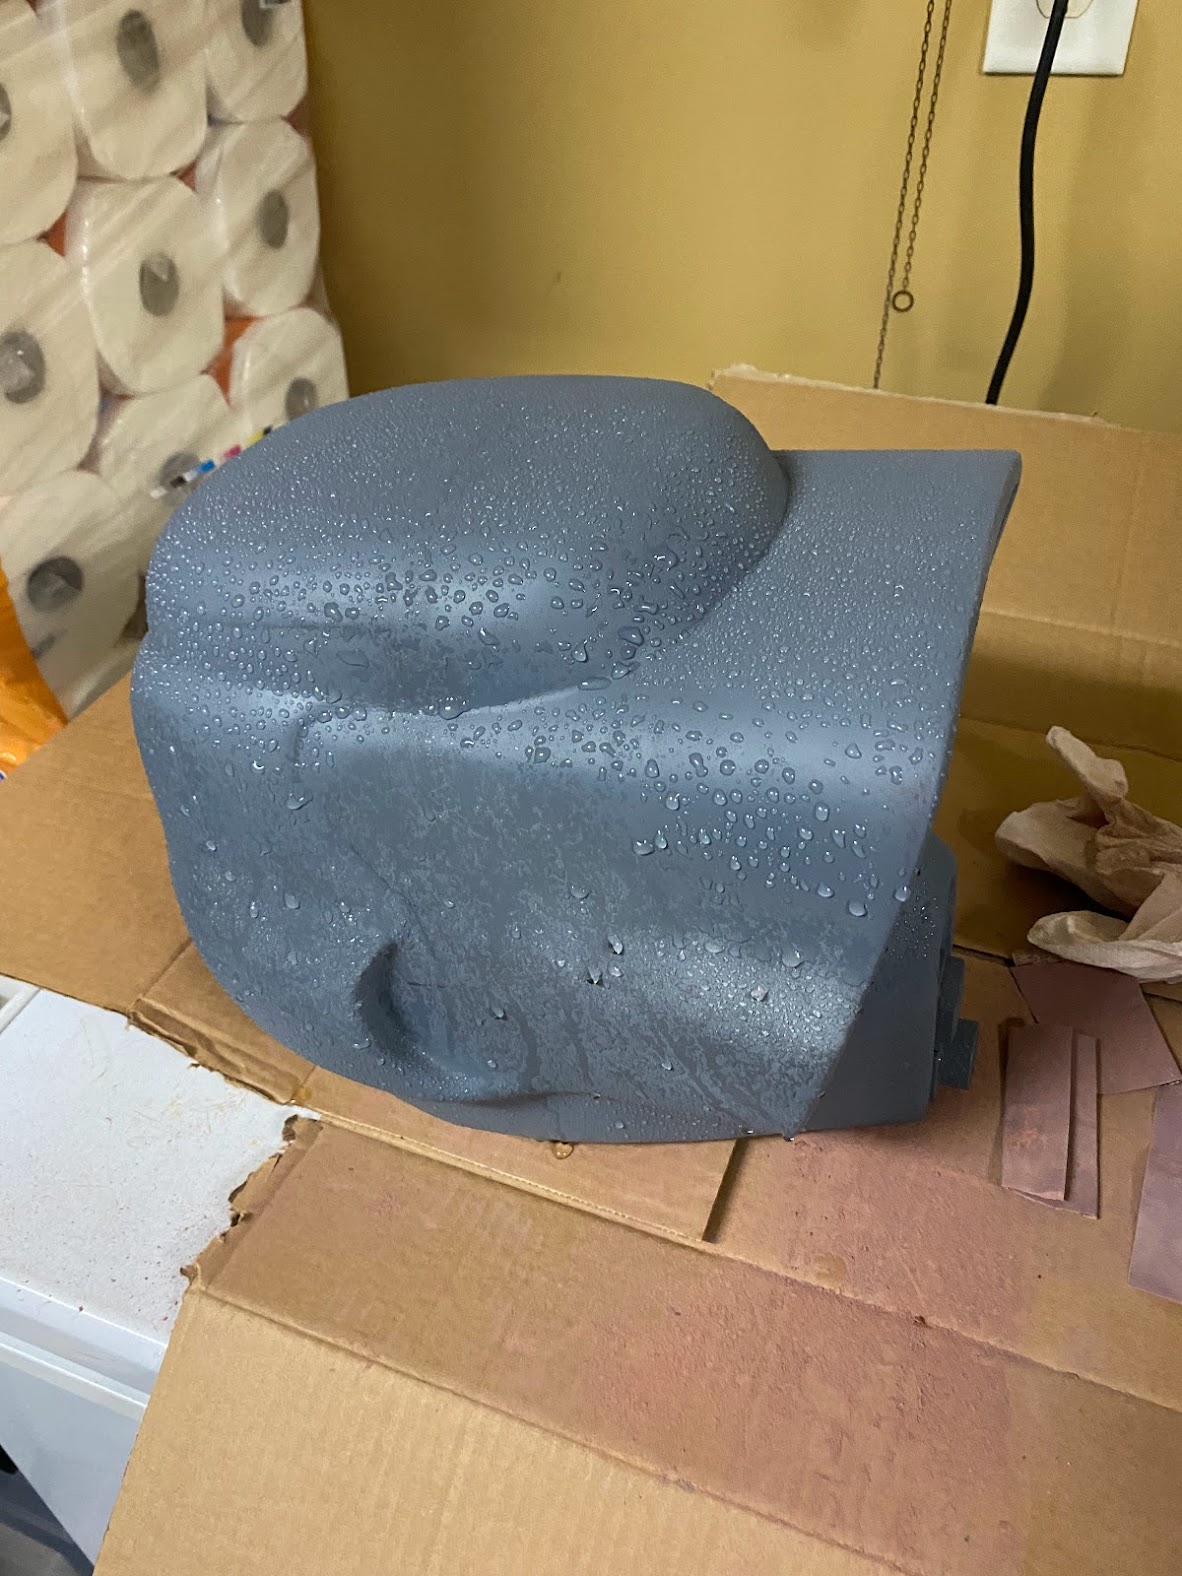
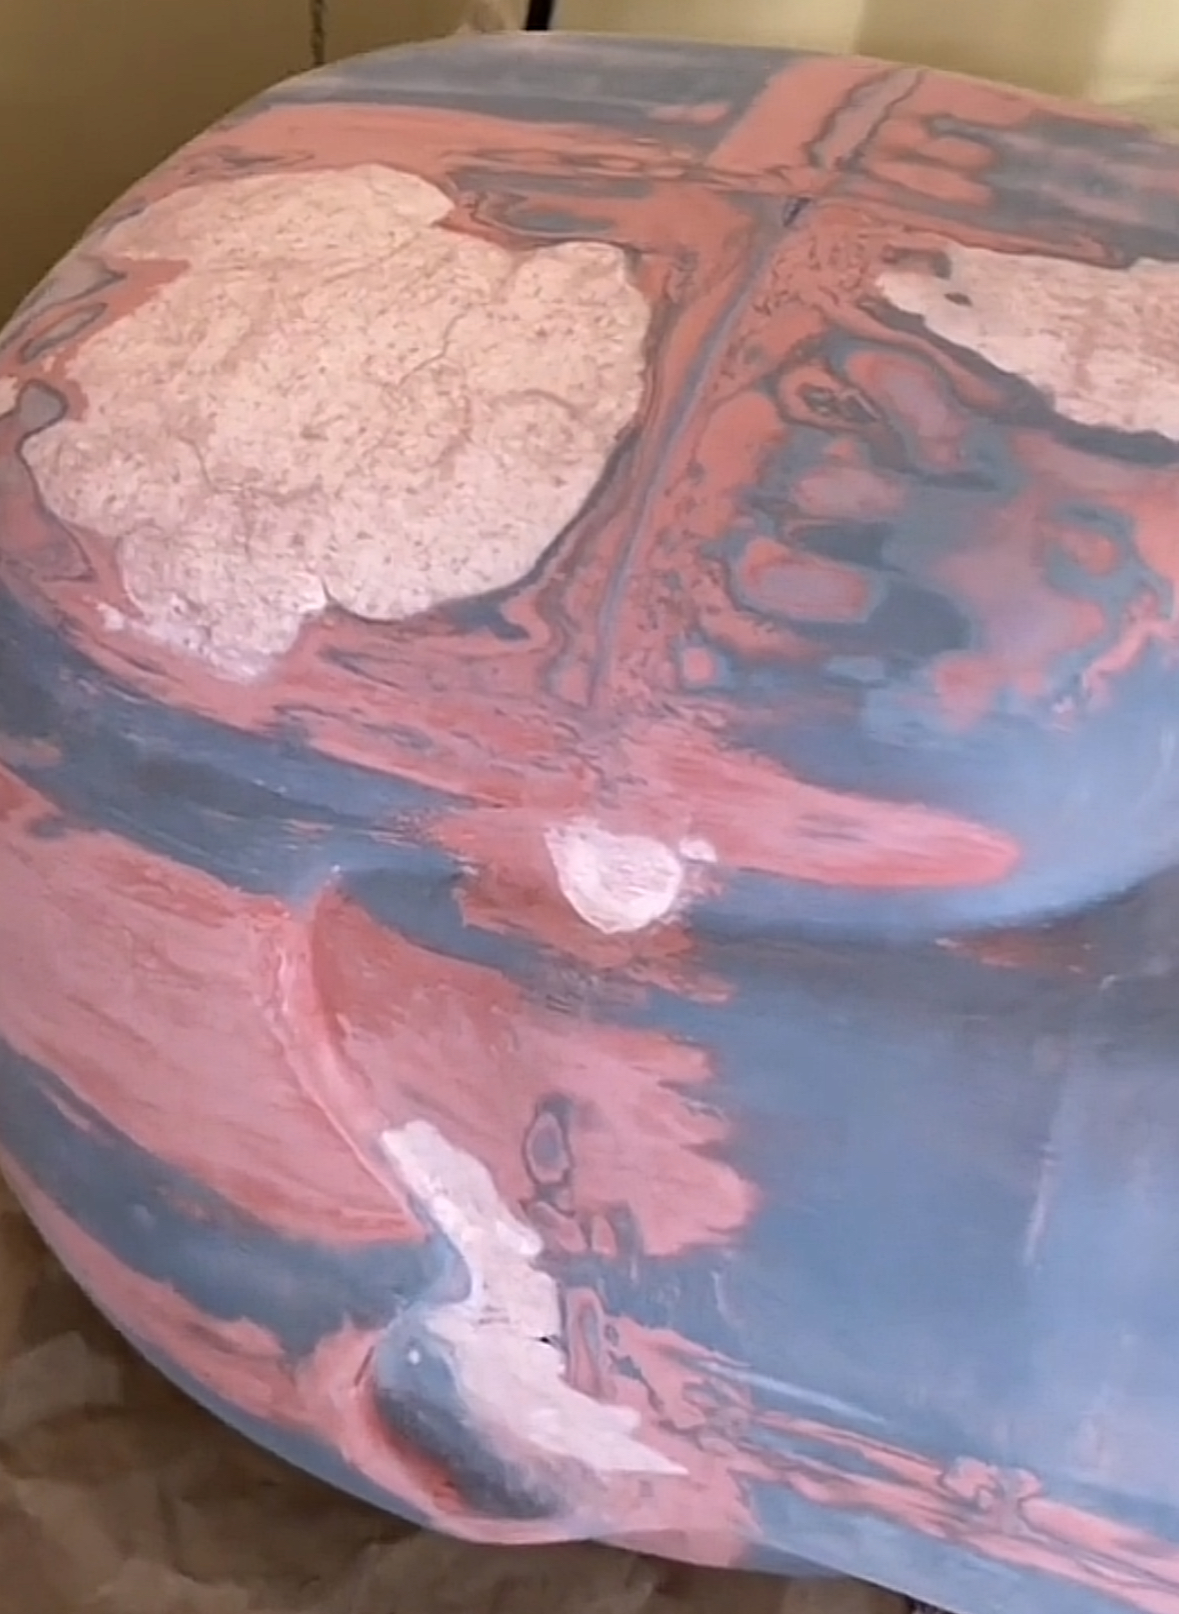
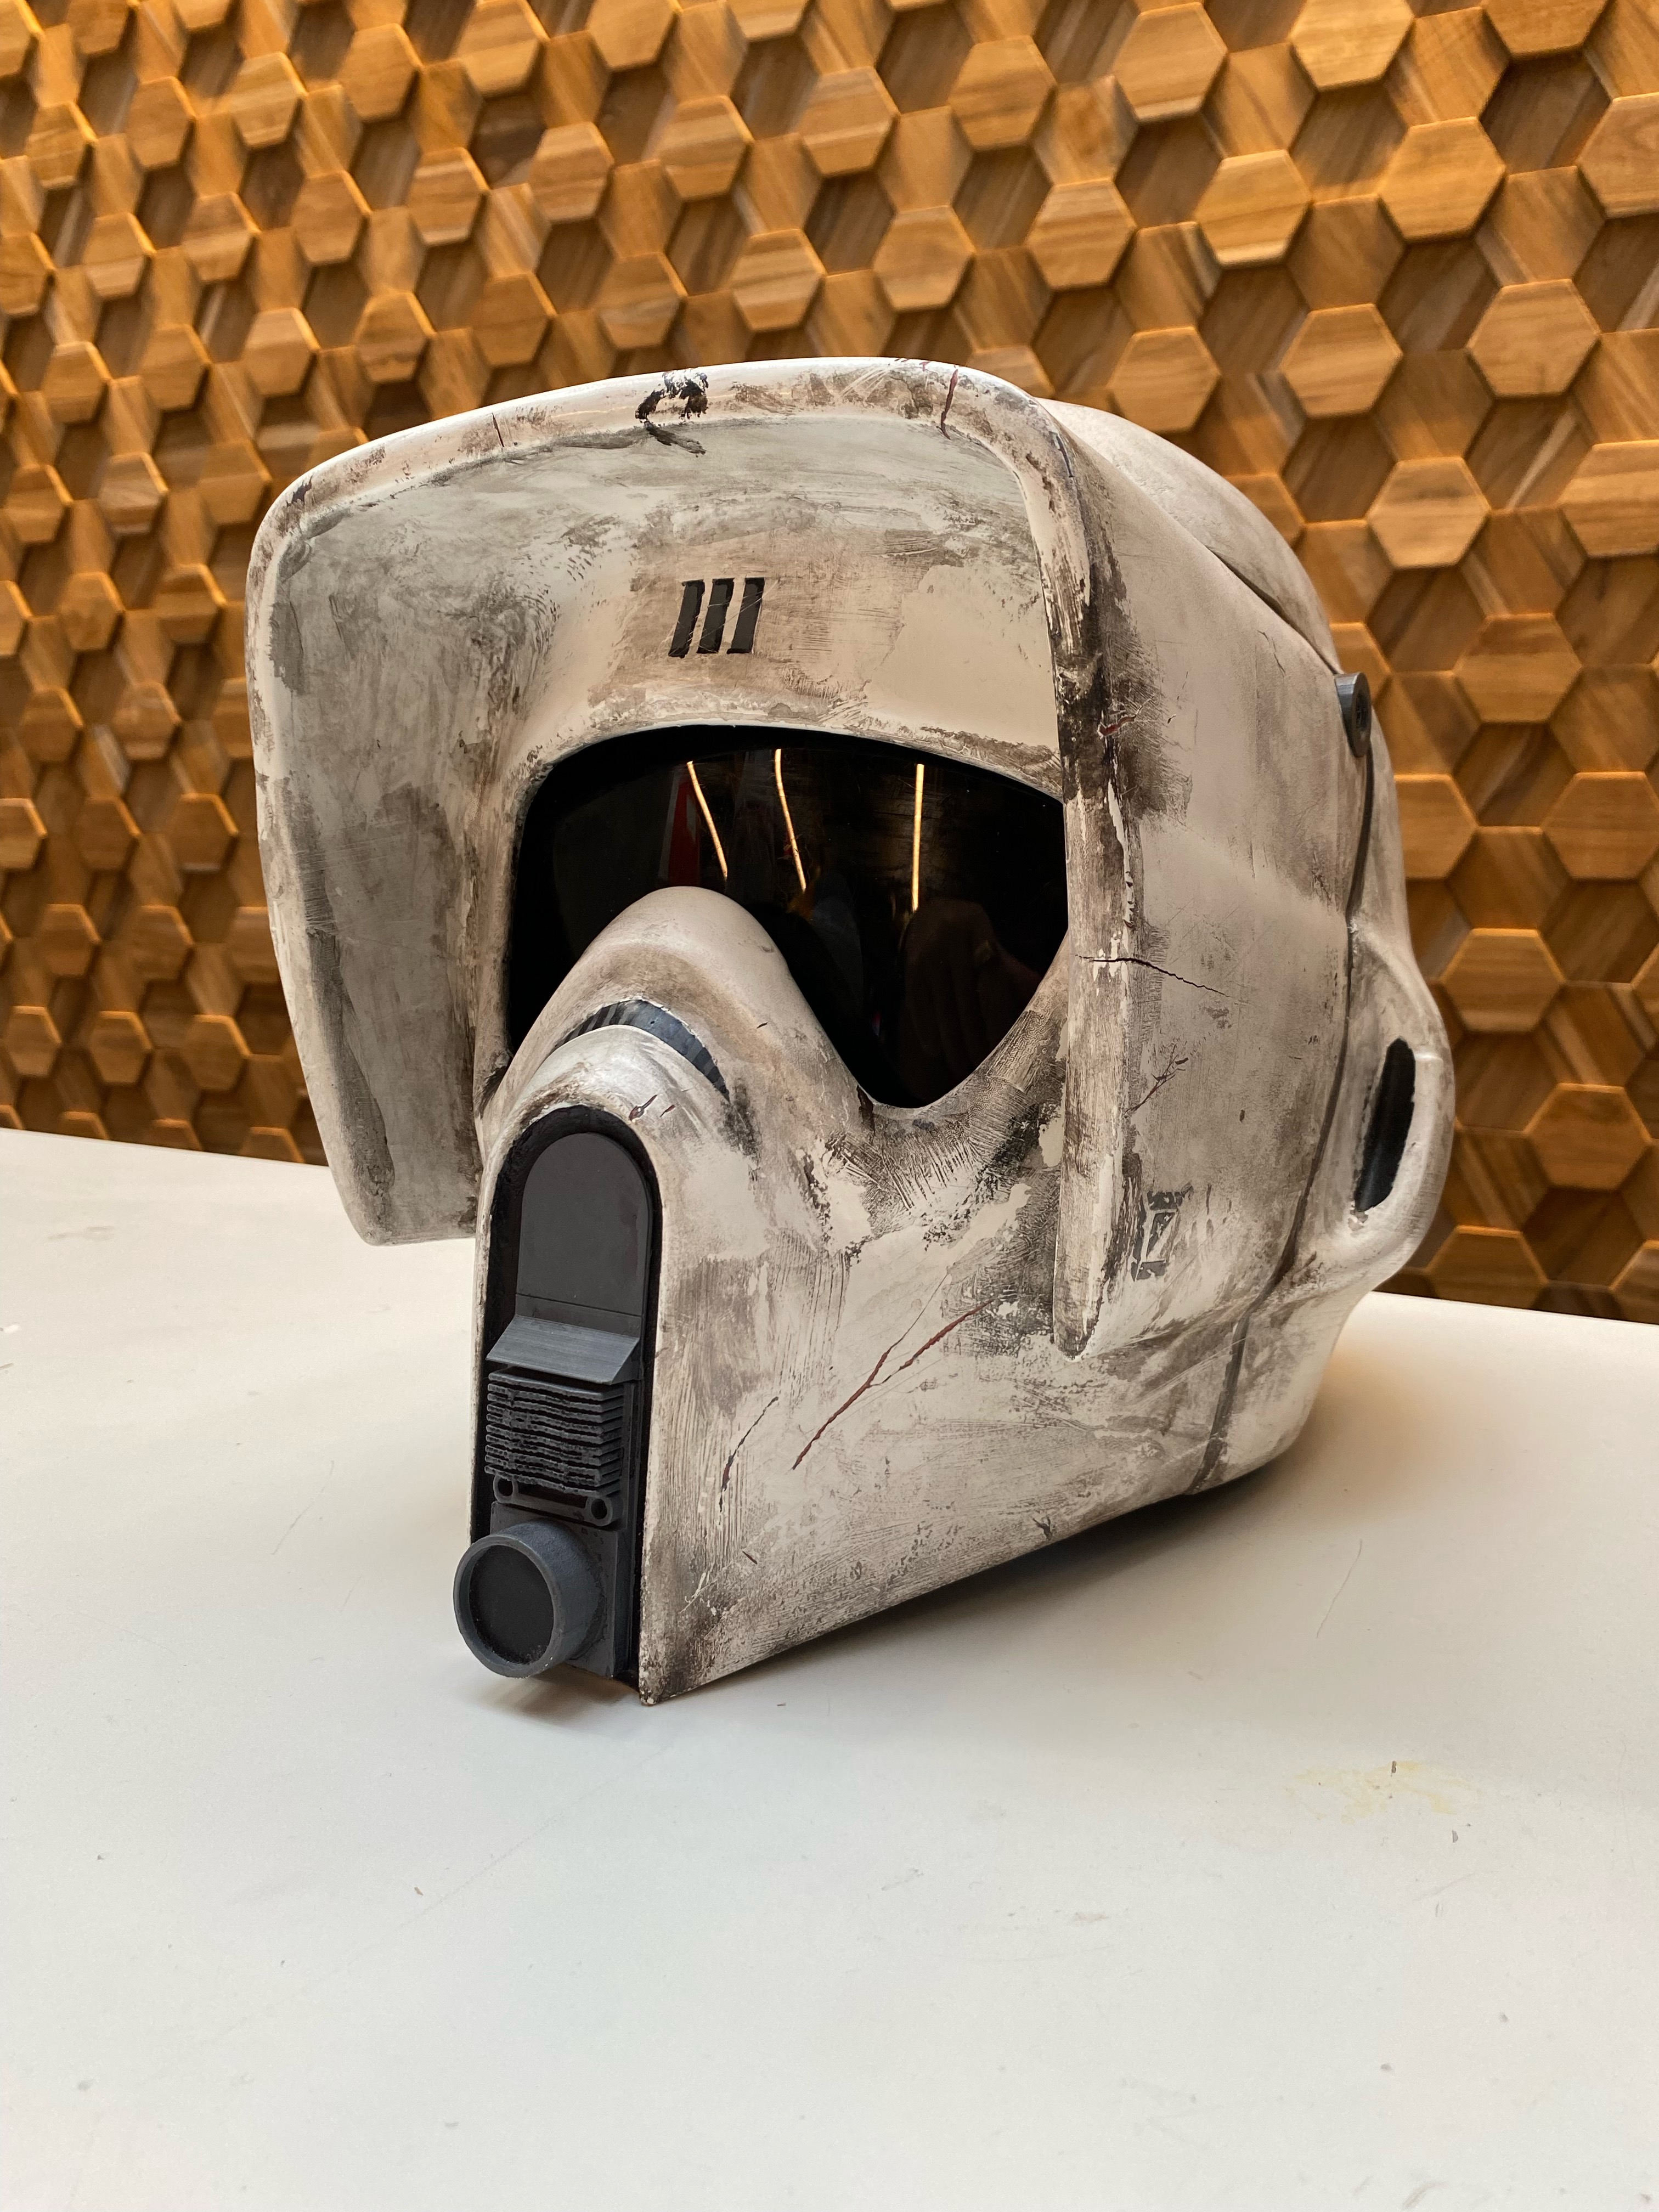
The Scout Trooper helmet faced a few unexpected challenges during the finishing process. After priming the model with spray paint, it was accidentally hit by a sprinkler, and later, the sun warped parts of the print. To fix this, I used air-dry clay to fill in the warped areas, then sanded and continued the post-processing to restore its shape and detail.
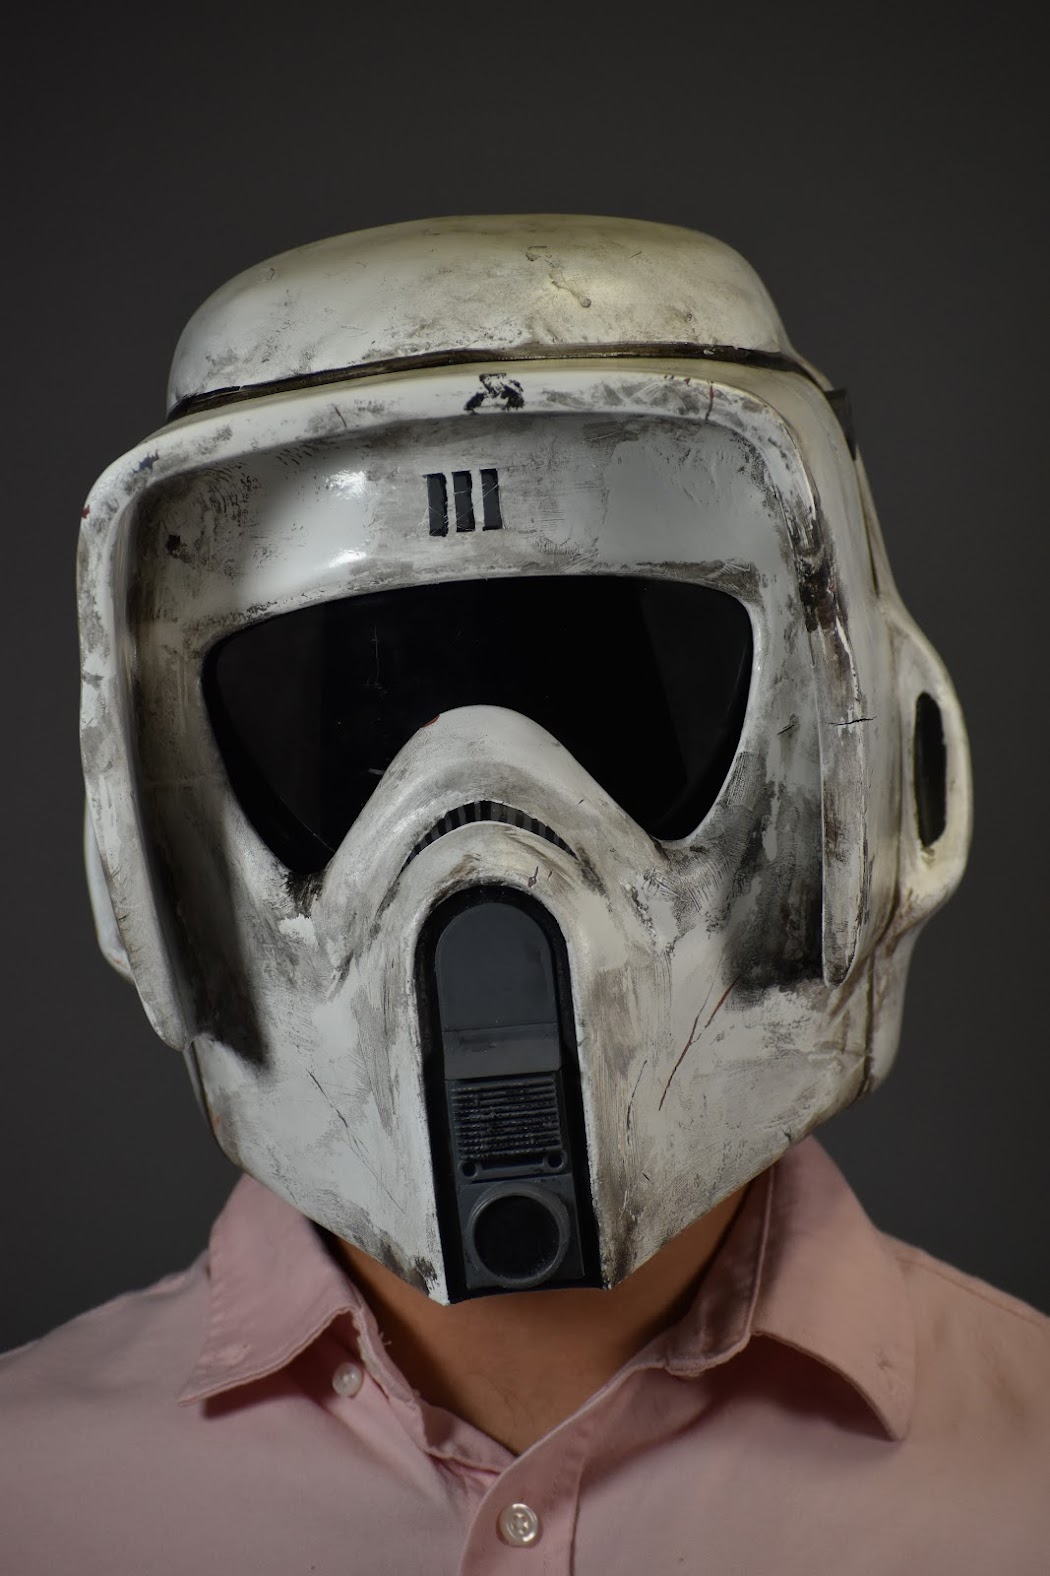
Professional headshot of the Scout Helmet
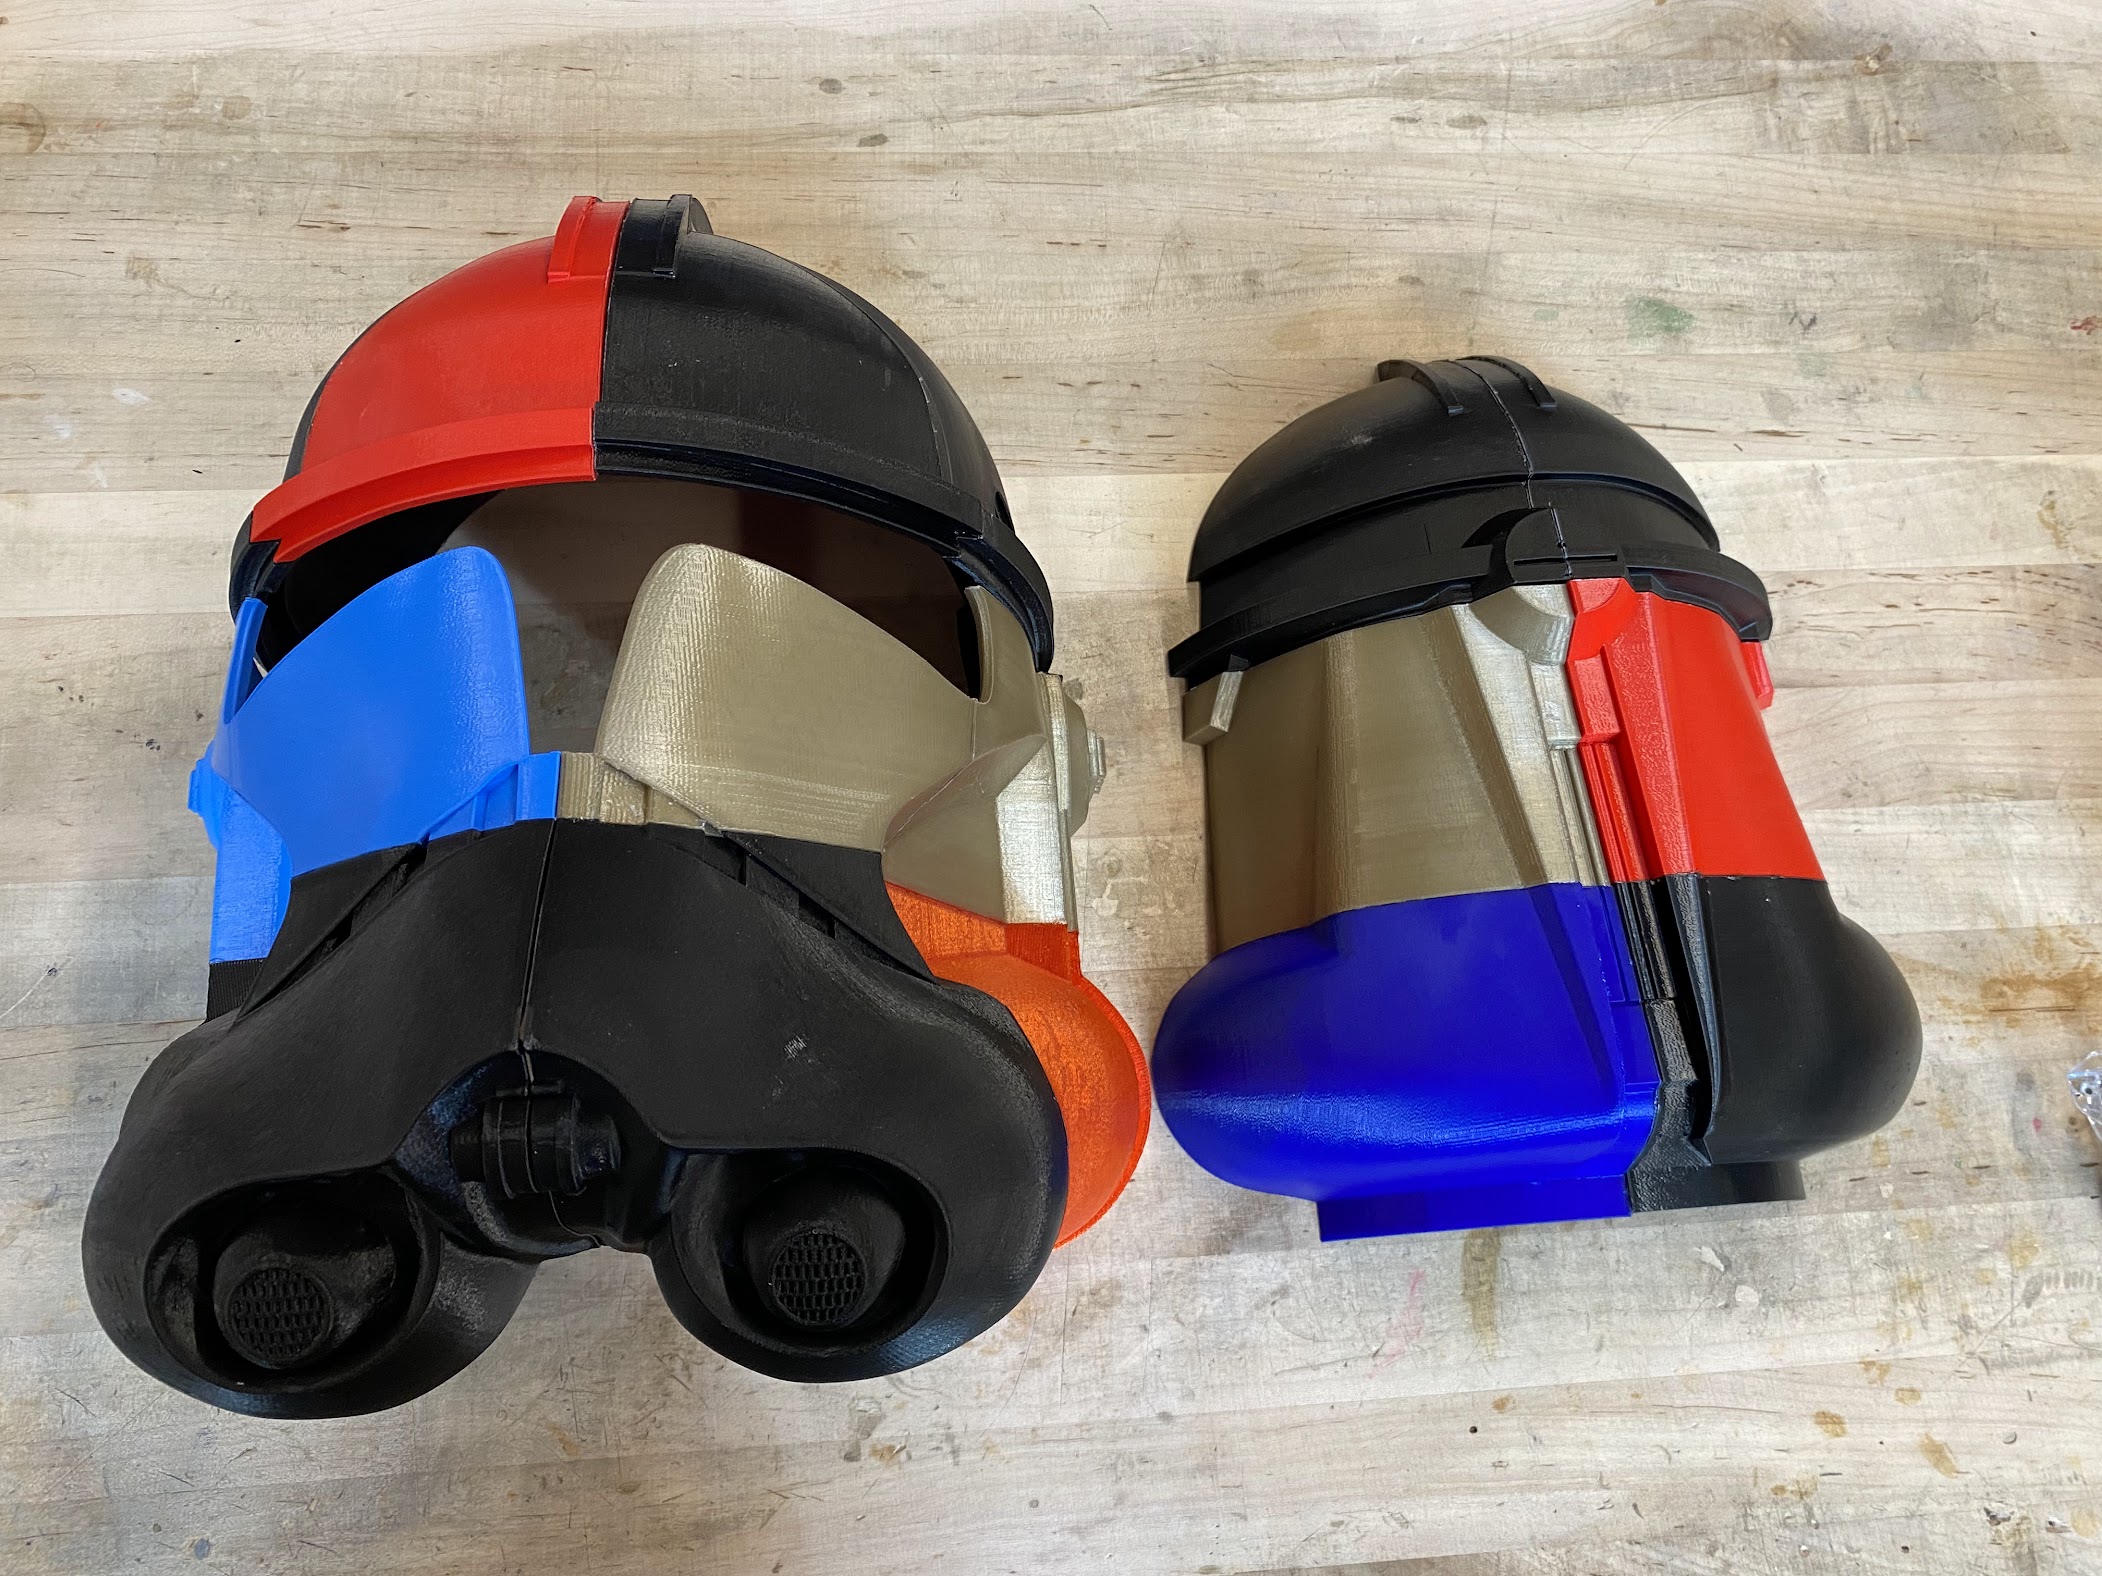
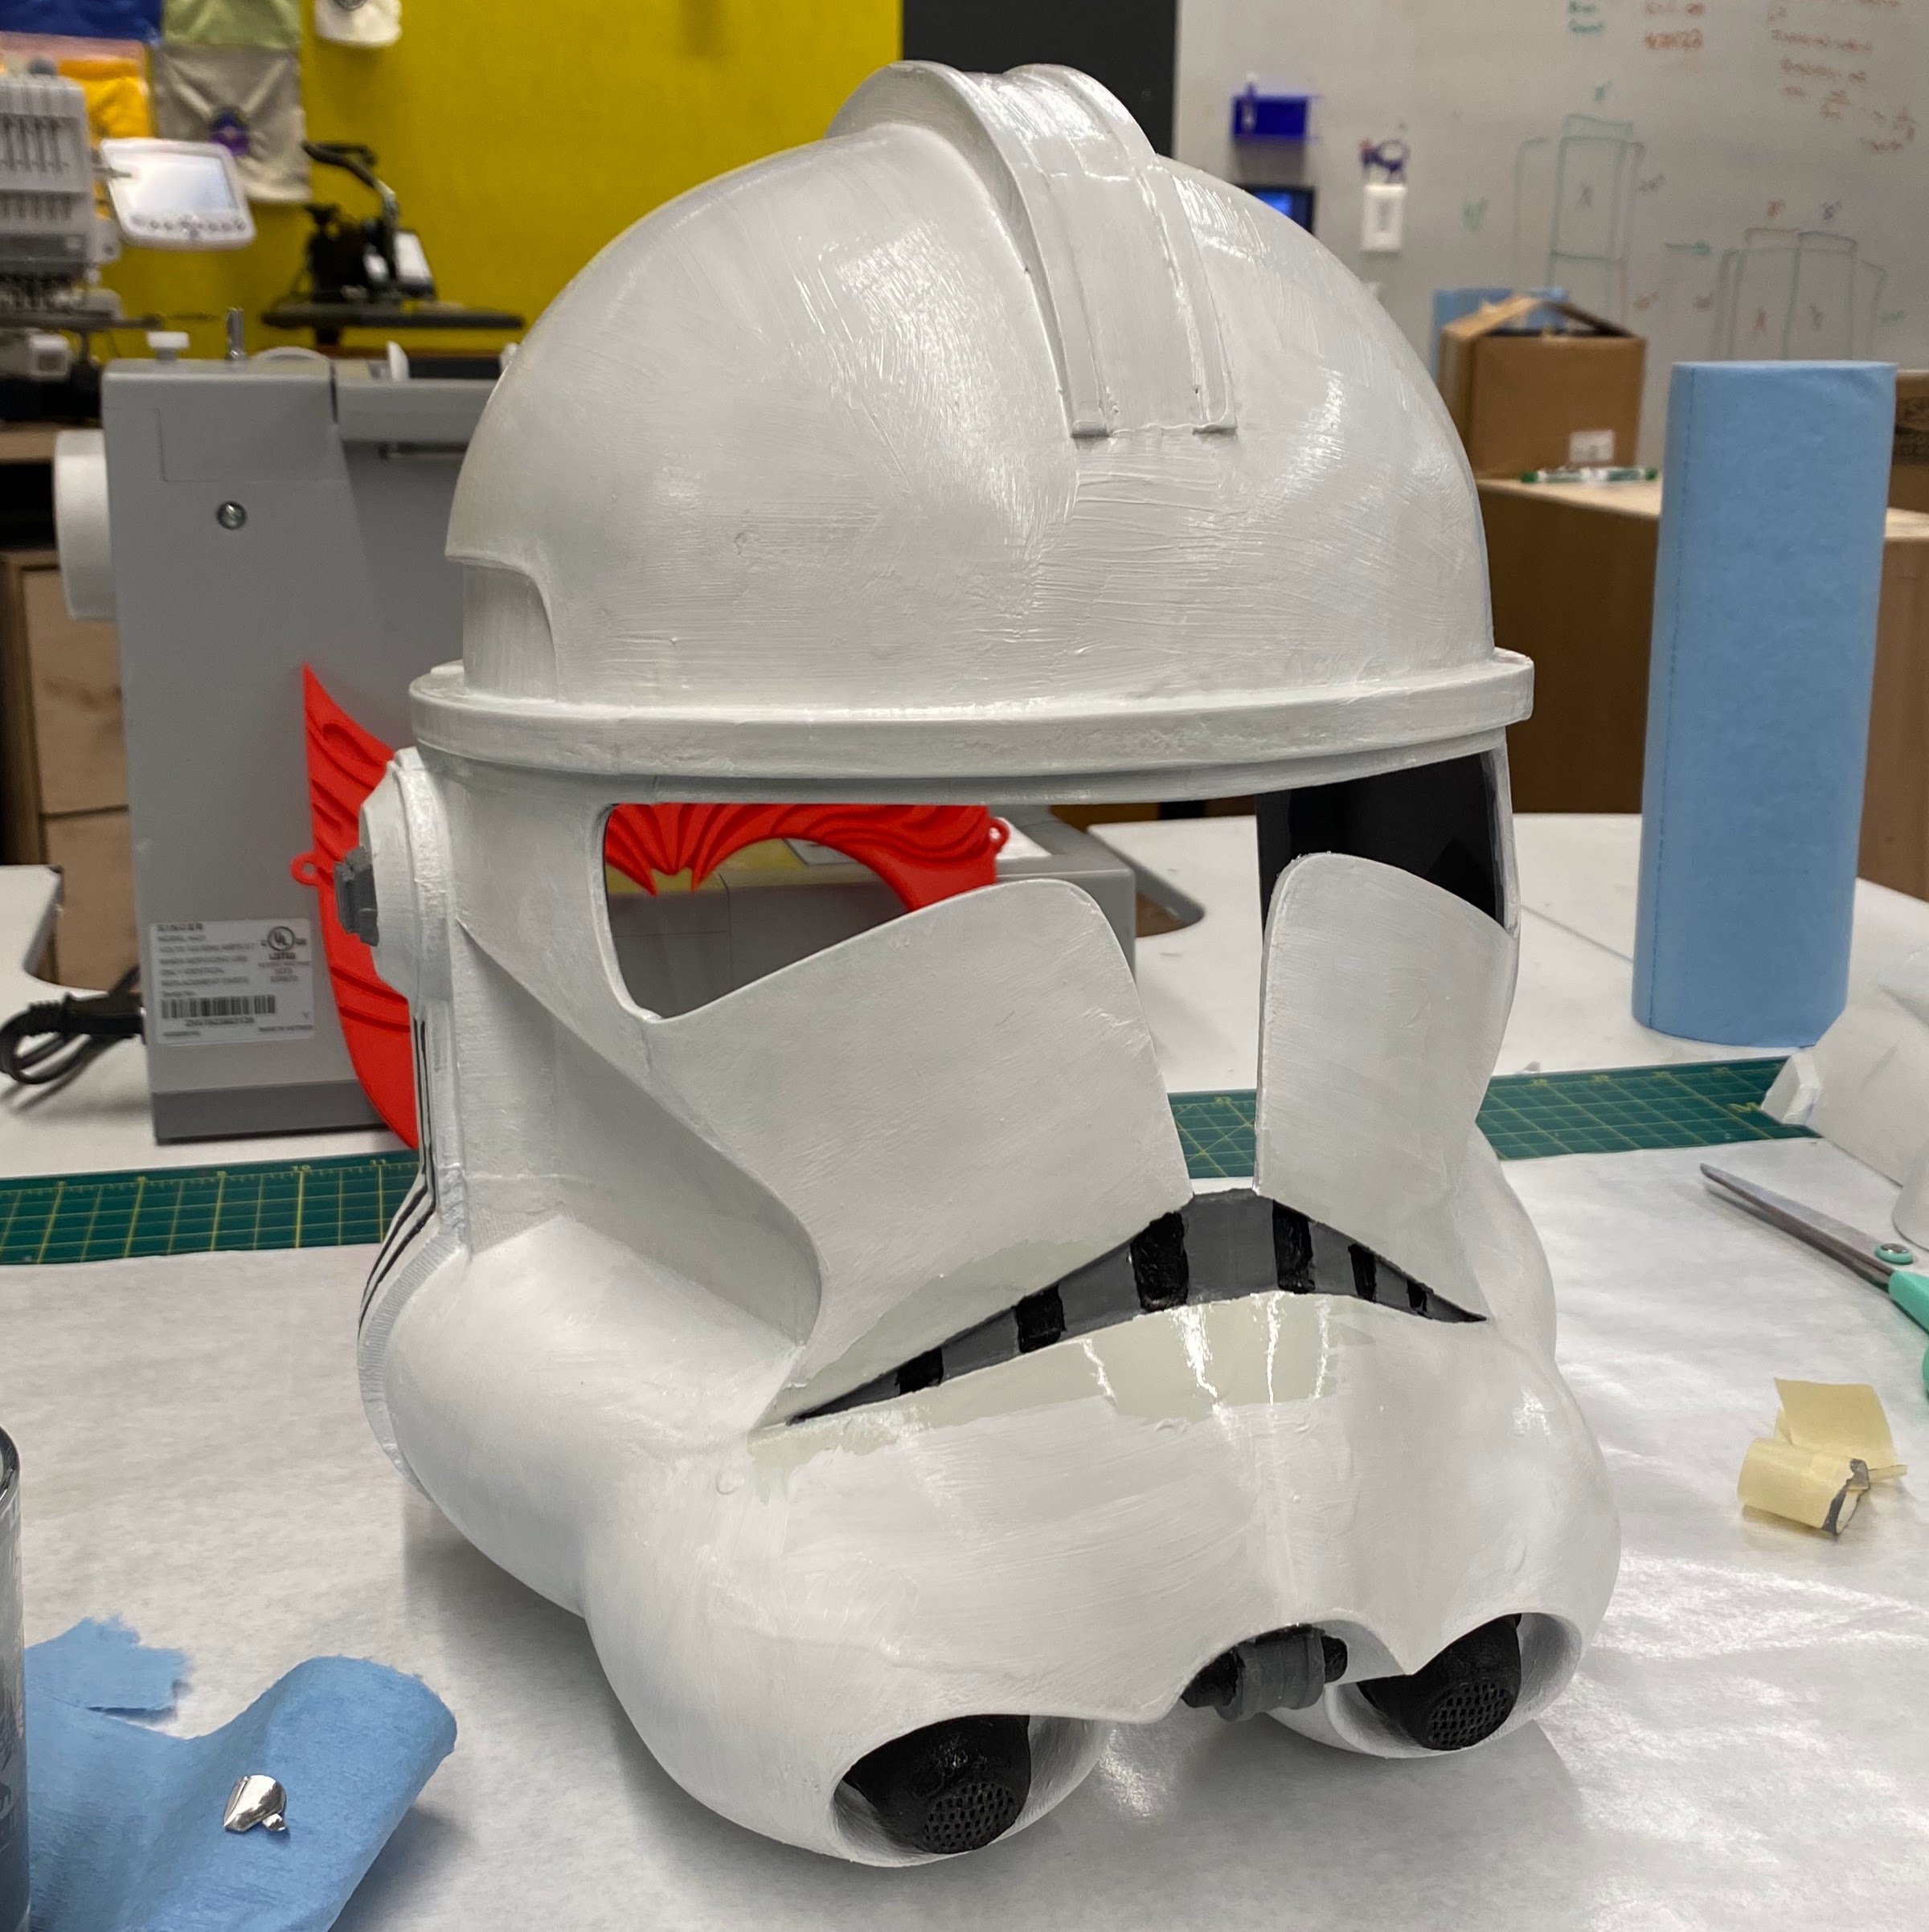
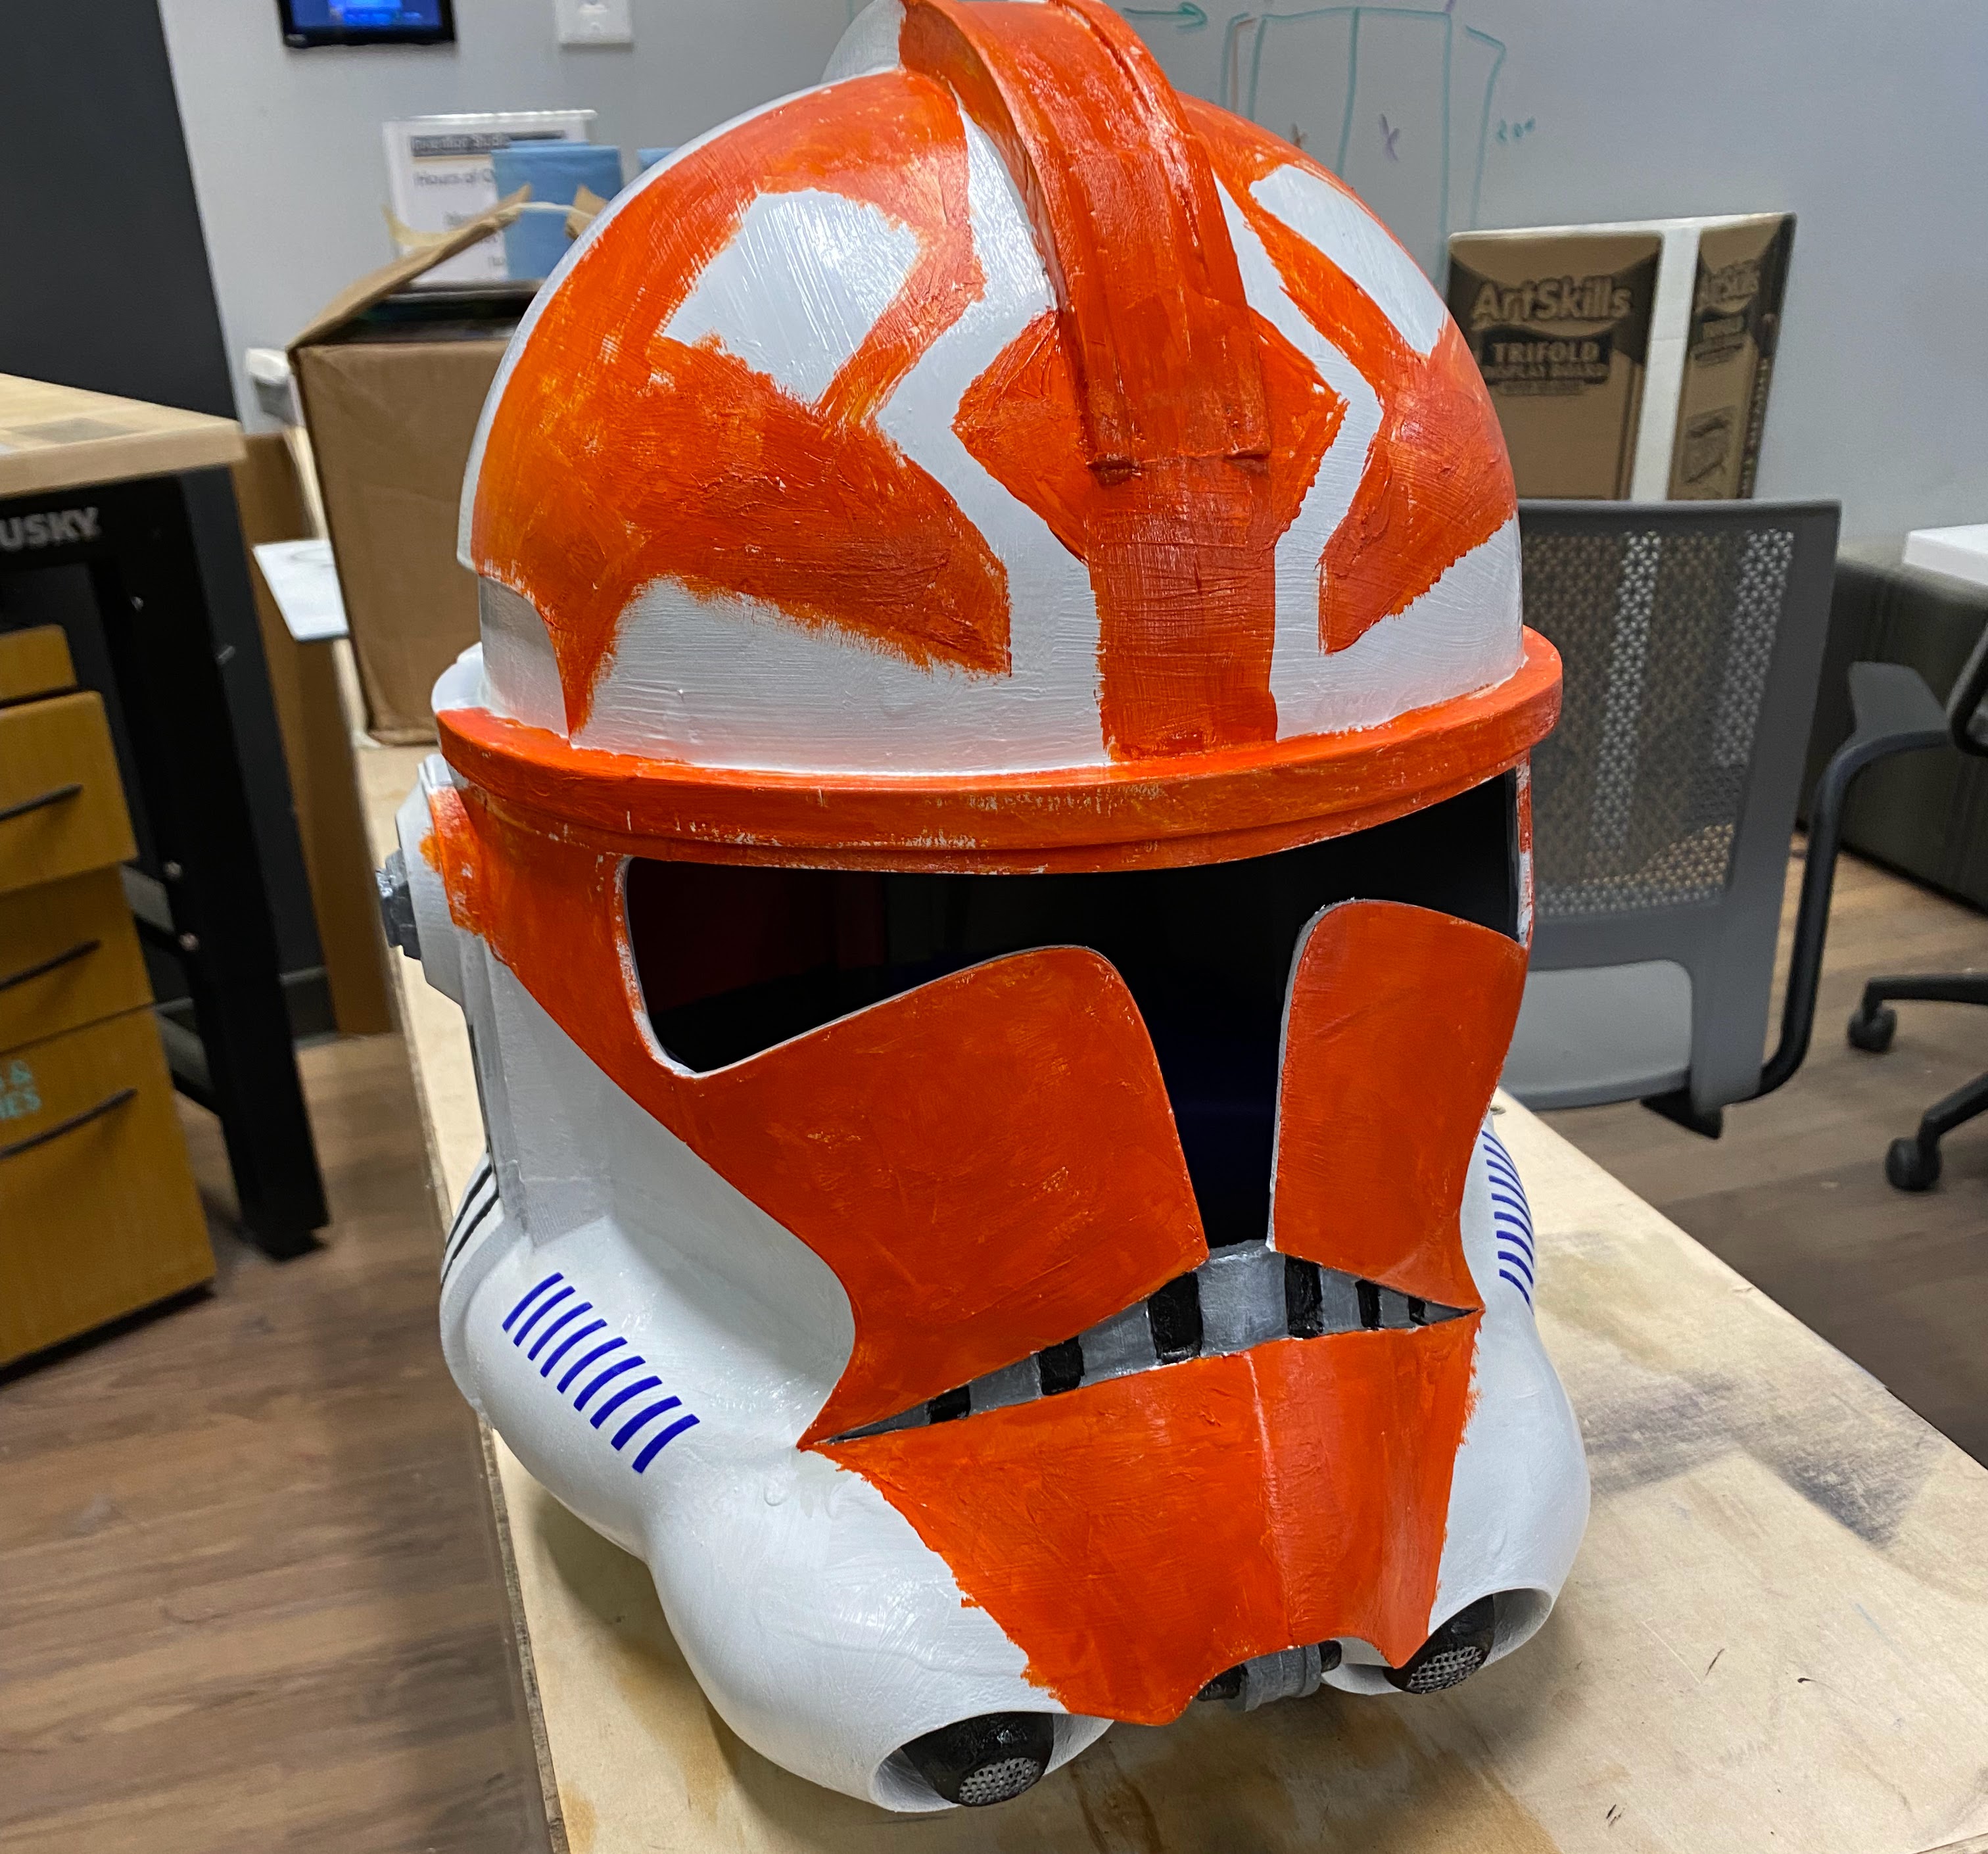

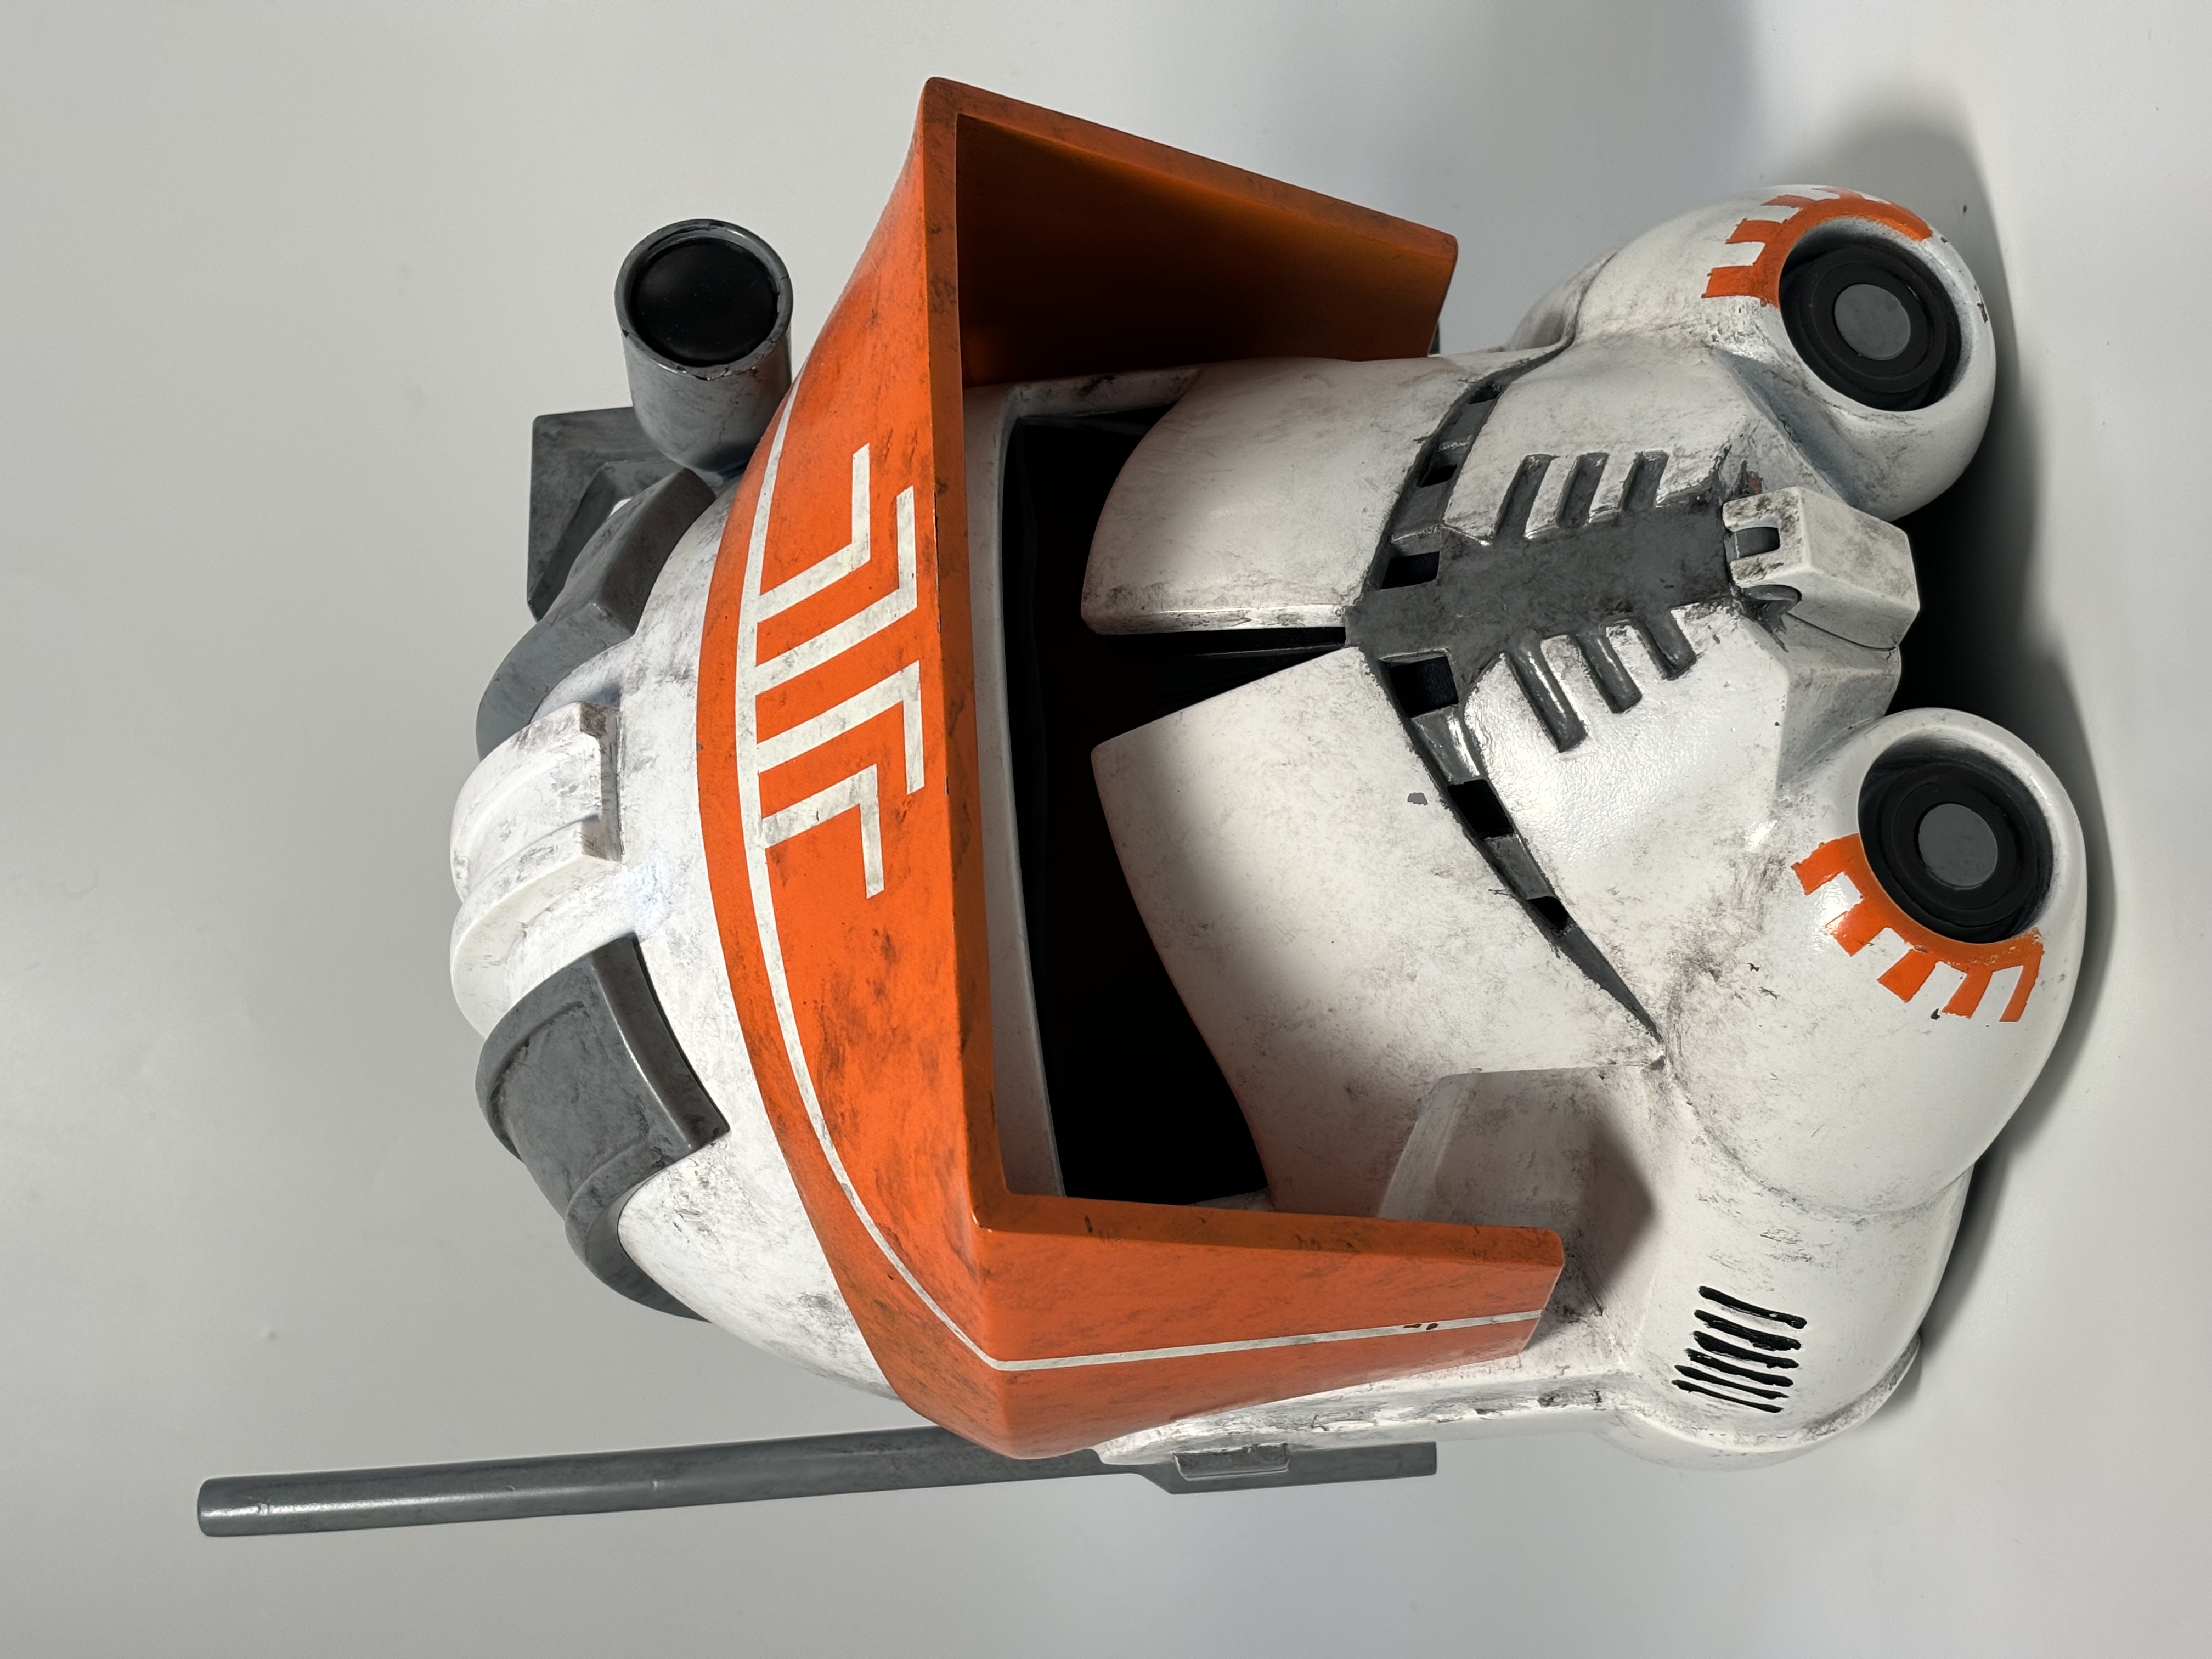
This is the full process behind creating the 332nd Legion helmet. It began with raw 3D-printed parts, which were carefully glued together and coated in a base layer of white paint. Next, I hand-painted the markings to match the look from the show, adding stickers for extra detail. Finally, I applied weathering effects to give it a battle-worn, authentic appearance.
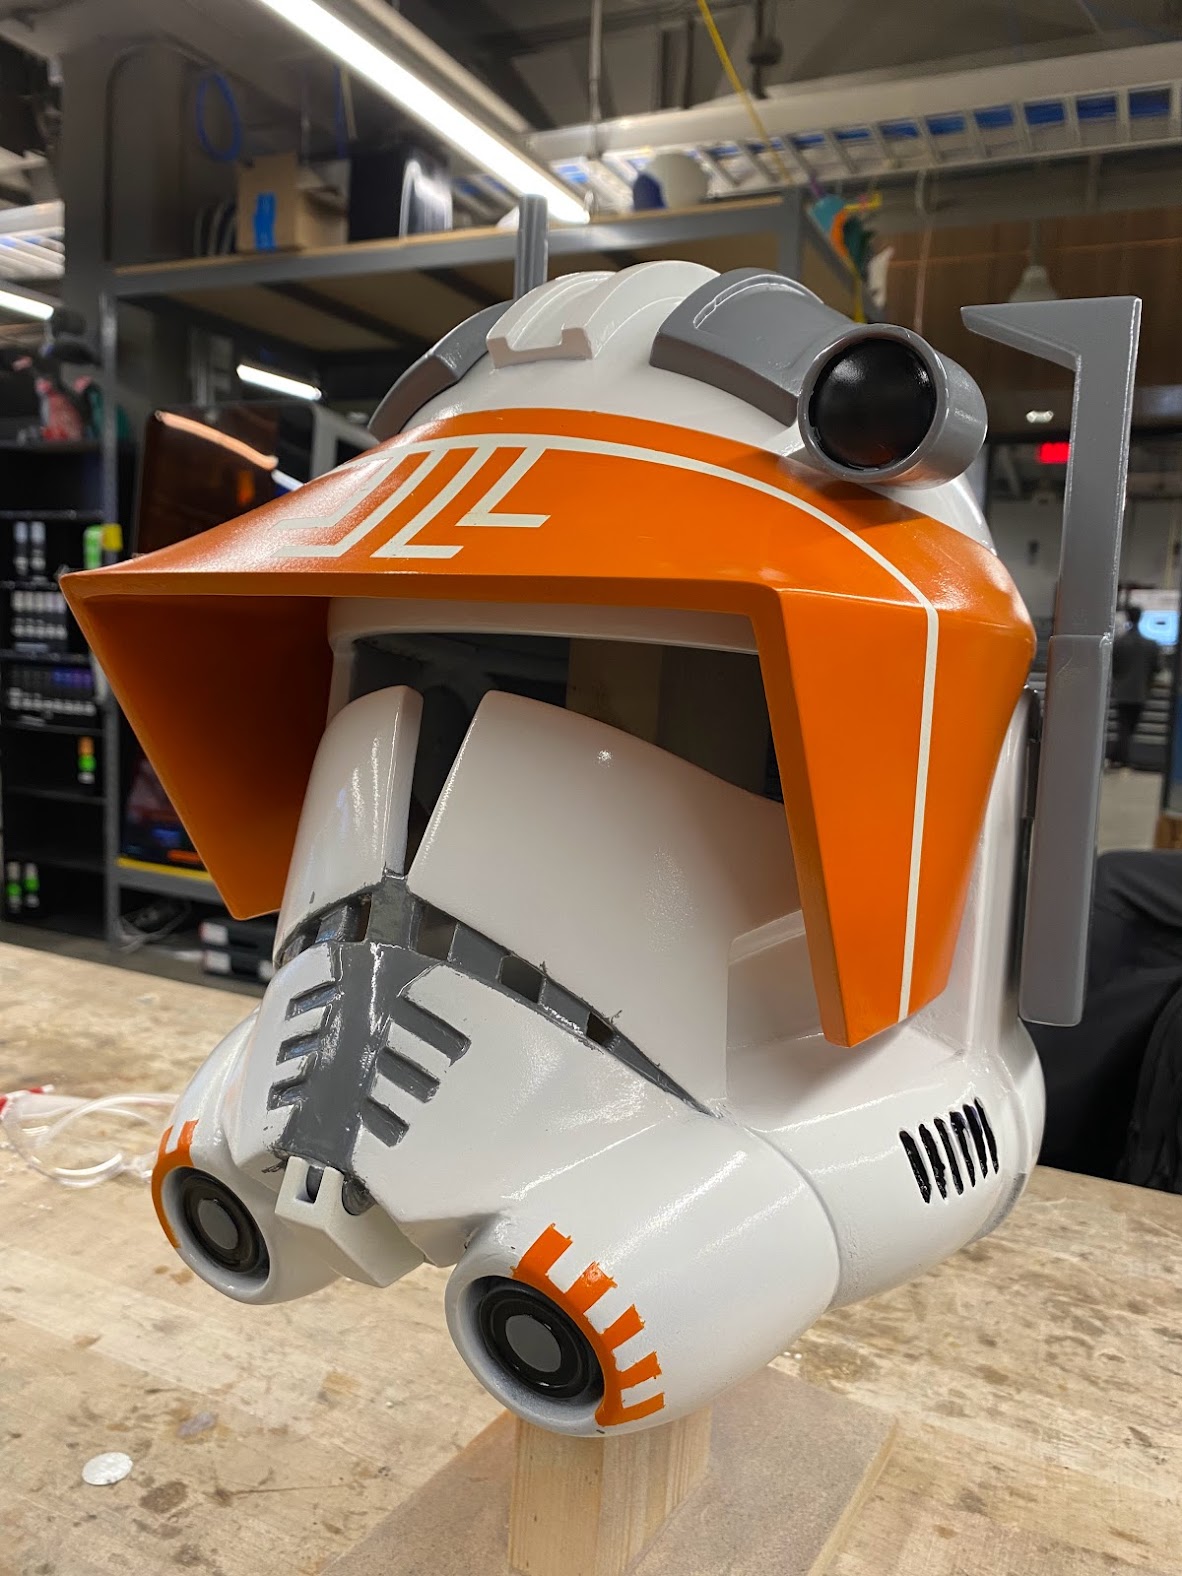

This is the Commander Cody helmet I built—a project I had dreamed of since childhood but didn’t know how to tackle at the time. I waited until I had the skills to achieve the exact style I envisioned, basing the design on the animated TV show. I used vinyl stencils for the visor detailing, resin-printed parts for higher-detail elements, and carefully applied weathering effects for a battle-worn look.


 Built at the Flowers Invention Studio
For the past two years, I’ve wanted to make a machinist hammer after watching Inheritance Machining on YouTube. In one of his videos, he crafted a machinist hammer from a single piece of metal, and I was fascinated by the precision, skill, and craftsmanship involved. That video stuck with me, and ever since, I’ve wanted to create my own version—one that reflects my own machining skills and design choices.
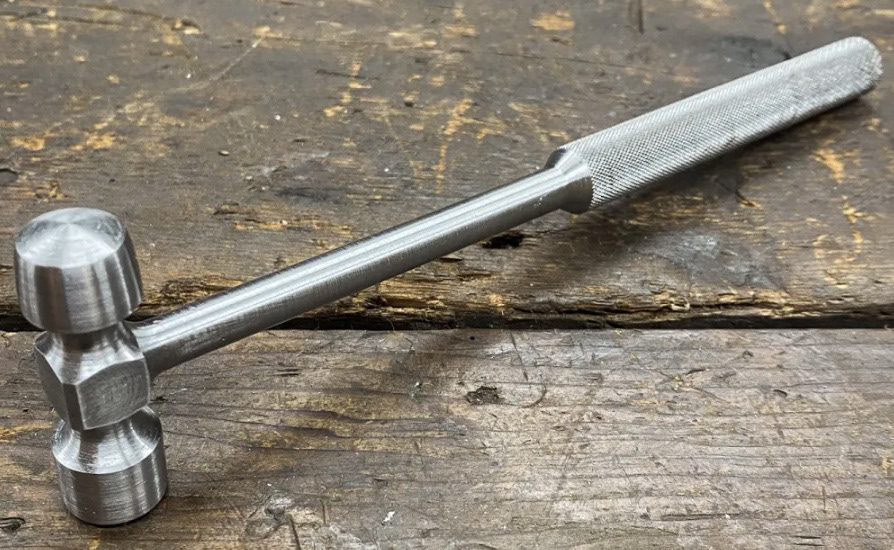
Inheritance Machinist Hammer
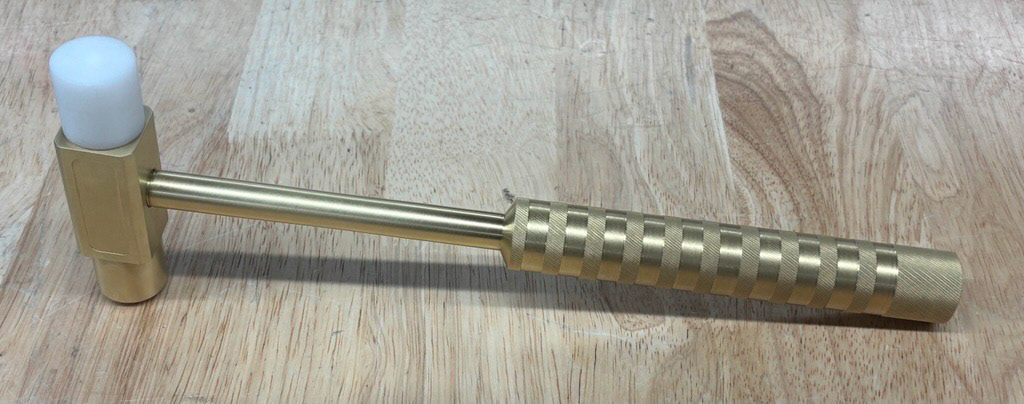
My vision for this project was to create a high-quality machinist hammer that is both functional and visually refined. I wanted to challenge myself with precision machining, focusing on tight tolerances, surface finishes, and detailed knurling for better grip. The hammer is made primarily of brass, chosen for its weight and durability, with a Delrin striking face to provide a softer impact for delicate work.
This project allowed me to improve my manual machining skills, especially on the lathe and mill, while also learning more about machining brass. Throughout the process, I used a manual lathe to shape the handle and striking surfaces, a manual mill for machining the hammer head, and finishing techniques like knurling and polishing to give the hammer a professional look and feel.
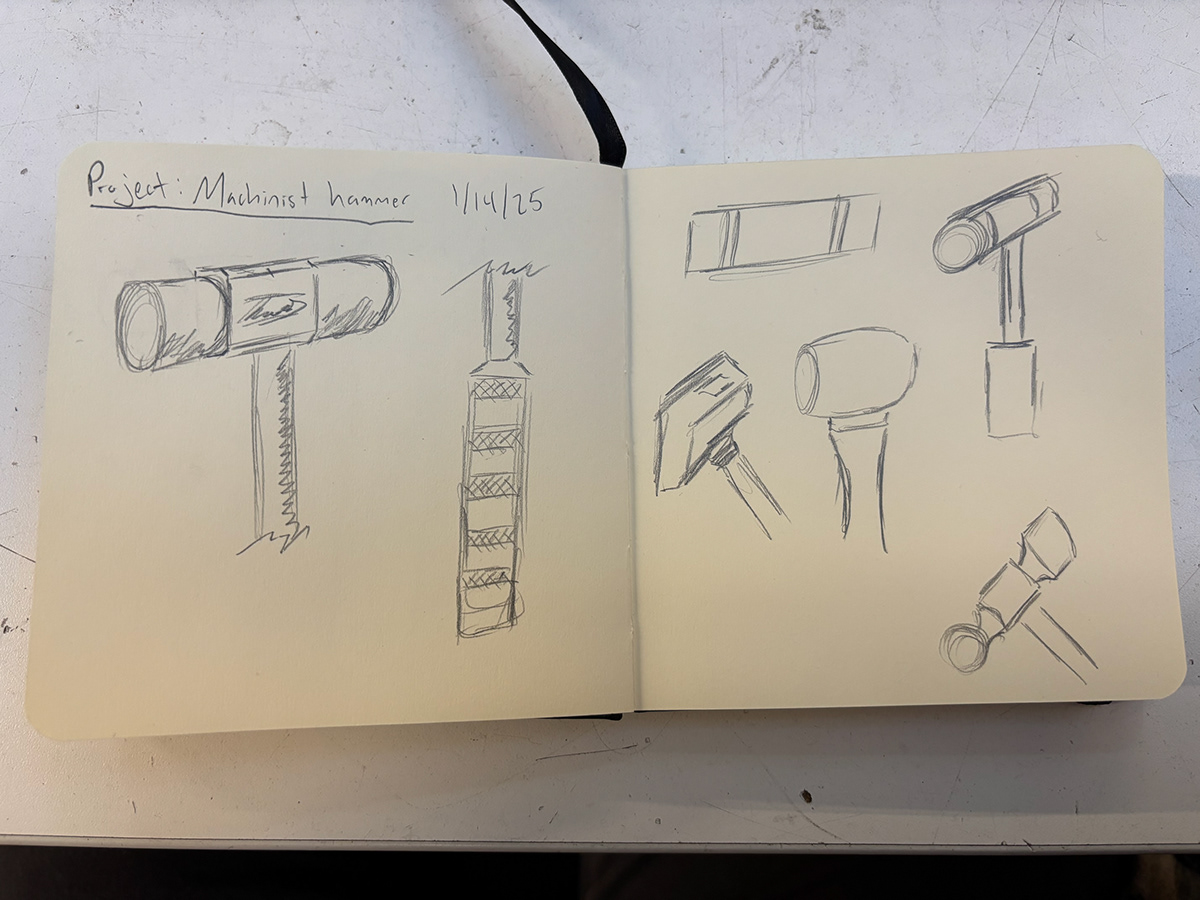
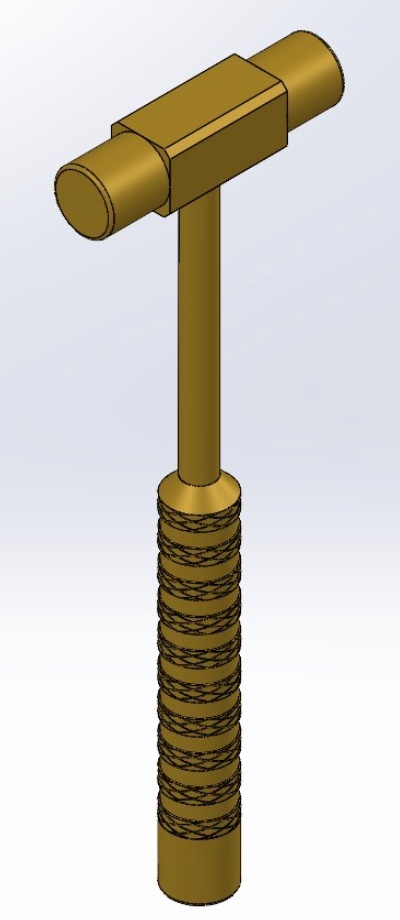
Here are images showing the initial design process for the hammer. On the left, you can see hand-drawn sketches exploring different hammer head shapes and design variations. The image on the right shows the CAD model I created as a rough draft, incorporating features I liked from various inspirations I found online. This digital model helped refine the design before moving into machining.
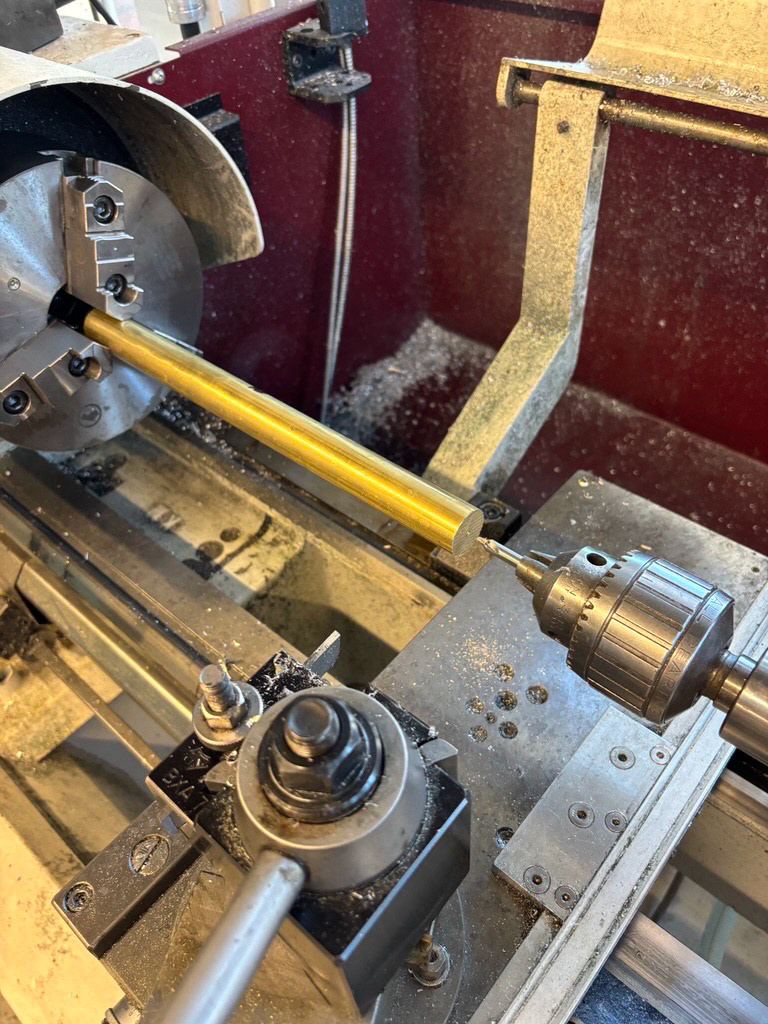
This is the starting point, using a 1" × 1" × 12" brass rod. To ensure it was properly centered on the lathe, the first step was to drill a center hole in the end of the stock. This allows for accurate alignment with the live center (the conical tool attached to the tailstock), which provides support and stability while machining. The first image shows the brass rod being secured in the lathe, while the second image shows the initial facing.
Knurling the handle on the lathe to create a textured grip
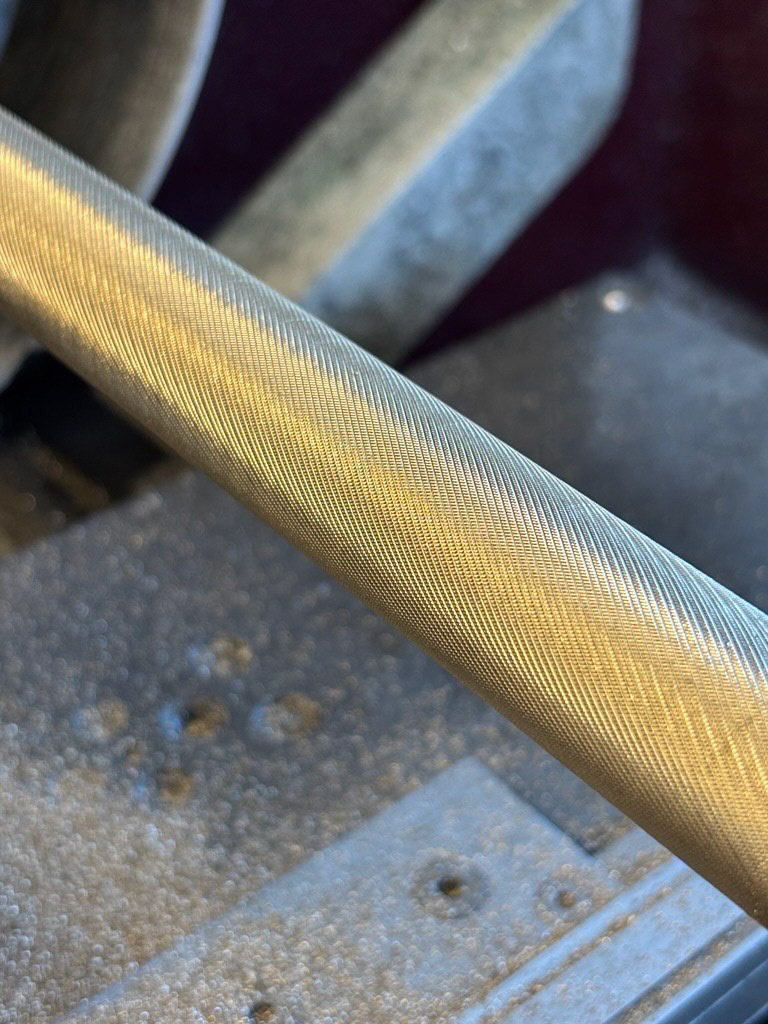
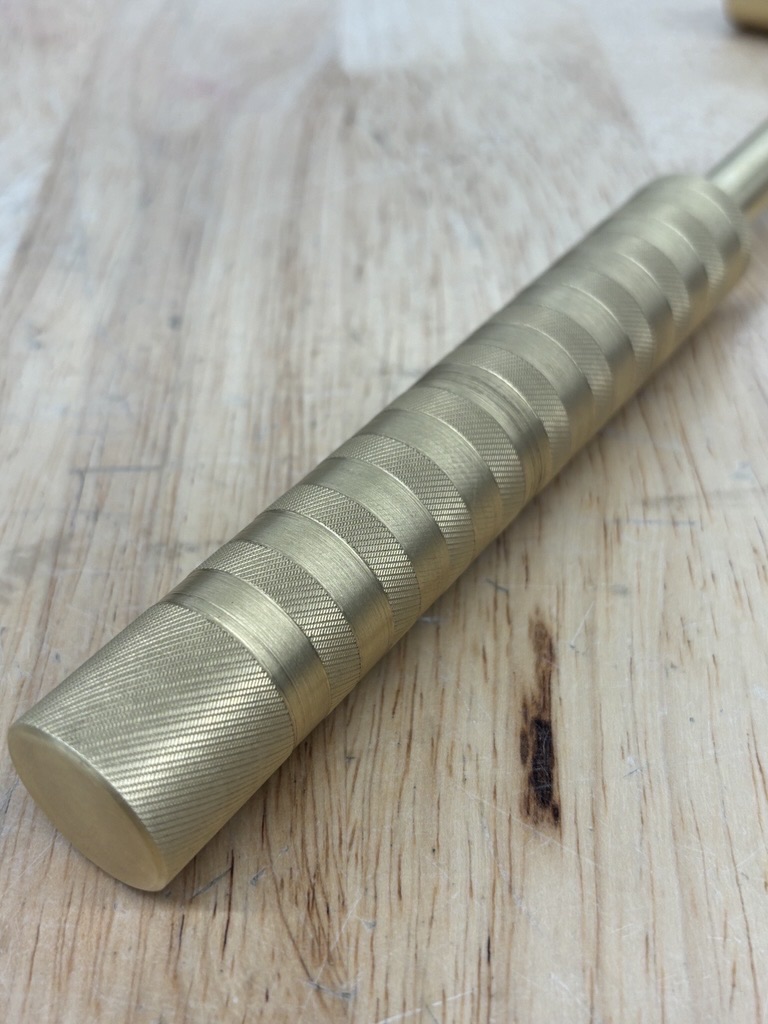
After completing the facing operation to ensure a smooth, perpendicular surface, the next step was knurling the handle section of the hammer. Knurling is a machining process that creates a textured grip on the metal surface, improving ergonomics and handling. For this, I knurled approximately 7"-8" of the brass stock, providing enough length to accommodate the entire handle portion. This step requires precise pressure and feed rates to achieve a uniform pattern while preventing excessive material deformation. Proper alignment and tool engagement were crucial to ensure a consistent and well-defined knurling pattern across the entire section.
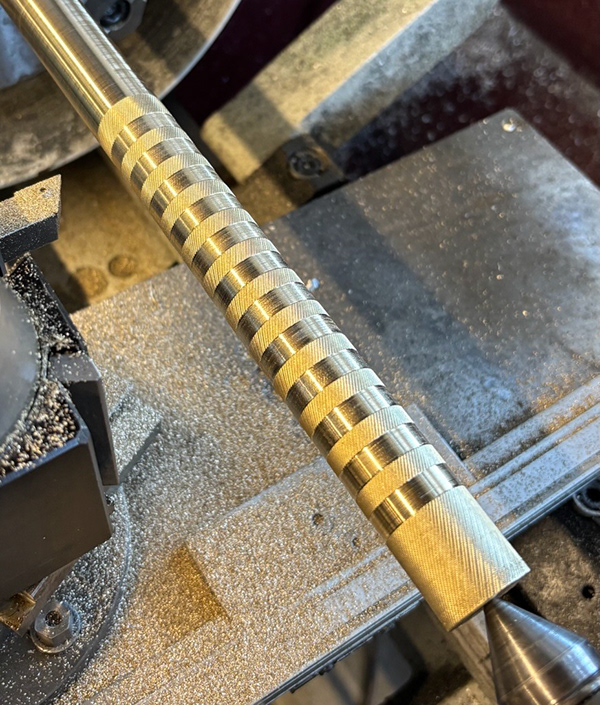
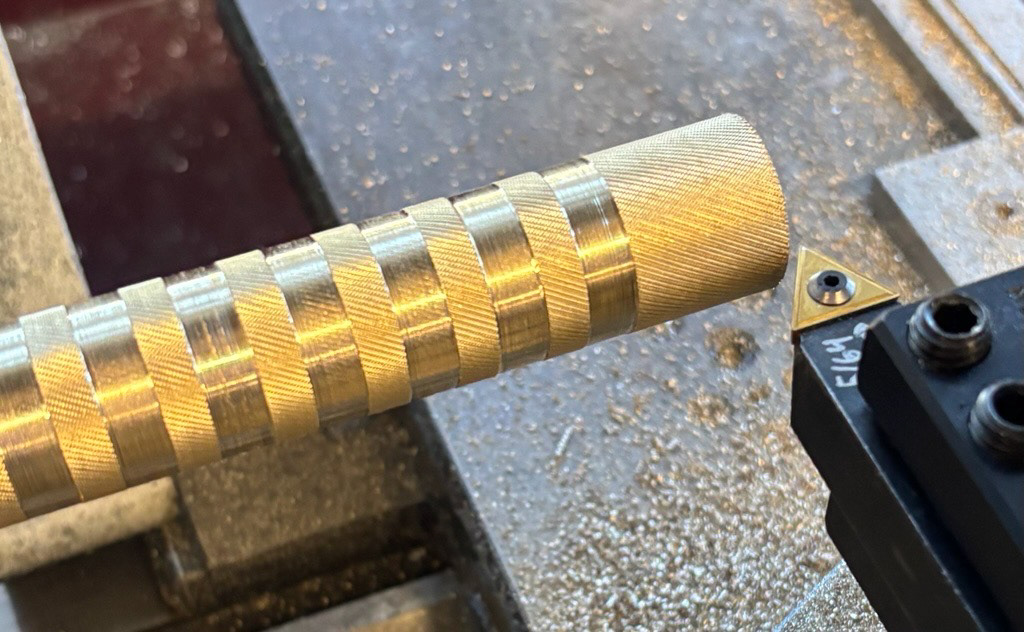
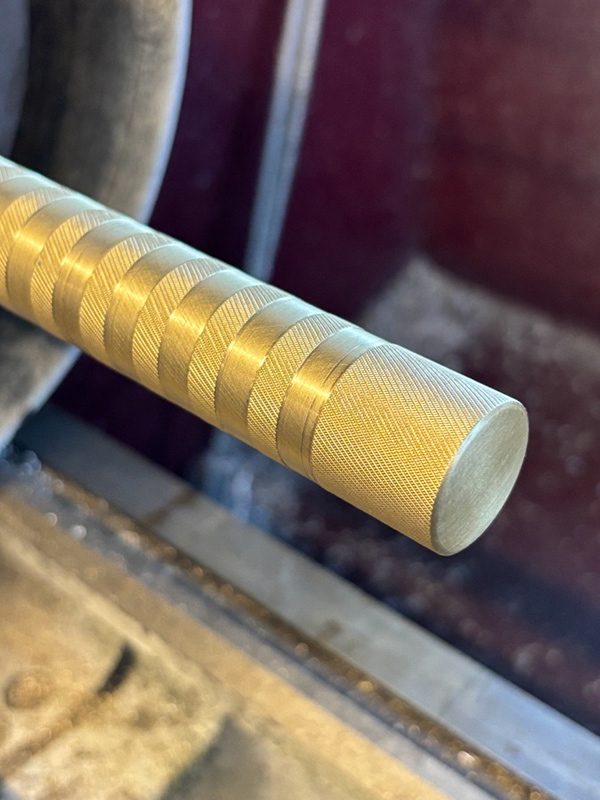
The next step in the project was machining a striped pattern onto the handle with evenly spaced cuts for added texture and grip. To refine the end, I chamfered it for a clean, finished look and then used a steel wool pad to achieve a brushed brass finish.
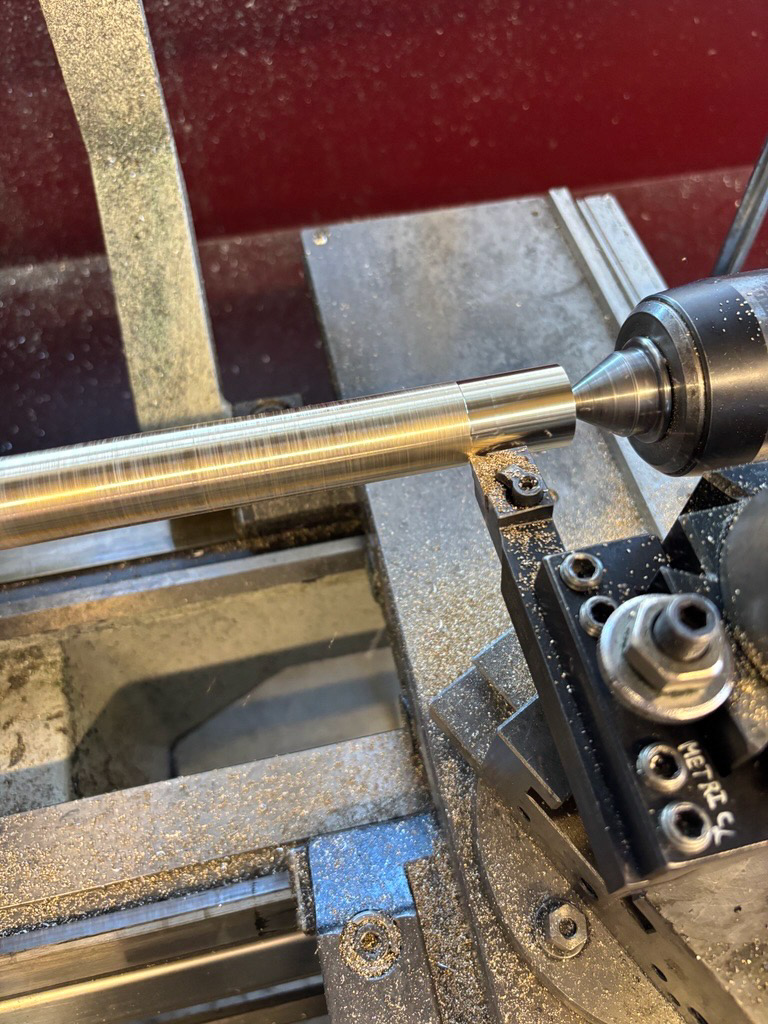
Turning down the material to shape the neck of the hammer for proper proportions and balance
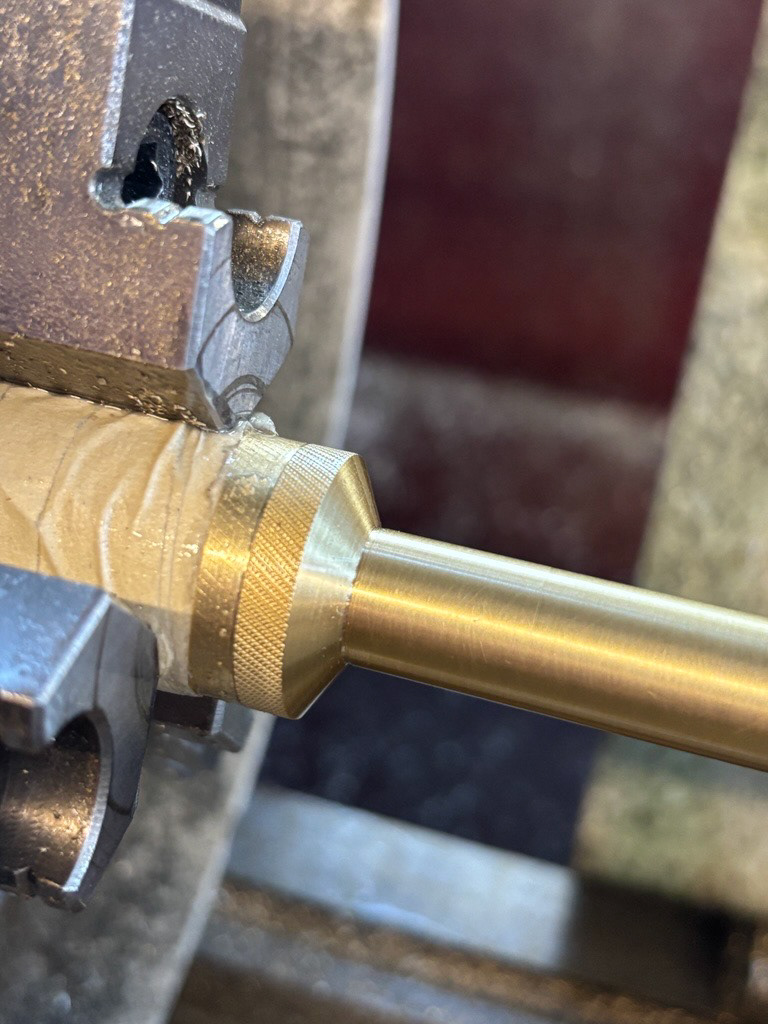
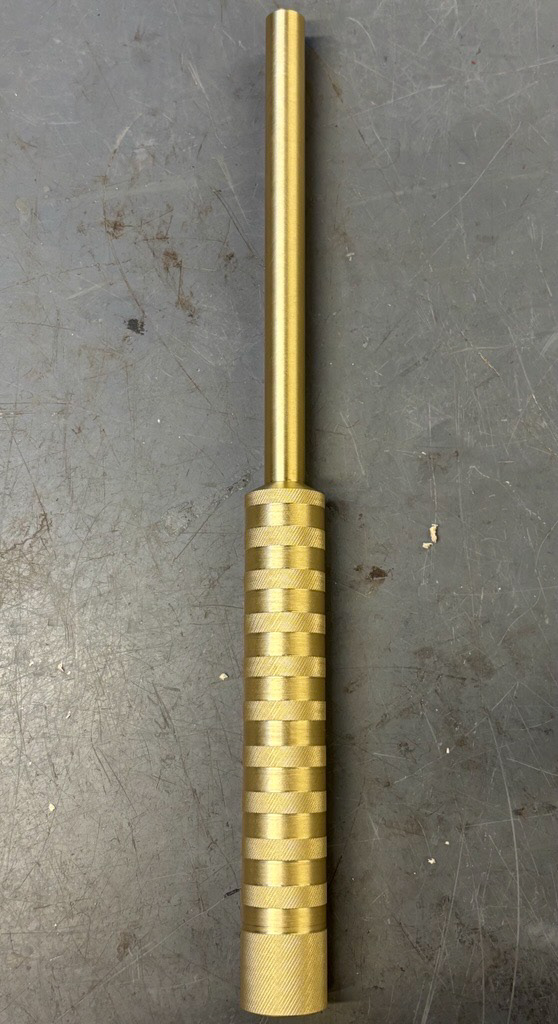
Here’s how the handle and neck turned out. The tape protected the knurled section from getting damaged by the lathe chuck during machining, ensuring a clean and precise finish.
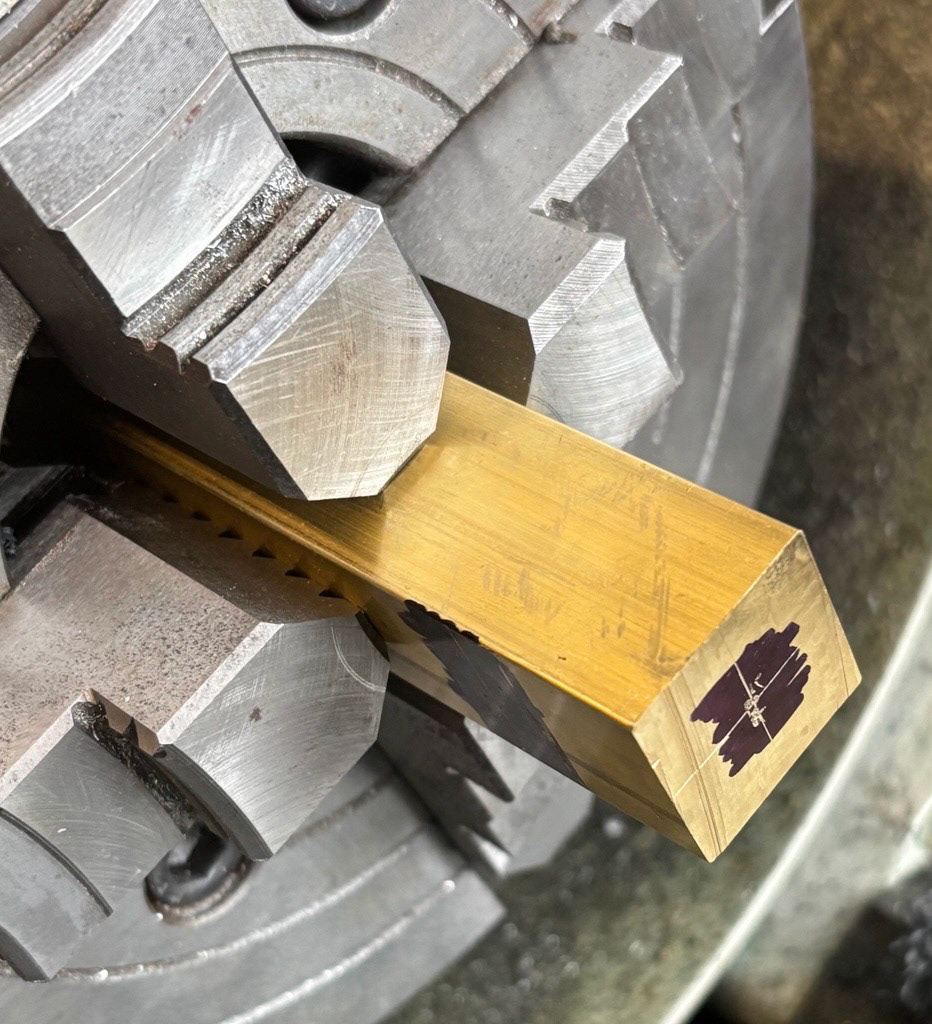
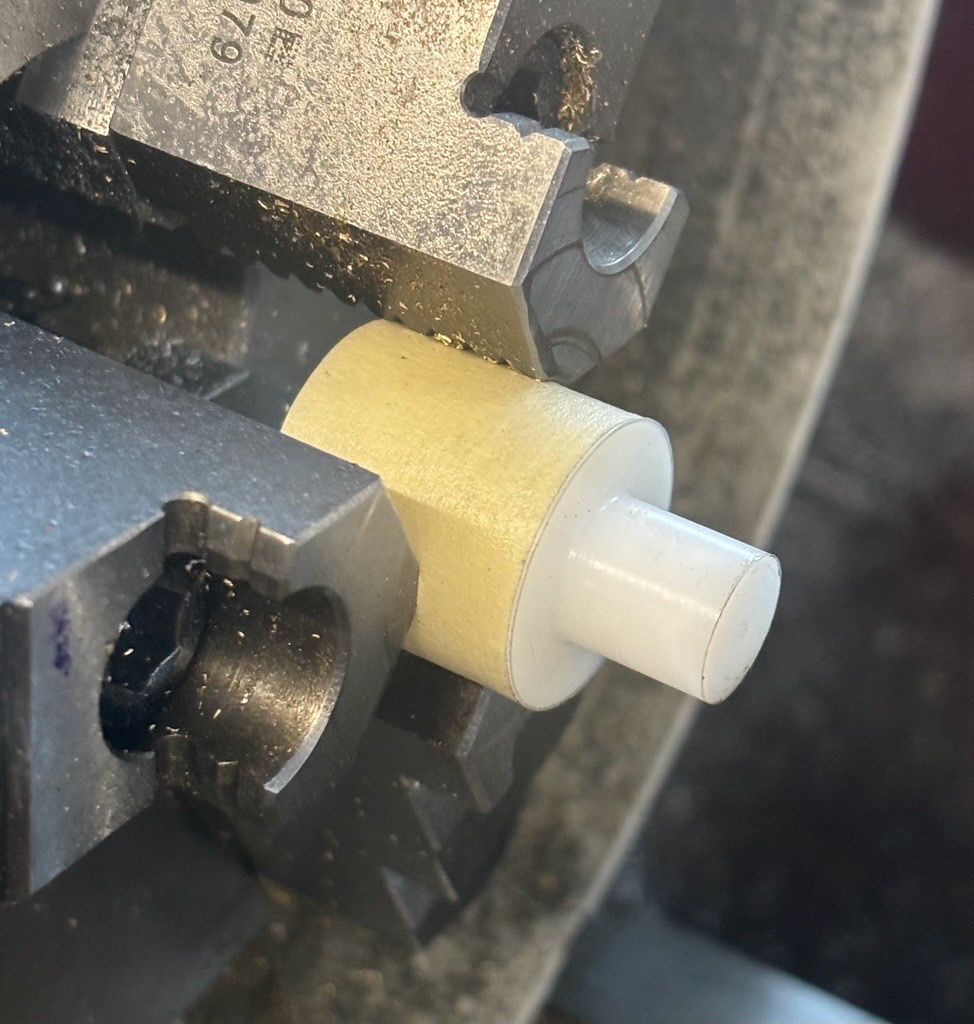
Here is the brass end of the hammer head being machined on the lathe. Using a 1" x 1" x 6" brass bar stock in a 4-jaw chuck was challenging, as this was my first time working with this type of chuck. Unlike a 3-jaw chuck, which self-centers, the 4-jaw chuck requires manual adjustments to precisely align the workpiece. Ensuring proper centering was crucial for maintaining accuracy throughout the machining process.
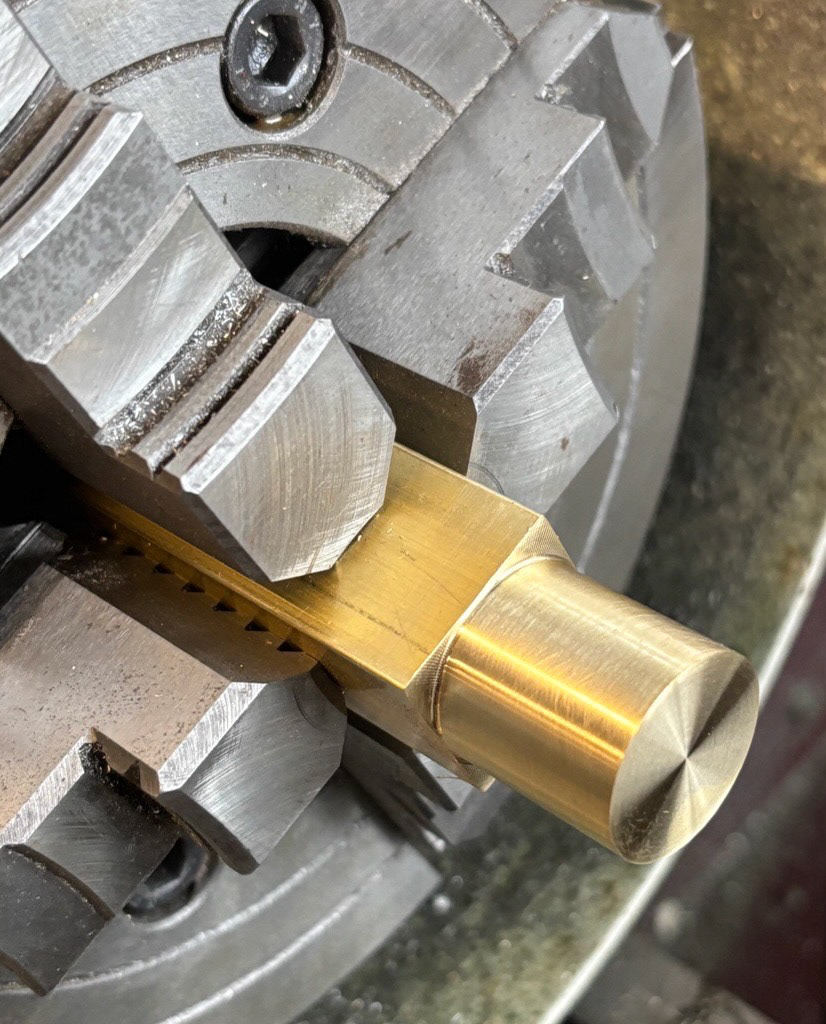
Chamfering all sides of the stock on the lathe for a smooth and refined finish
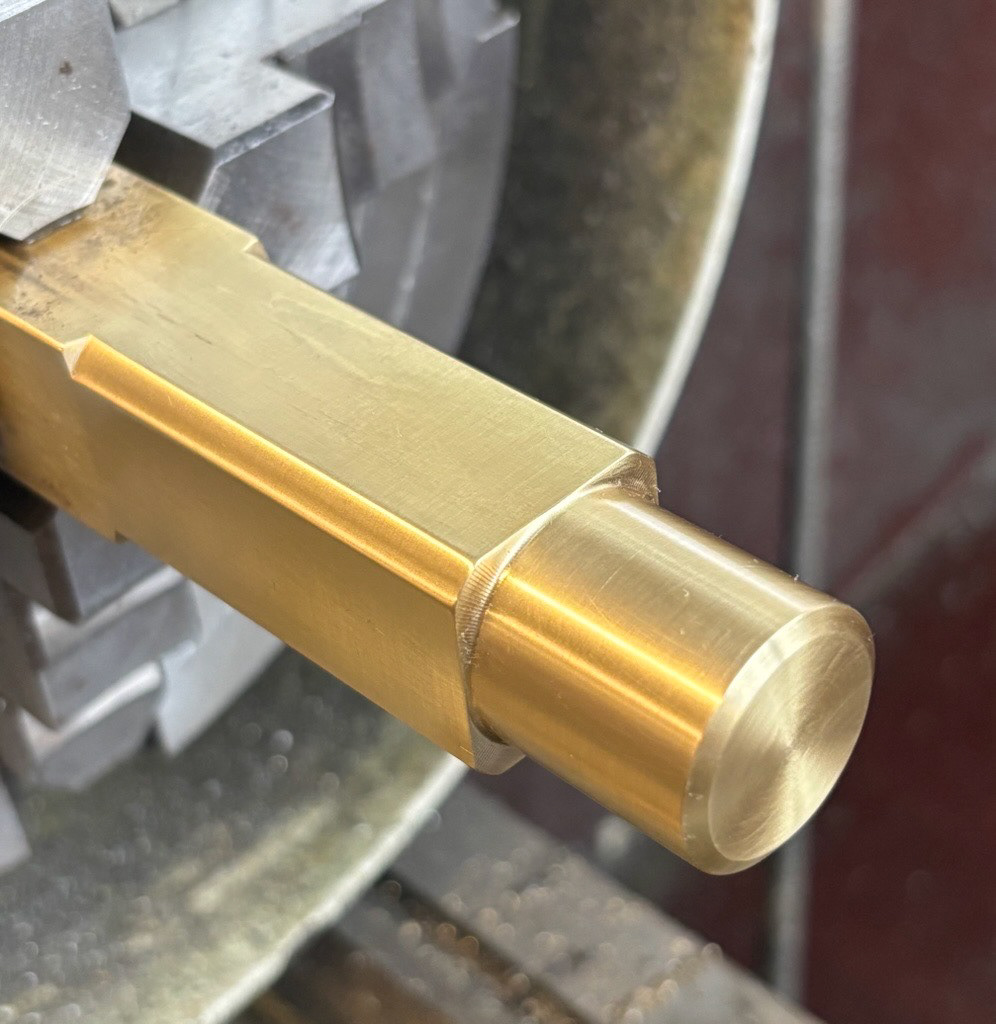
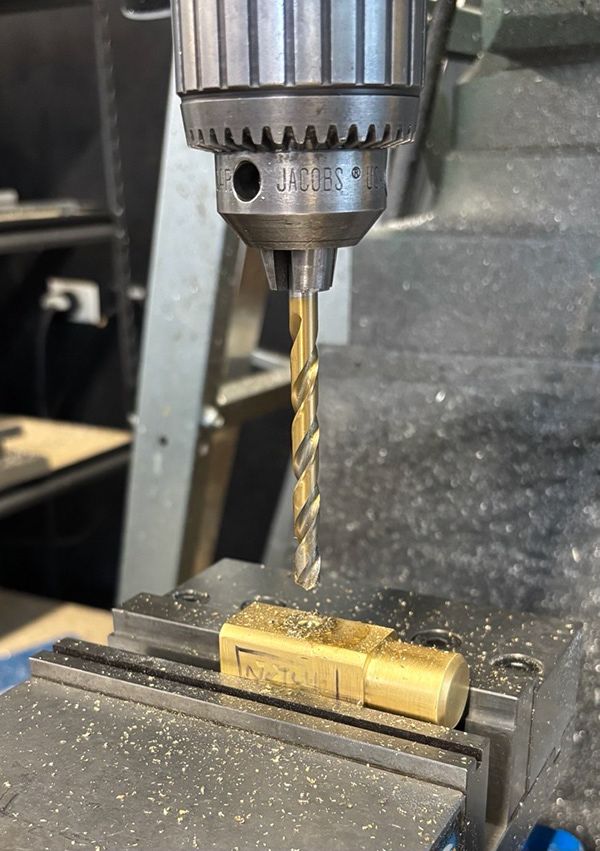
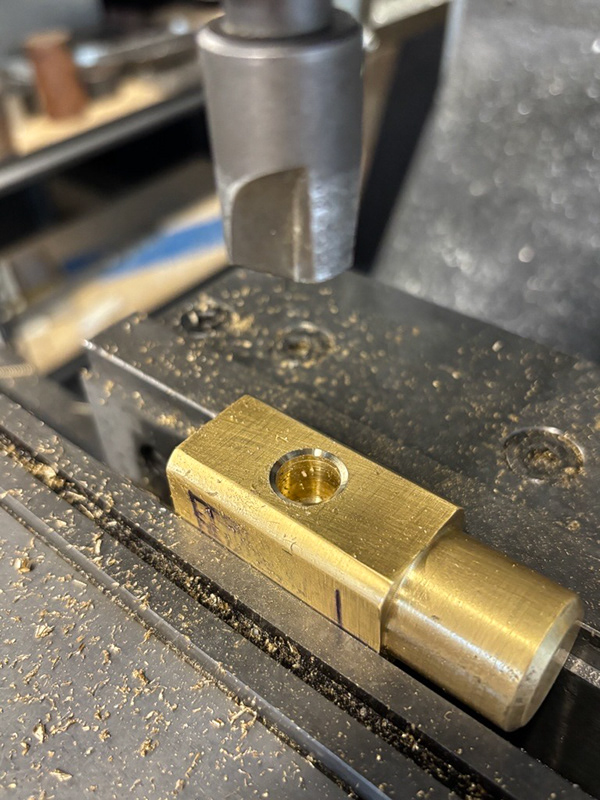
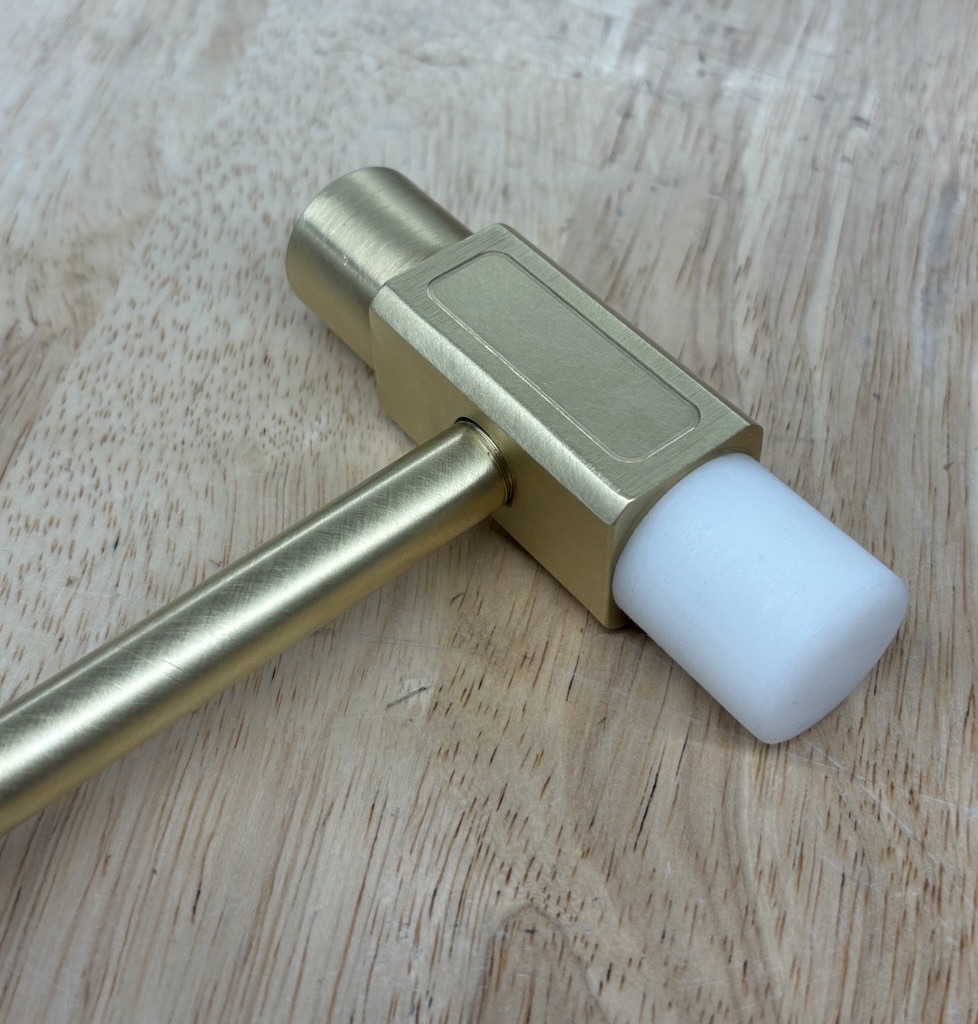
The hammer end is now machined and finished, with the other side of the head drilled out to prepare for the tapping process for the plastic part.
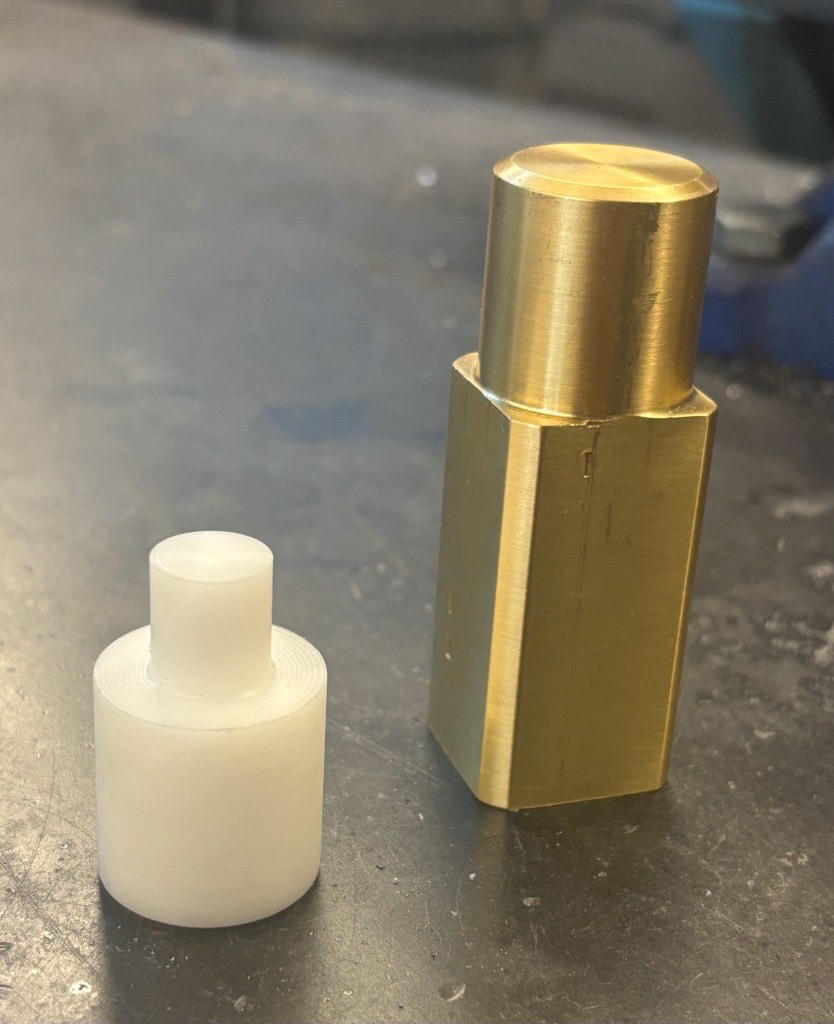
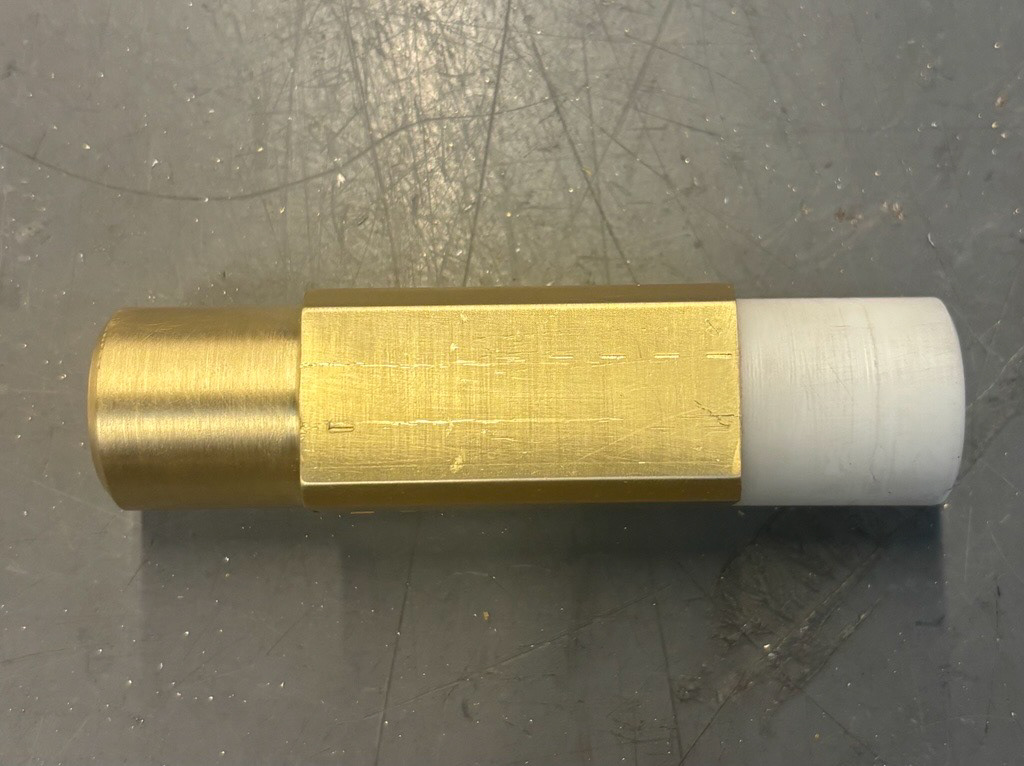
Final assembly of the hammer head, showcasing the brass body and Delrin striking surface.

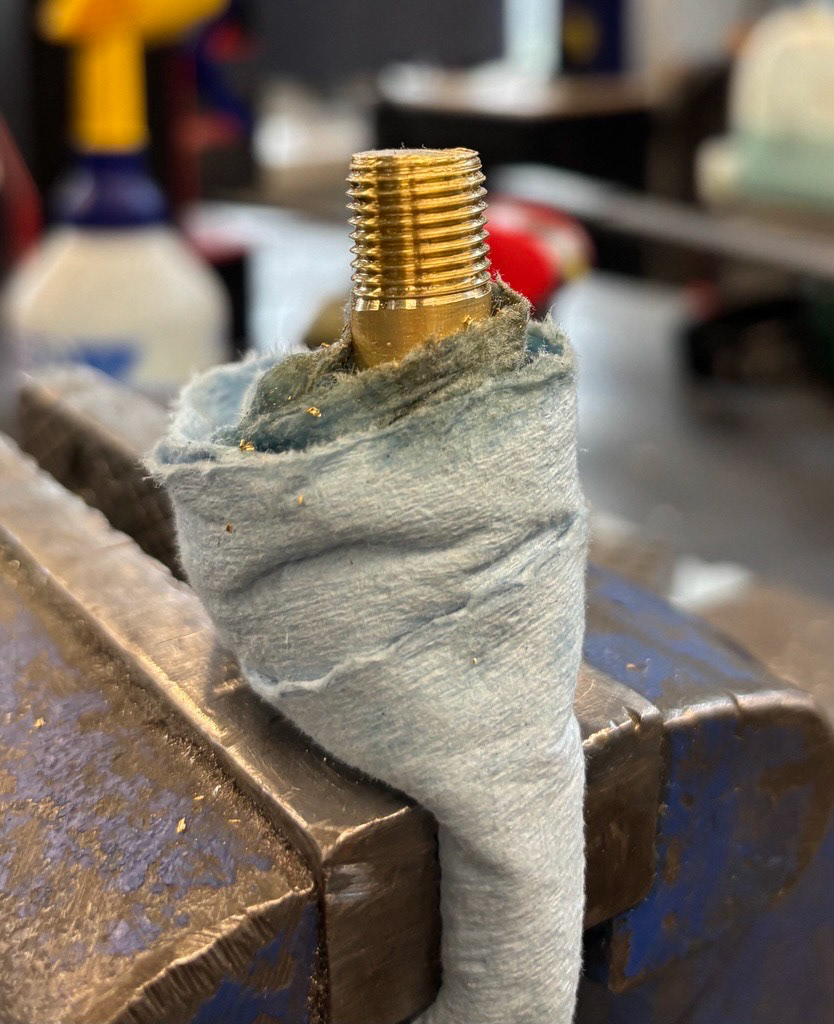
While using the die to cut threads, I secured the part in a vice, hoping that a combination of paper towels and tape would protect it from damage. Unfortunately, the vice still chewed into a portion of the neck. To fix this, I put the piece back on the lathe and carefully used a file to smooth out the imperfections, then blended everything with a steel wool pad for a clean finish. This was my first time cutting threads with a die, and in hindsight, I think using the manual mill would have been a better approach to ensure the threads were perfectly concentric with the part. Making mistakes is all part of the process, and this experience taught me the importance of choosing the right work-holding method for delicate operations.
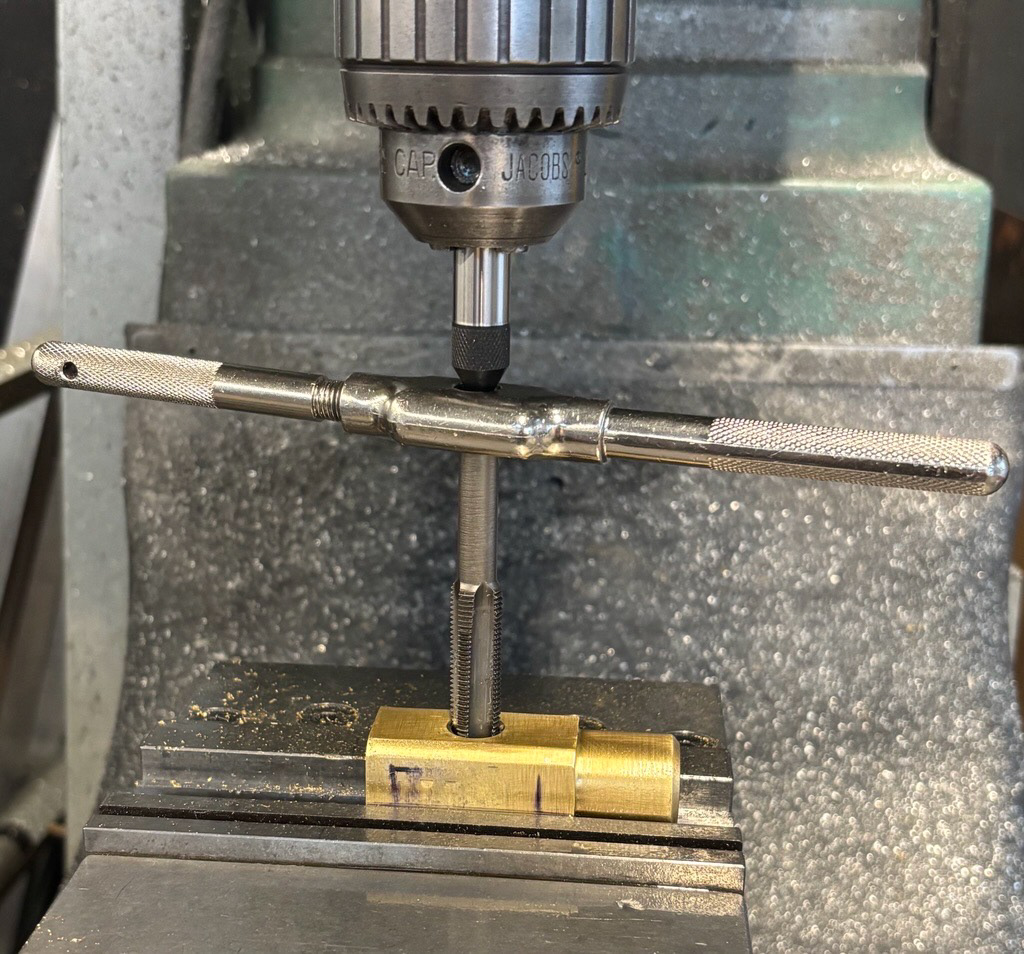
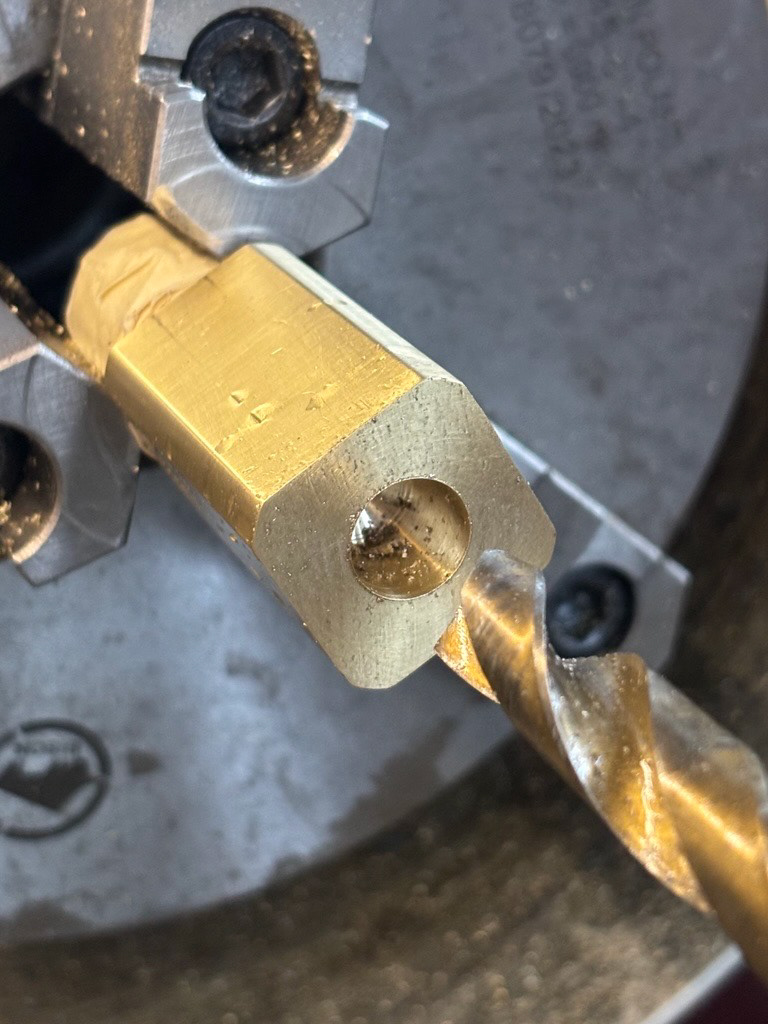
Here we have the machining process on the manual mill. The images from left to right show the tapping process for the hammer head, allowing the neck to be securely attached. To ensure a clean and precise fit, I faced the top surfaces of all sides, making sure everything was square and uniform for a polished look. Not shown in these images are the slots machined on the sides of the hammer, which were added later as an aesthetic feature to enhance the overall design.
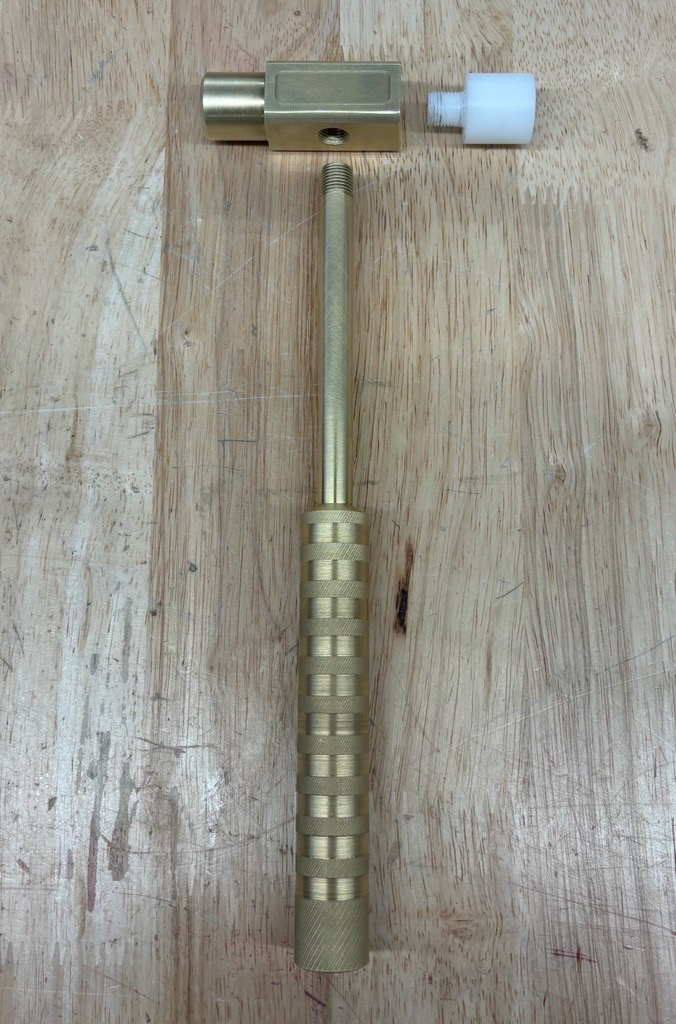
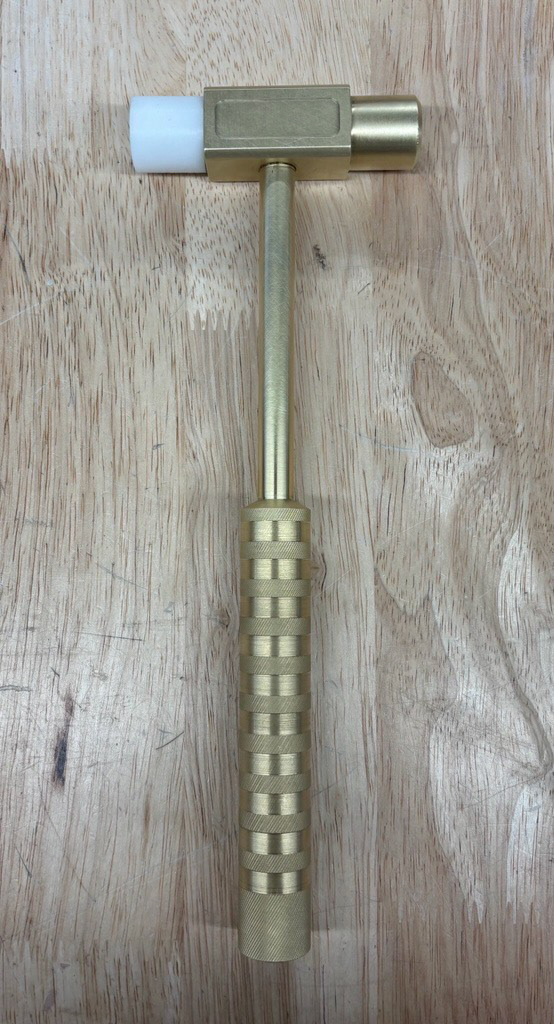
Here are all the components of the hammer, shown both disassembled and fully assembled. This highlights the individual machined parts and how they come together to form the final piece.
Overall, this project was a great opportunity to challenge myself with precision machining and improve my skills on both the lathe and manual mill. I learned a lot about working with brass, cutting threads with a die, and the importance of proper workholding to avoid damaging delicate features. This project also gave me valuable experience in documenting my process and refining my finishing techniques, such as knurling and polishing.
If I were to do this project again, I would explore different methods for cutting the threads to ensure they are perfectly concentric from the start, possibly using the manual mill instead of a die. Additionally, I would experiment with different ways to hold the workpiece securely without risking damage, especially during finishing operations. Overall, this was a rewarding experience, and I’m proud of the final result!

Hey there! I'm a Mechanical Engineer with a passion for hands-on creation, problem-solving, and innovation. I thrive in spaces where ideas take shape—whether through fabrication, programming, or engineering design.
I'm deeply interested in the intersection of technology, education, and making. Exploring how people learn, create, and engage with tools inspires much of my work. Beyond the technical side, I enjoy collaborating with teams, leading initiatives, and finding creative ways to bring concepts to life.
I believe engineering is about more than just building things—it's about curiosity, adaptability, and making an impact. If you're passionate about learning, creating, or pushing boundaries, let’s connect!